Configure Email Notifications for Alerts#
Email Notifications settings allow you to enable sending alerts in the form of an email to users registered in IAM (Keycloak* solution). Selecting users for email notifications will result in sending all alerts to each of those users. The notifications include both firing and resolved alerts.
Note
Service admin has permission alrt-rx-rw to view and configure Email Notifications. For additional details, see Edge Orchestrator Groups and Roles and Setting Up a Service-Admin User in Keycloak.
To navigate to Email Alerts settings, navigate to Alerts Configuration page by clicking Settings tab on the top menu and clicking Alerts on the left menu, and then selecting Email Alerts option.
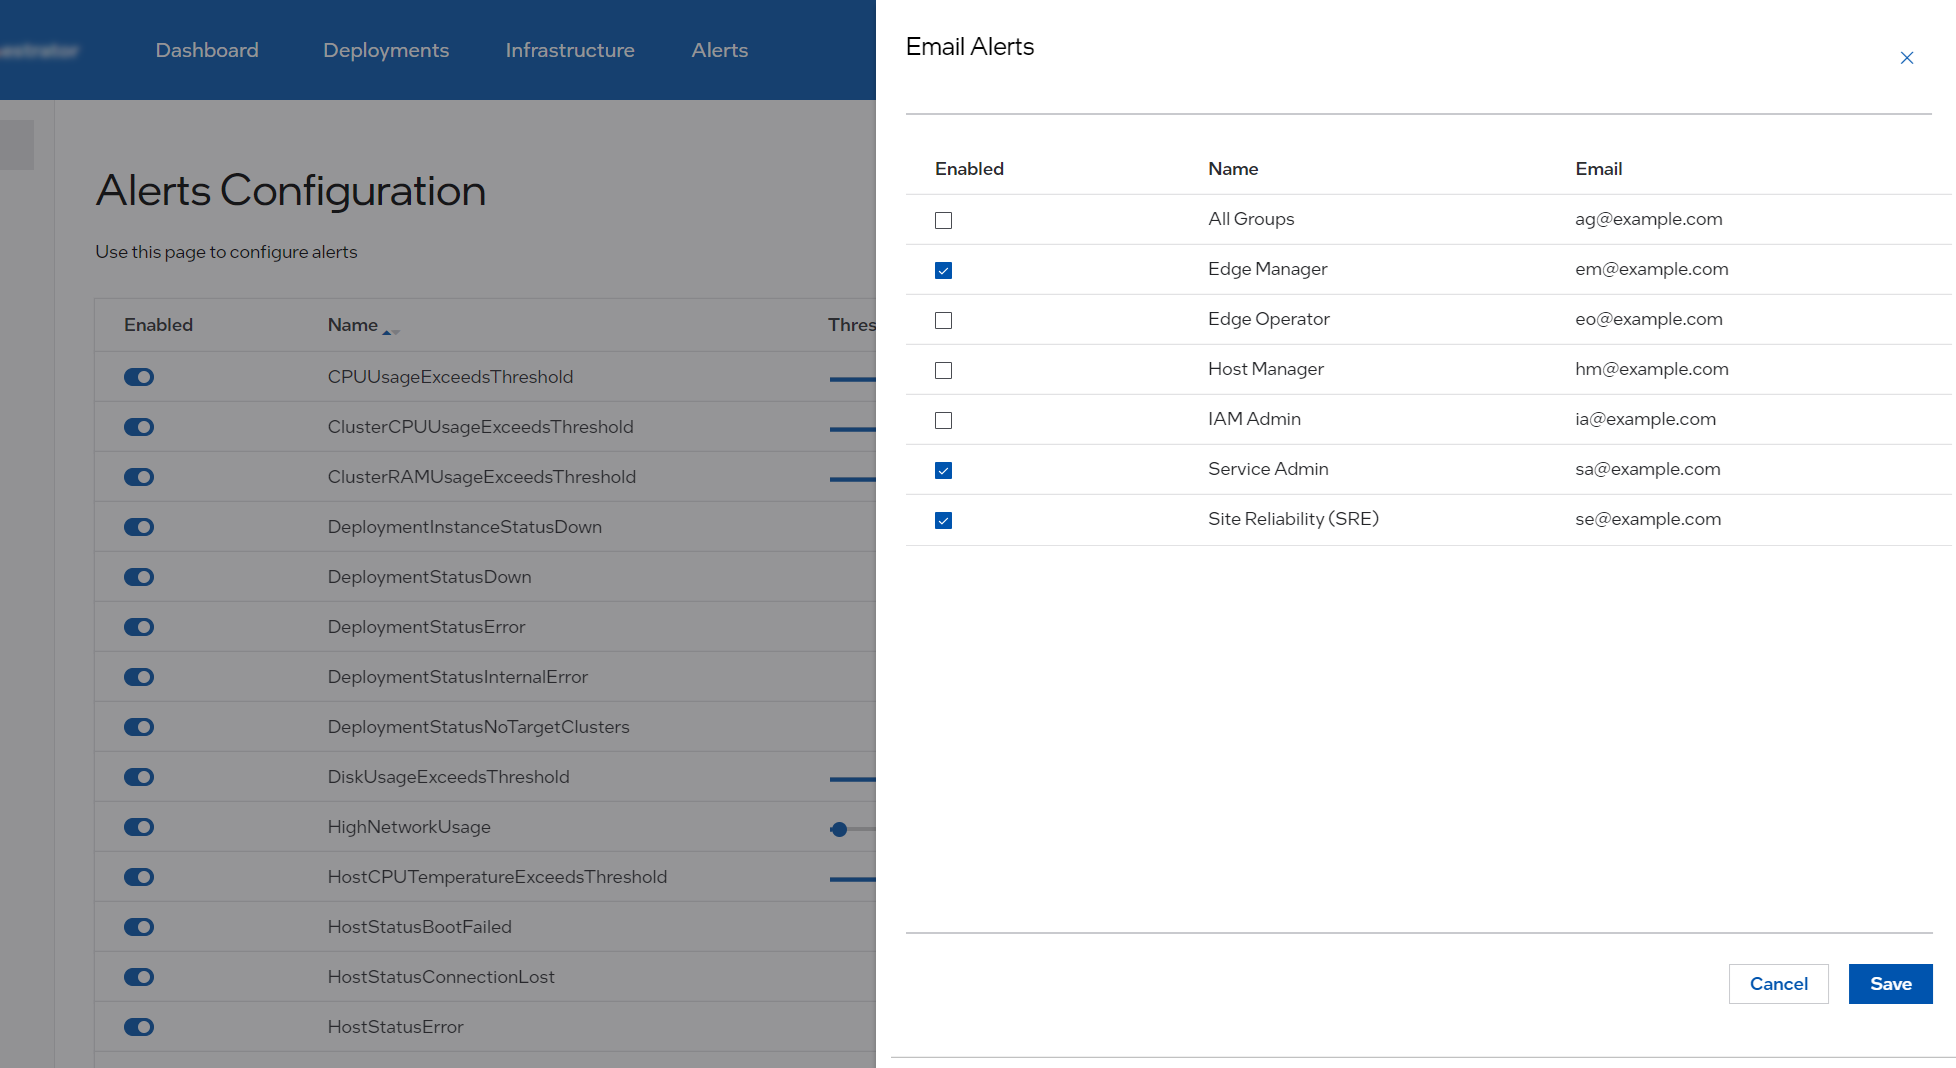
Field |
Description |
|---|---|
Enabled |
Allows to enable email notifications for this user |
Name |
First Name and Last Name of the user as it appears in IAM (Keycloak) |
Email address as it appears in IAM (Keycloak) |
Note
Mail delivery relies on the presence of an external SMTP server that Edge Orchestrator needs to be configured with during installation.
Setting Up a Service-Admin User in Keycloak#
Prerequisites#
Access to Keycloak admin console.
The mage target mage tenantUtils:createEdgeInfraUser, creating a new user: <project-name>-service-admin-api-user in _Host-Manager-Group and service-admin-group.
Step 1: Verify User Creation#
Log in to Keycloak Admin Console: - Open your web browser and navigate to the Keycloak admin console URL. - Log in using your admin credentials.
Navigate to Users: - In the Keycloak admin console, click on Users in the left-hand menu. - Search for the service-admin user to verify its creation.
Step 2: Update User Attributes#
Edit User Details: - Click on the service-admin user from the list. - Go to the “Attributes” tab.
Set Required Attributes: Add the following attributes: - First Name: Enter the user’s first name. - Last Name: Enter the user’s last name. - Email: Enter the user’s email address.
Save Changes: - Click “Save” to apply the changes.
Step 3: Assign User to a Project#
Navigate to Groups: - Click on “Groups” in the left-hand menu.
Find or Create a Project Group: - Search for the project group to which you want to assign the user. - If the group does not exist, create a new group for the project.
Add User to Project Group: - Go back to the “Users” section and select the service-admin user. - Click on the “Groups” tab. - Add the user to the project group by selecting the group and clicking “Join”.
Step 4: Verify Permissions#
Check User Roles: - Ensure the service-admin user has the alrt-rx-rw permission. - Navigate to the “Role Mappings” tab for the user and verify the role assignment.
Step 5: Test Access to Web UI#
Log in as Service-Admin User: - Log out of the admin console and log in as the service-admin user. - Navigate to the web UI for managing email alerts.
Verify Functionality: - Ensure the user can access the email alerts section and manage receivers.
Troubleshooting#
If the user cannot access the UI, double-check group membership and role assignments.
Ensure all attributes are correctly set in Keycloak solution.
By following these steps, you should be able to set up the service-admin user in Keycloak solution, allowing them to manage email alerts in Mailpit tool effectively.