Provision Host#
The Provision Host feature allows you to provision an OS profile onto a previously onboarded host.
Go to the Infrastructure tab, click Hosts on the left menu and select the Onboarded tab:
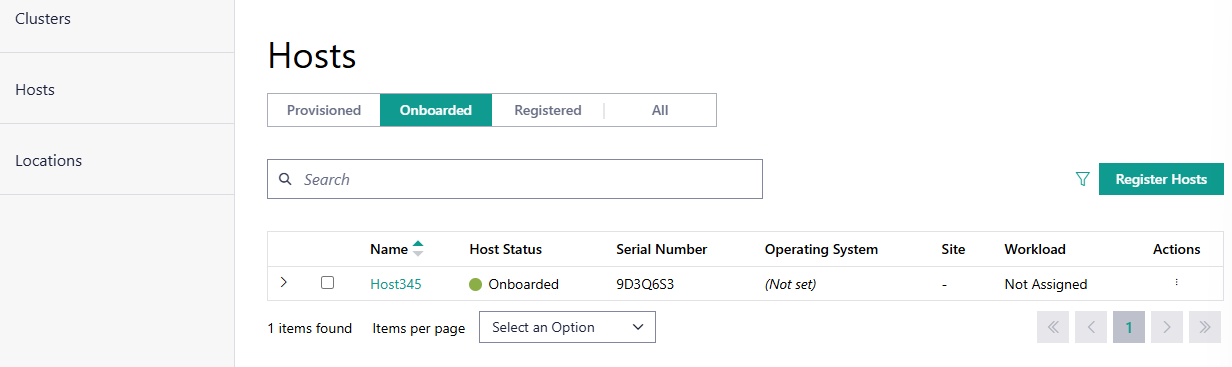
Find a host in Onboarded state.
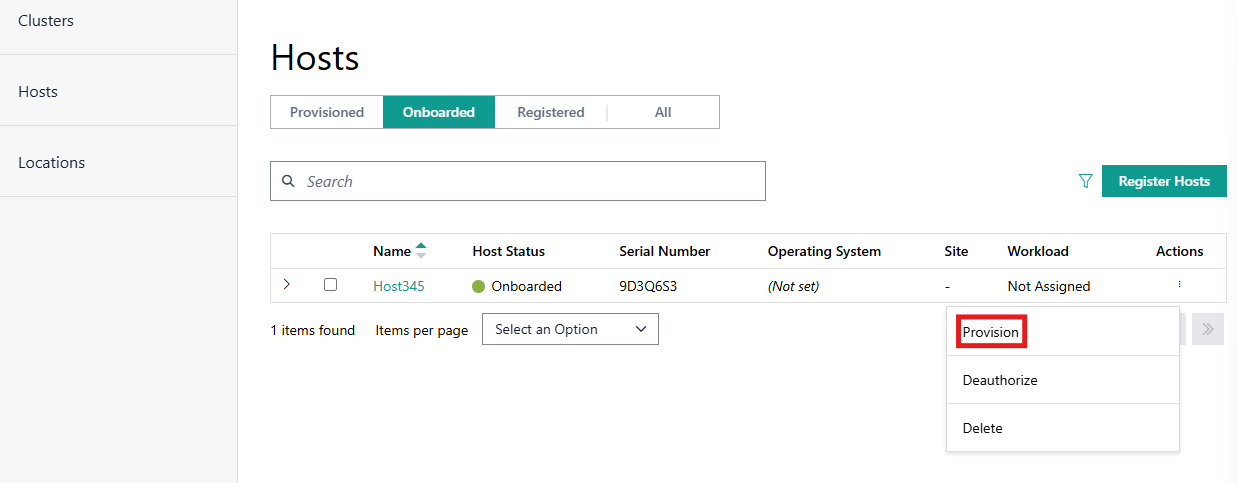
Go to the Actions column and click the three-dot icon for the desired host, then click Provision:
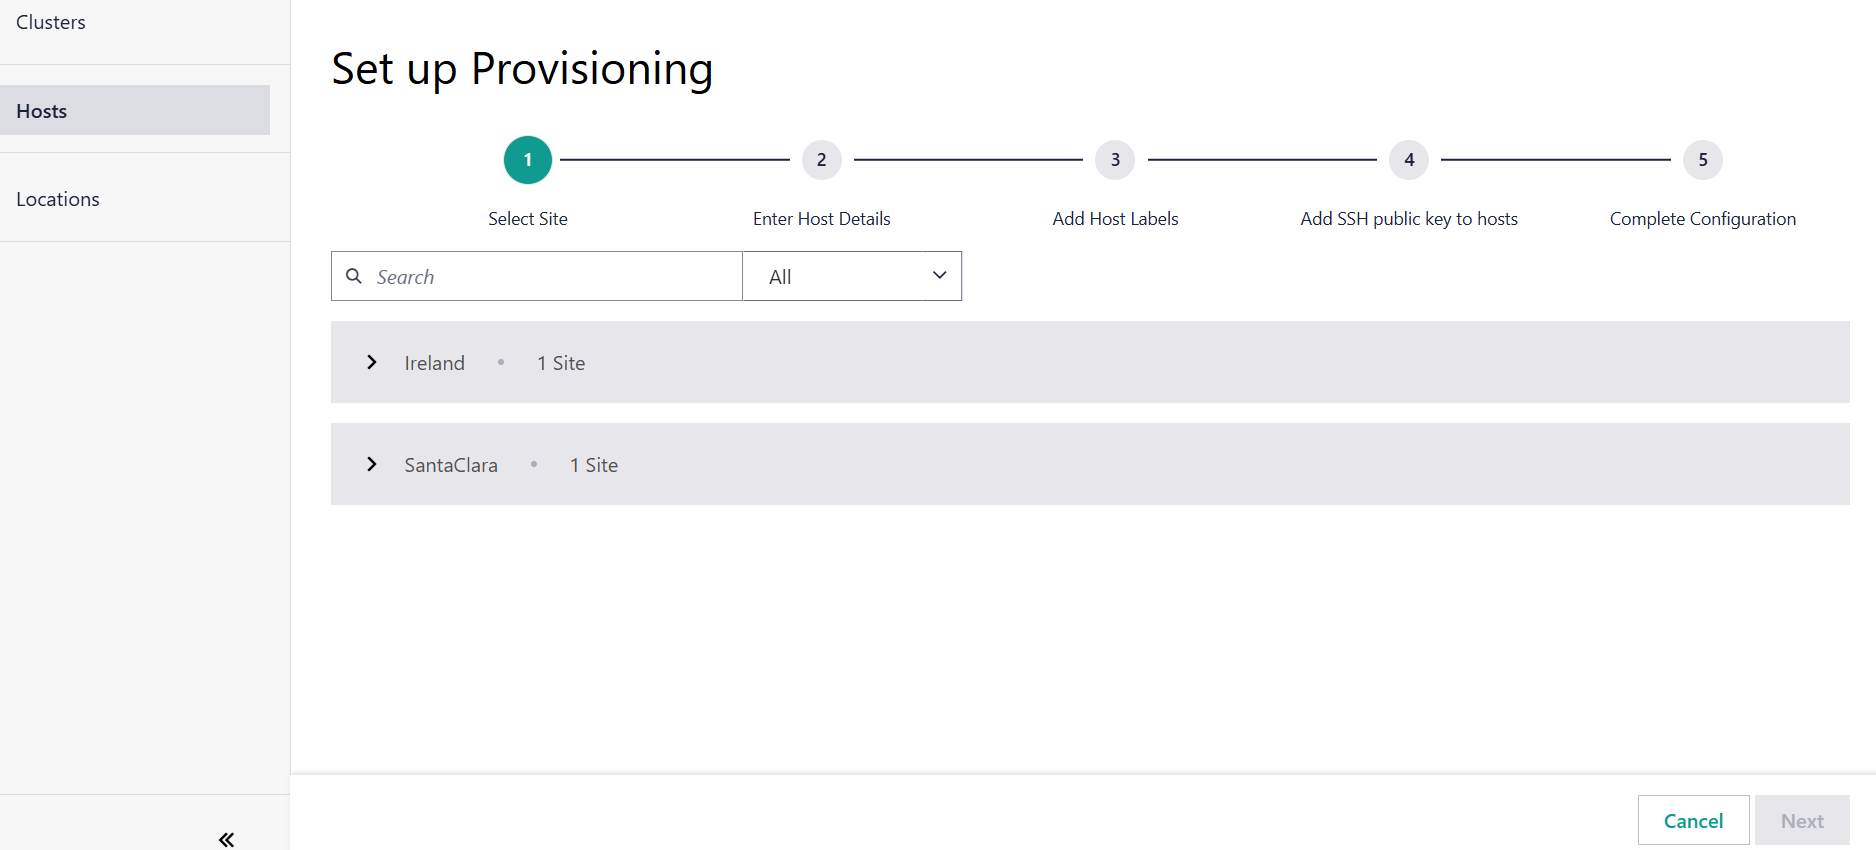
On the first page of the Provision Set Up, select the site the host is connected to and click Next. Click on the > option to expand a region to view the sites under it:
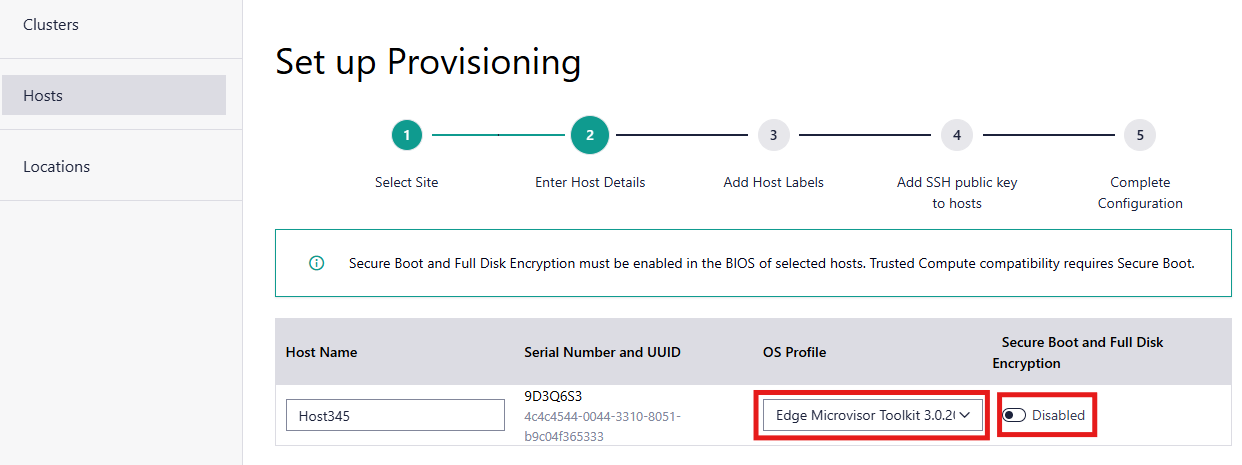
On the next page, select the required OS Profile from the drop-down menu. You can enable Secure Boot and Full Disk Encryption here if required, the default option is disabled. When finished, click Next.
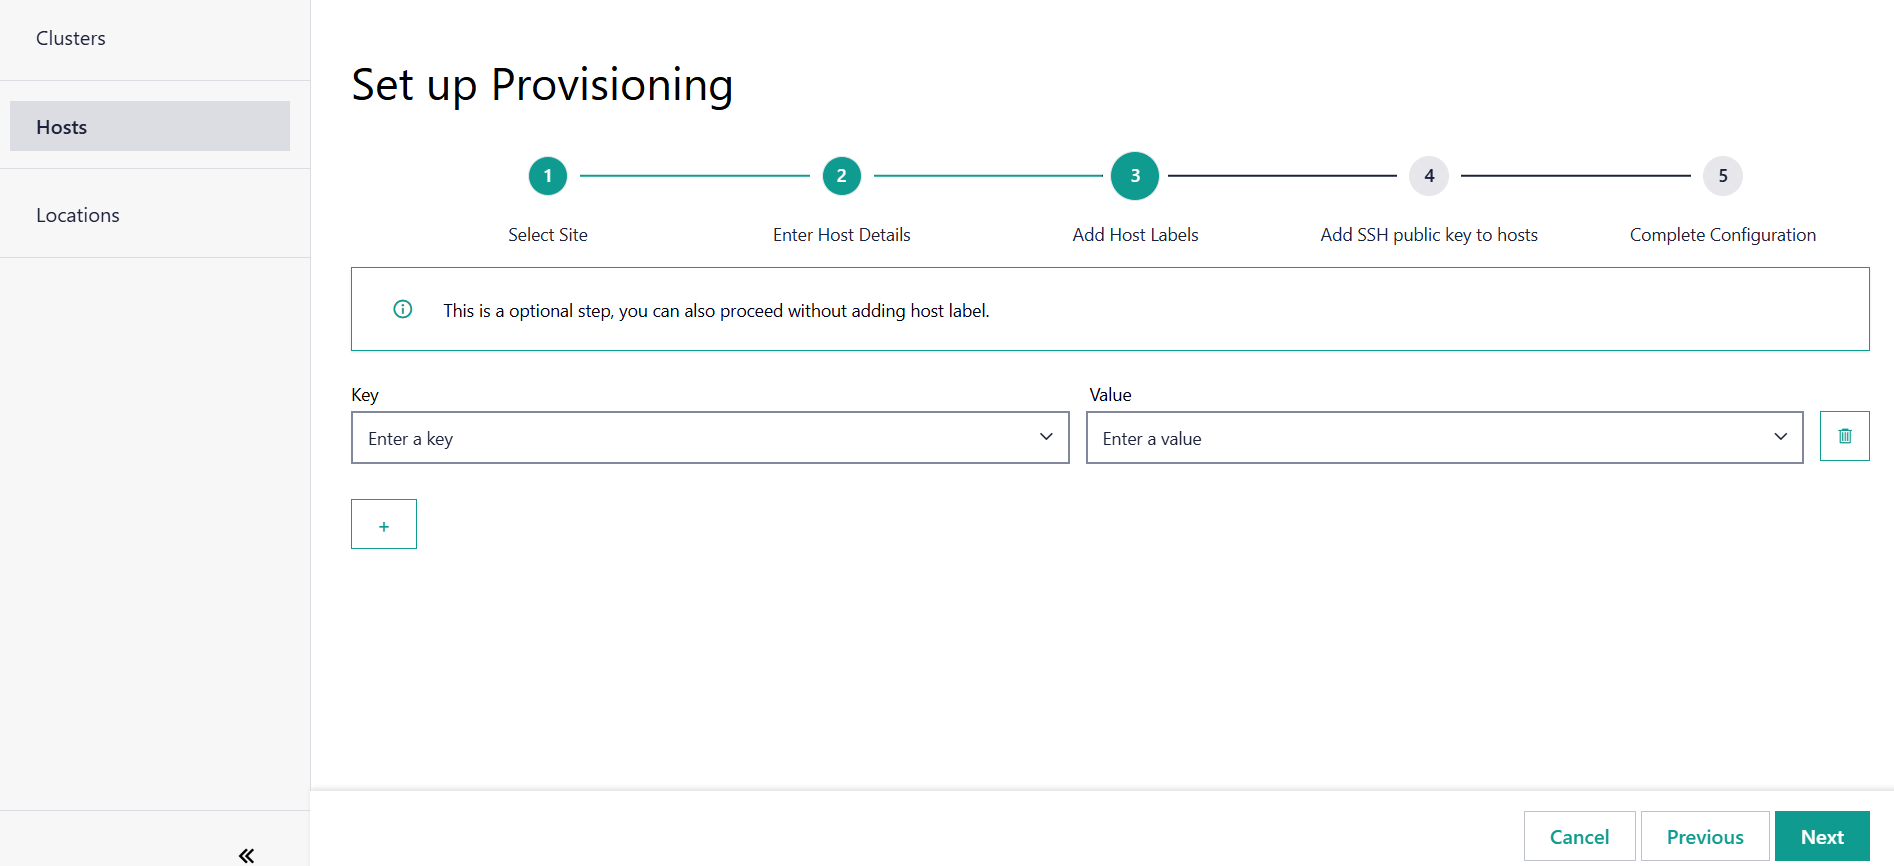
Add any optional host labels to the host or skip if no labels are required, by clicking Next:
To enable SSH login using keys, select the required SSH public key from the drop-down menu and click Next. It is optional to add an SSH key, however you must have submitted the public key to the web UI using the instructions in Remote SSH Access.

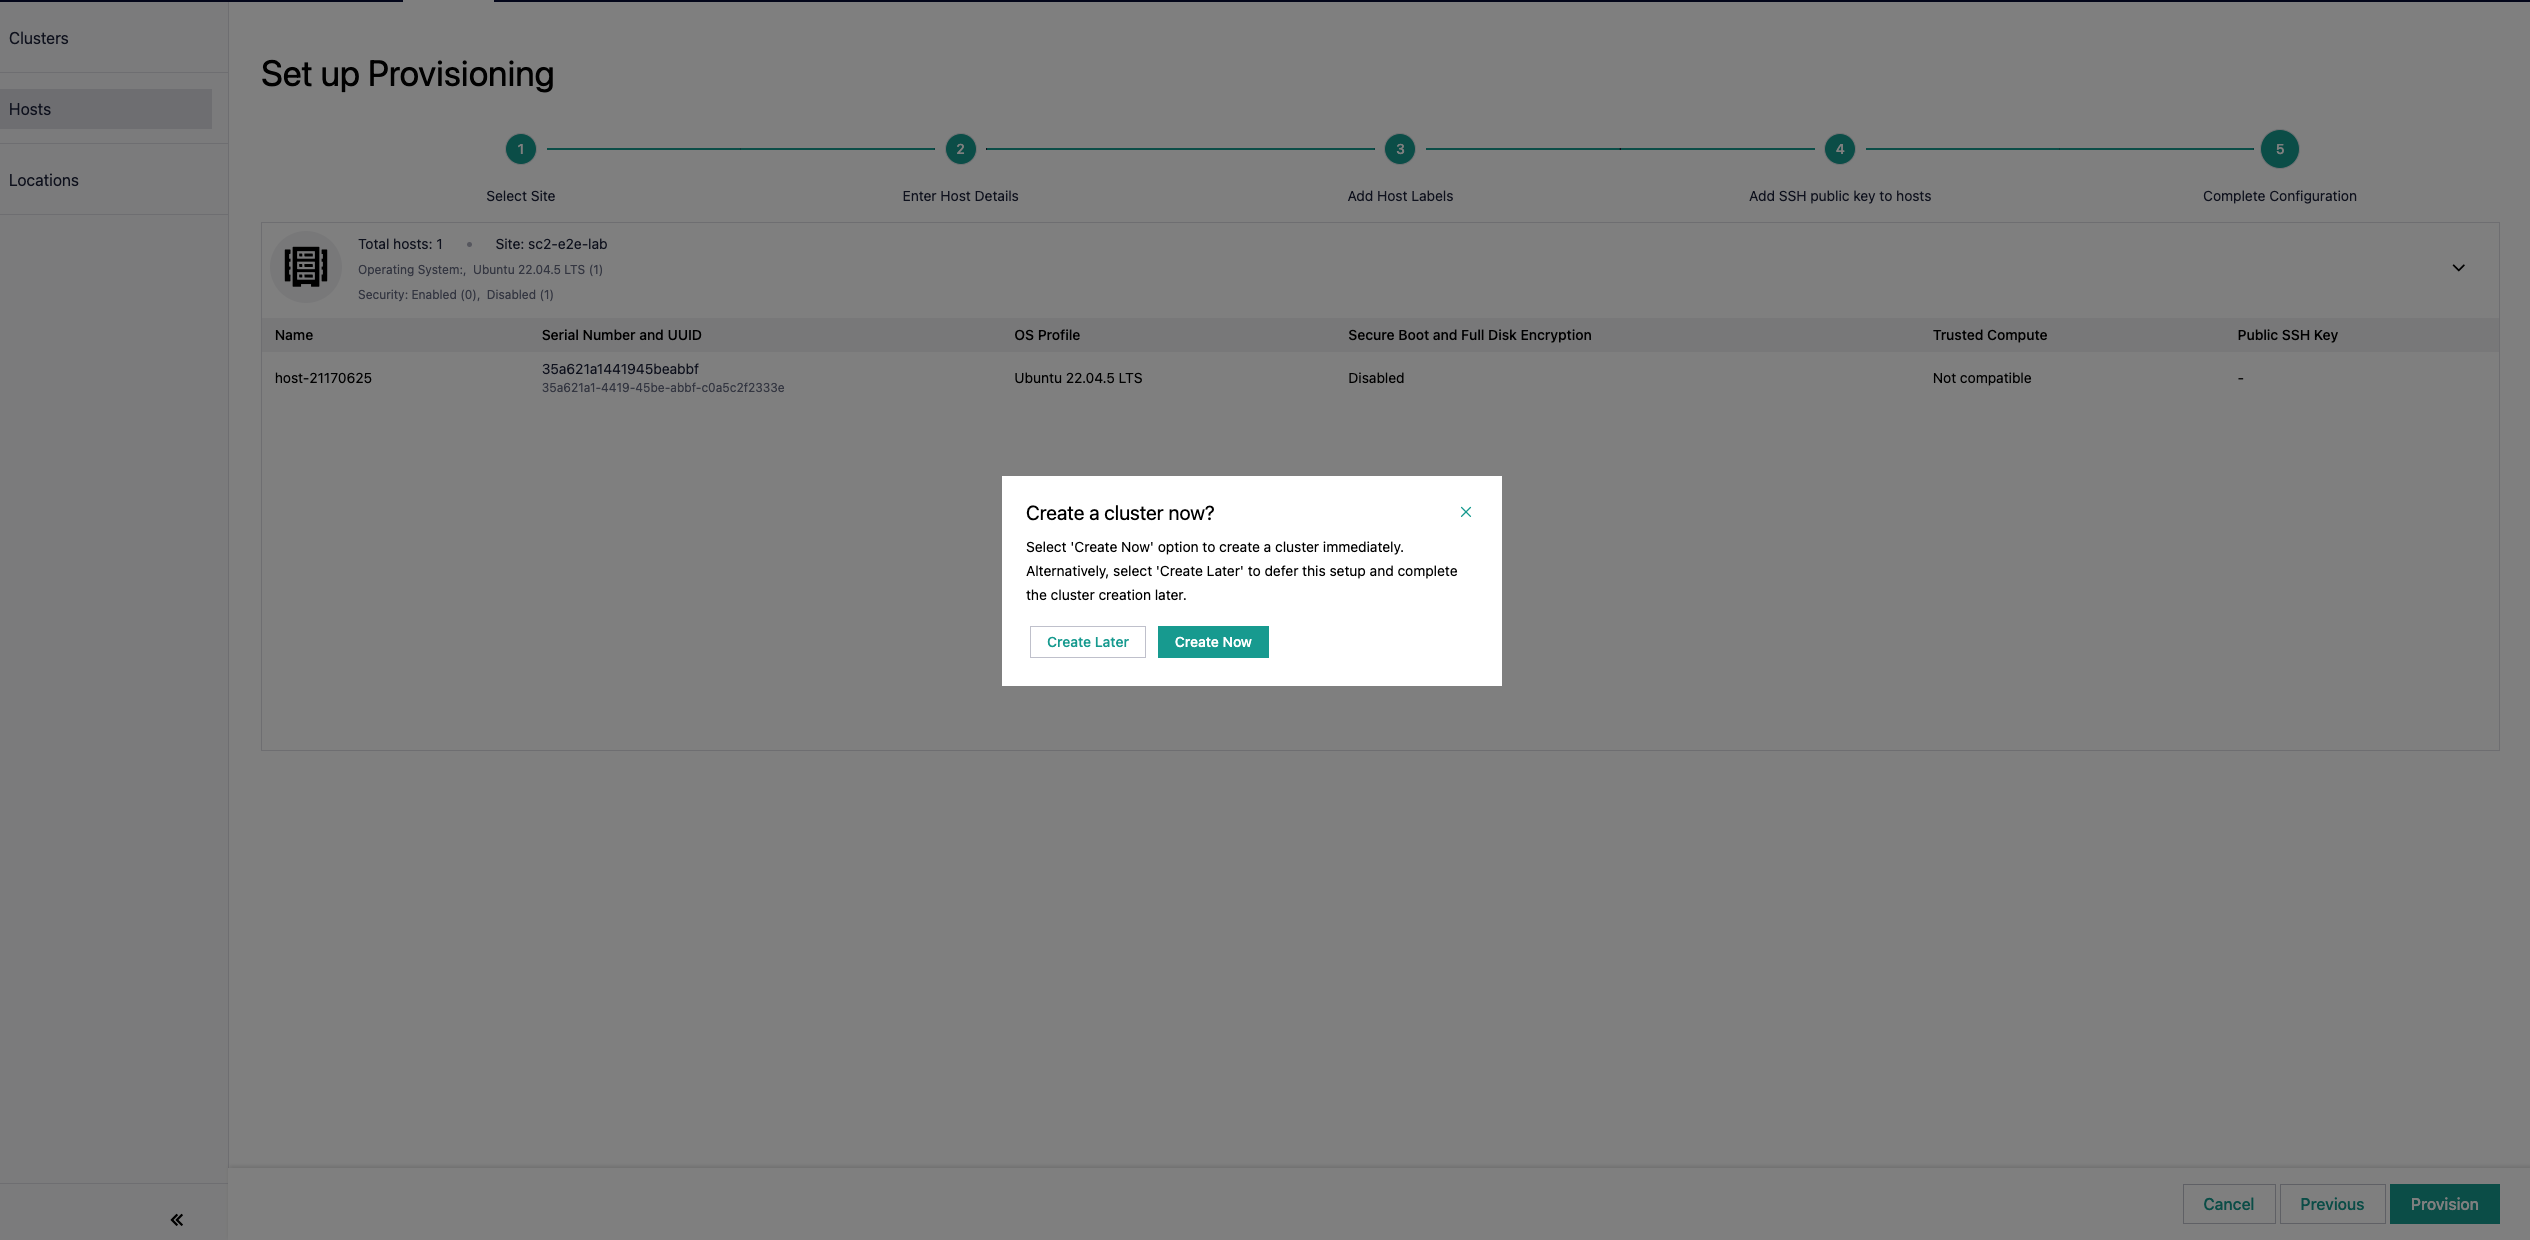
On the final page, review the details of the host to be provisioned and confirm that it is correct. If there are any errors, you can use the Previous option at the bottom of the page to navigate to the incorrect page. Click Next to accept the configuration and to provision the host. If you are configuring one host, you have the option to create a cluster for that host (the user must be a part of the Project ID Edge Manager Group).
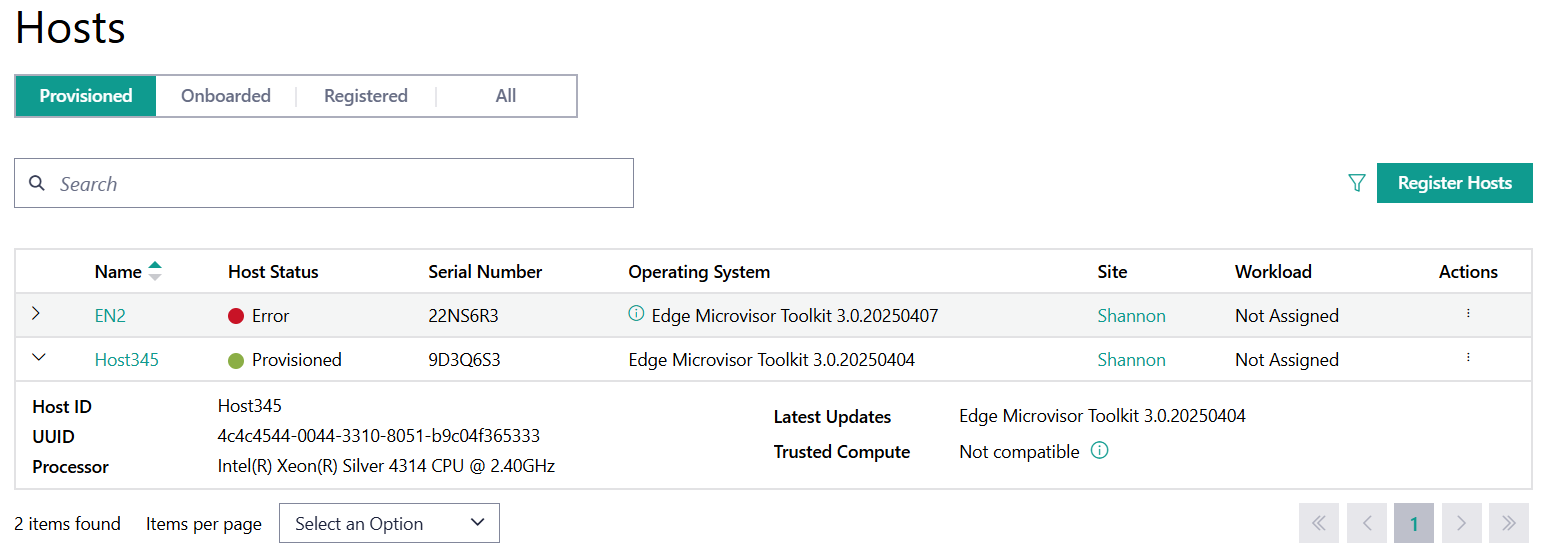
Once the host is provisioned, you can find it in the Provisioned tab. You can check the host details from this tab, using the drop-down menu for the host:
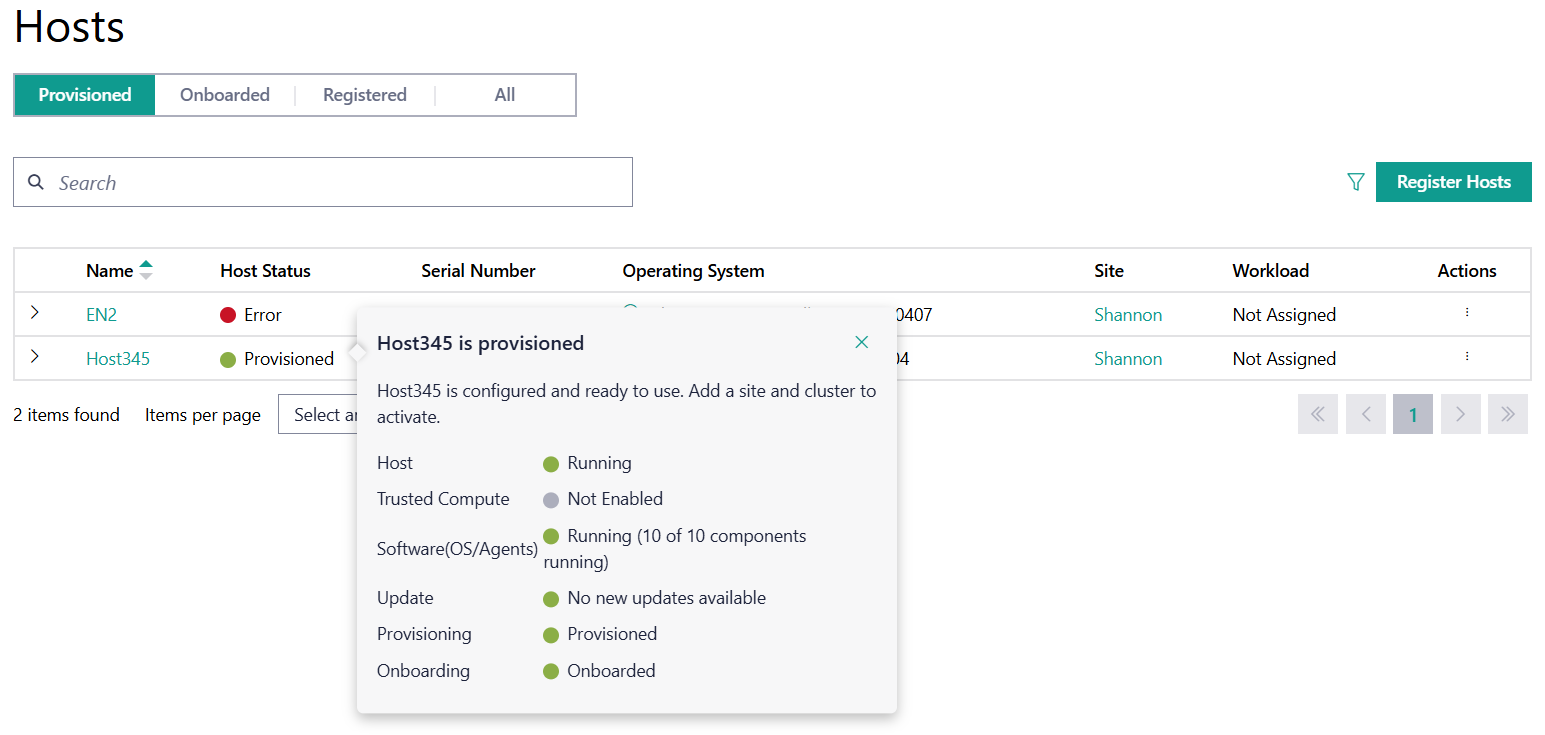
For details on the host status, hover over the status in the Host Status to bring up a menu showing the breakdown of the overall host status:
Delete the host if you want to remove it from this page:
Note
To create a cluster for an individual host, see Create Cluster.
Operating System Profile#
Operating System Profile refers to the resources that describe the installation sources used. They are used for performing initial installations as well as propagating updates to the installed operating systems. They include information about the Operating System installation process, such as:
kernel command parameters and options
upstream packages and sources
security features
architecture
Additionally:
Intel-provided packages, such as edge node Agents.
Where and how updates to the OS can be obtained (update sources).
Digests for integrity checks.
User-defined names and descriptions.
profile-name, which is used by the provisioning components.
Note
Profile-name is a unique identifier in the system.
Update sources is repeated free-form text, OS-dependent.
Note
Only Debian-style OSs are currently supported by this software version. Each repeated text must be in the DEB822 format, which can embed the GNU Privacy Guard (GPG) key with the “Signed-By:” line.
For more information on OS and OS profiles, refer to View OS Profiles.
Host Label#
The Host Label refers to additional host-specific metadata. This option allows you to specify constraints for which Kubernetes Pods are deployed to specific hosts through automated deployment. Note that this is specified in the application’s Helm chart.
You can use them as a slicing mechanism. For example, if you want your solar plant controller Pod to be scheduled only on the hosts connected to the plants, you can specify this constraint as a special label identifying a subset of the hosts with this label. Hosts without this label would not receive this Pod.
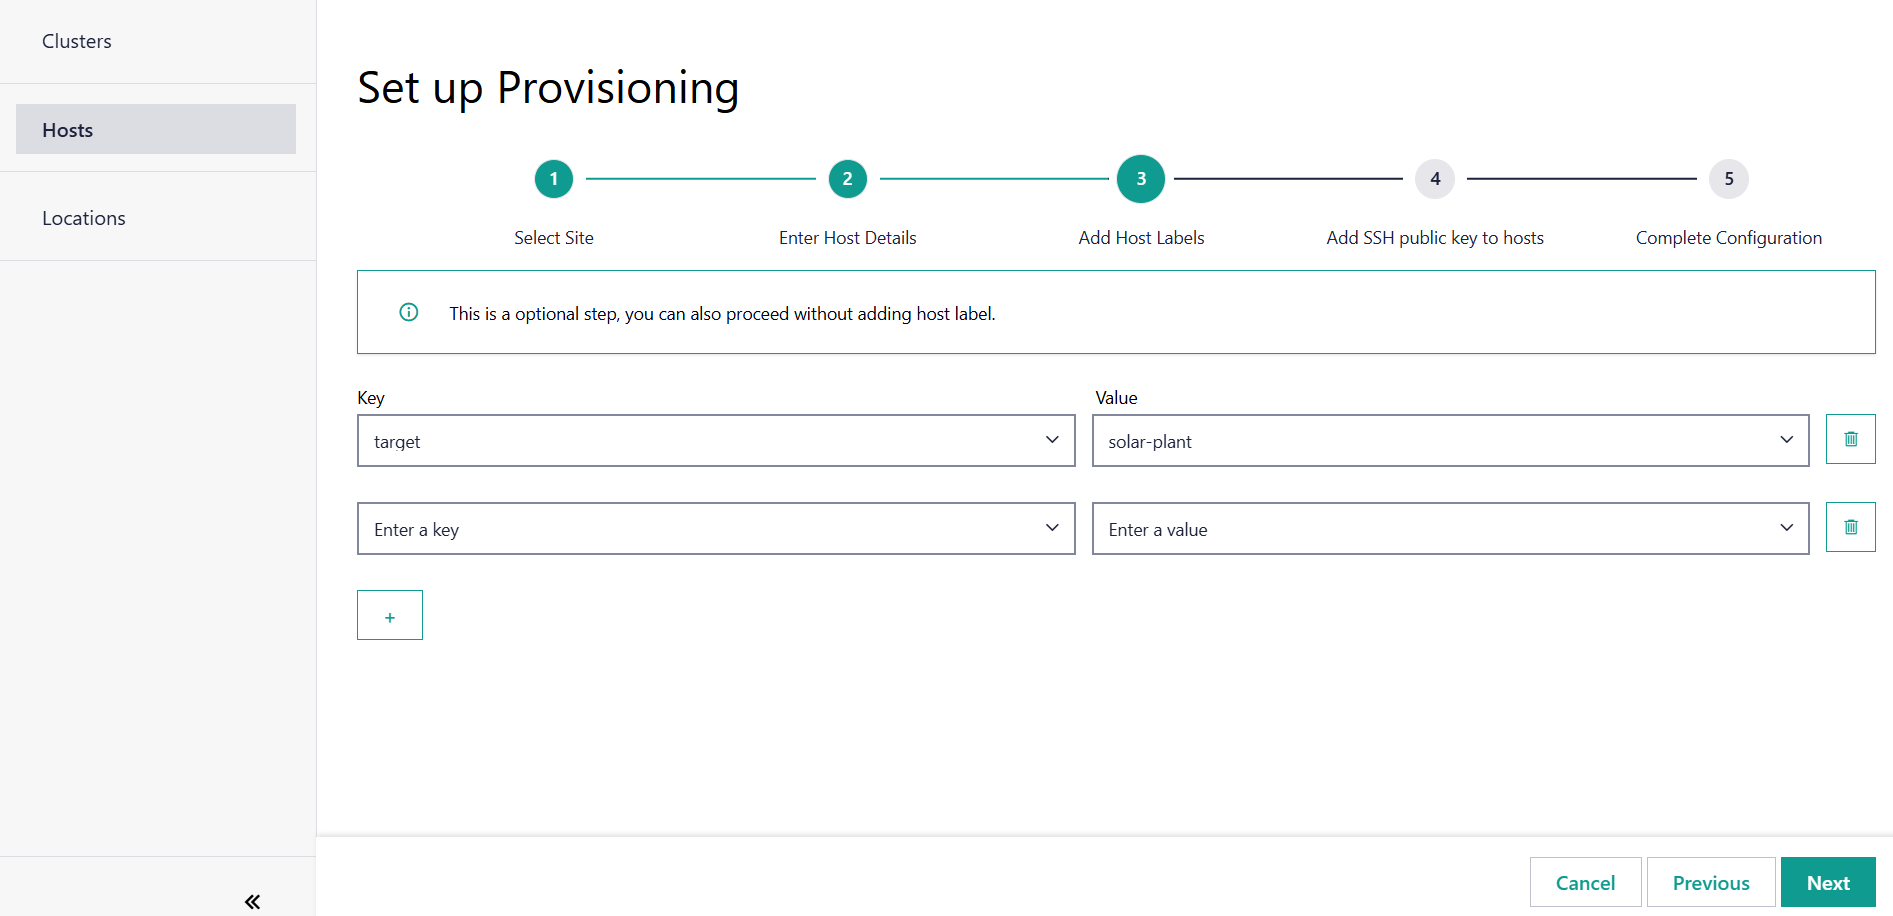
In this example, target=solar-plant is specified as Host Label. For more information on leveraging the node labels and selectors in Kubernetes, see the Kubernetes documentation.