Create Cluster#
Warning
Multi-node cluster creation is not supported. This limitation is expected to be resolved in a future release. For now, only single-node clusters can be created. We recommend factoring this in when making your future deployments.
In the Create Cluster feature, you can create a single-node cluster
with customizable settings. Within this setup, You have the option to:
Select cluster templates to determine the desired cluster composition.
Note
You can also create a single-node cluster during the host configuration process. Clusters created this way use the default cluster template. For more information, see Provision Host.
To create a single node cluster, do the following:
On the Cluster List page, click Create Cluster. The Create Cluster page appears.
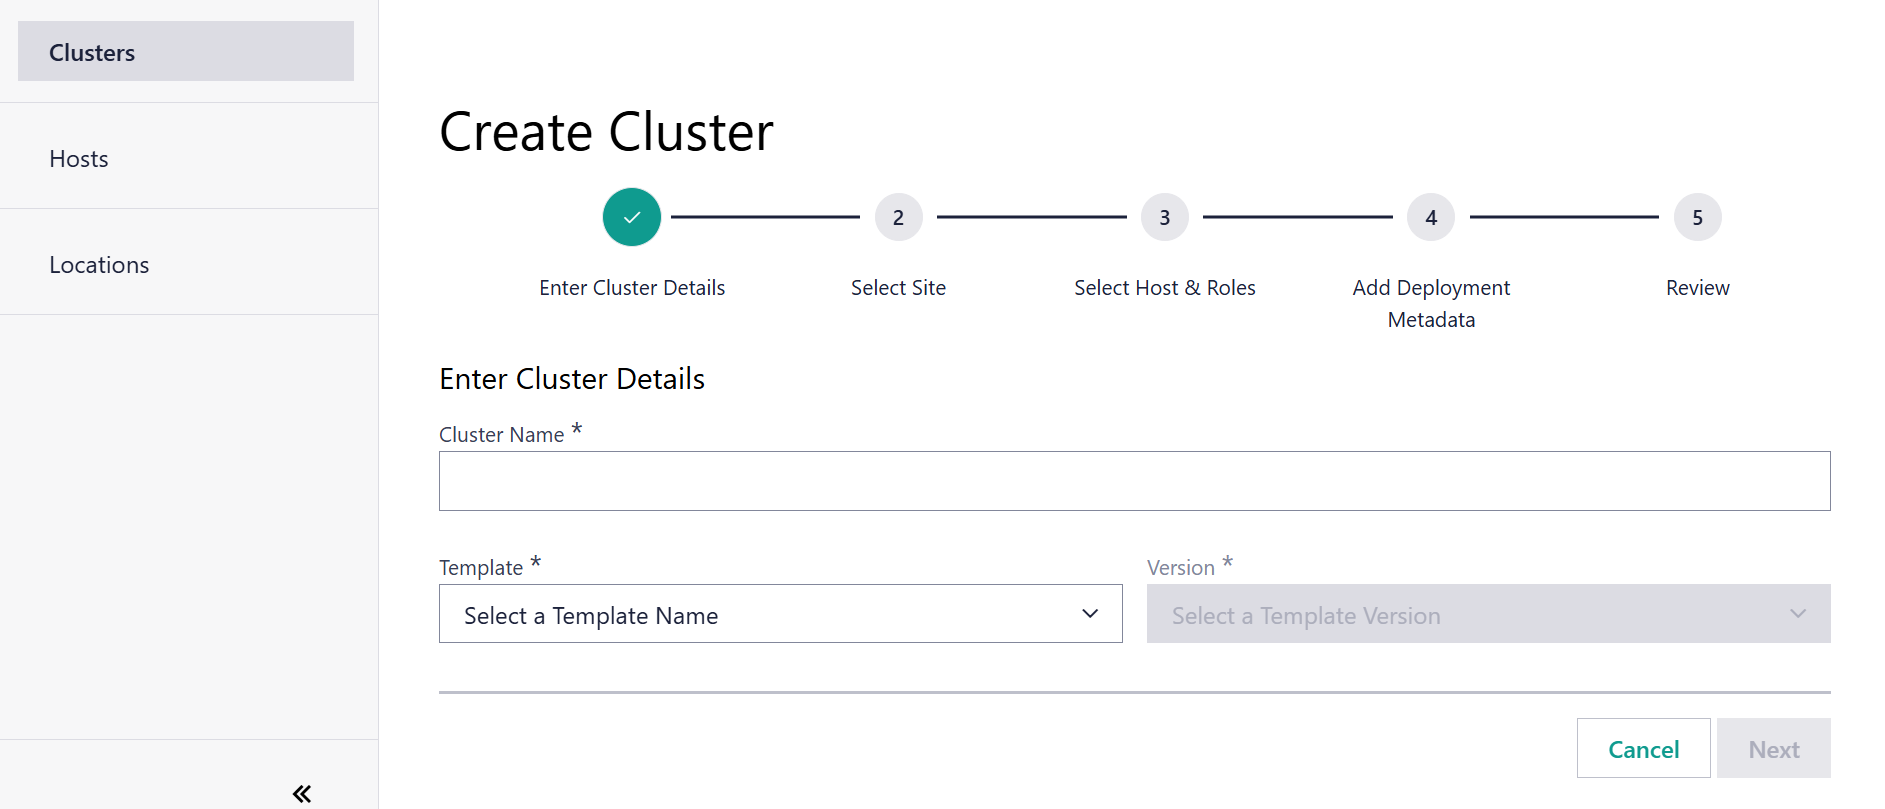
On the Create Cluster page, the first step is to Specify Cluster Name and Template:
Enter the cluster name in the Cluster Name field.
Select the cluster template in the Cluster Template Name field.
Select the cluster template versions in the Cluster Template Versions field.
Note
As part of cluster creation, you need to follow the naming convention: Cluster name only allows alphanumeric values and the special characters “.” and “-”. Incorrect naming will result in not being able to proceed to the last step of cluster creation.
Click Next. The Select Site step appears.
In the Select Site step, expand the regions by clicking on the “>” icon to view the sites and subregions contained within the region. Drill down to the site you are interested in and select the radio button next to the site name.
Click Next. The Select Host & Roles step appears.
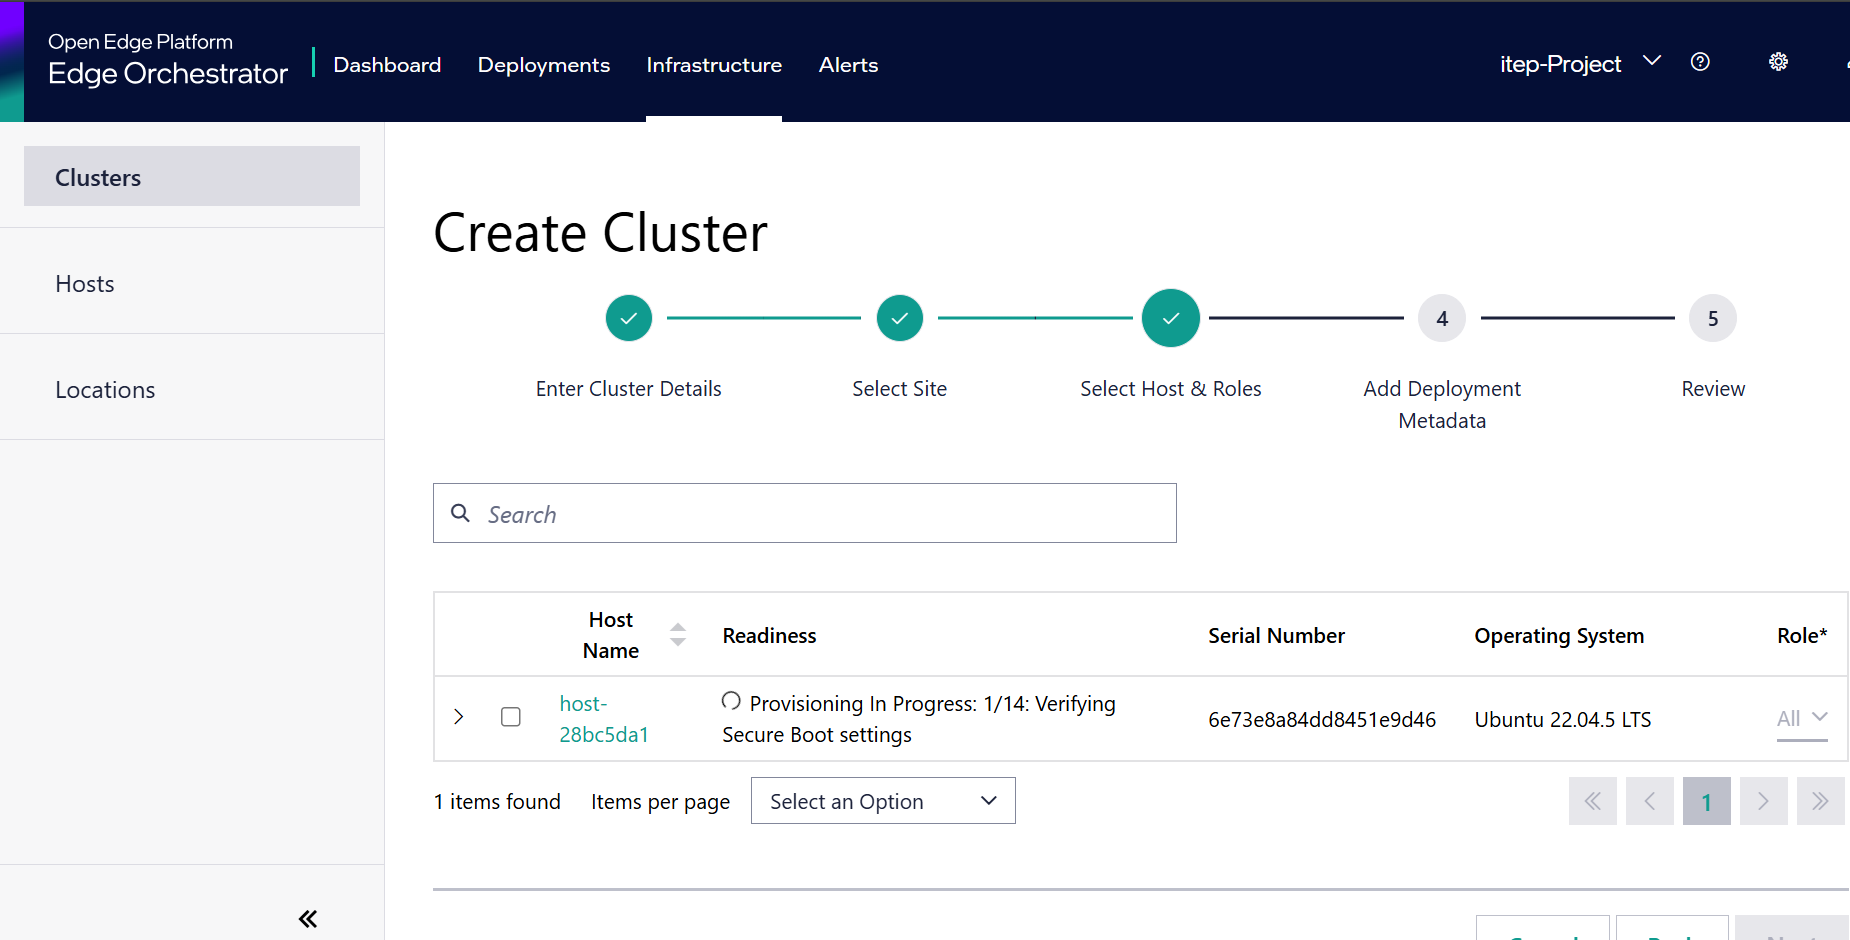
A list of configured hosts that are part of the selected Site appears. Select one host by clicking the checkbox next to each host.
You may also select the Role that each host is assigned. The role selected here dictates which Kubernetes services are run on the host. The available roles are as follows:
- All hosts both the Kubernetes control plane services and
user applications. This is the default role assigned to hosts and it is also the required role for a single-host cluster to be fully operational.
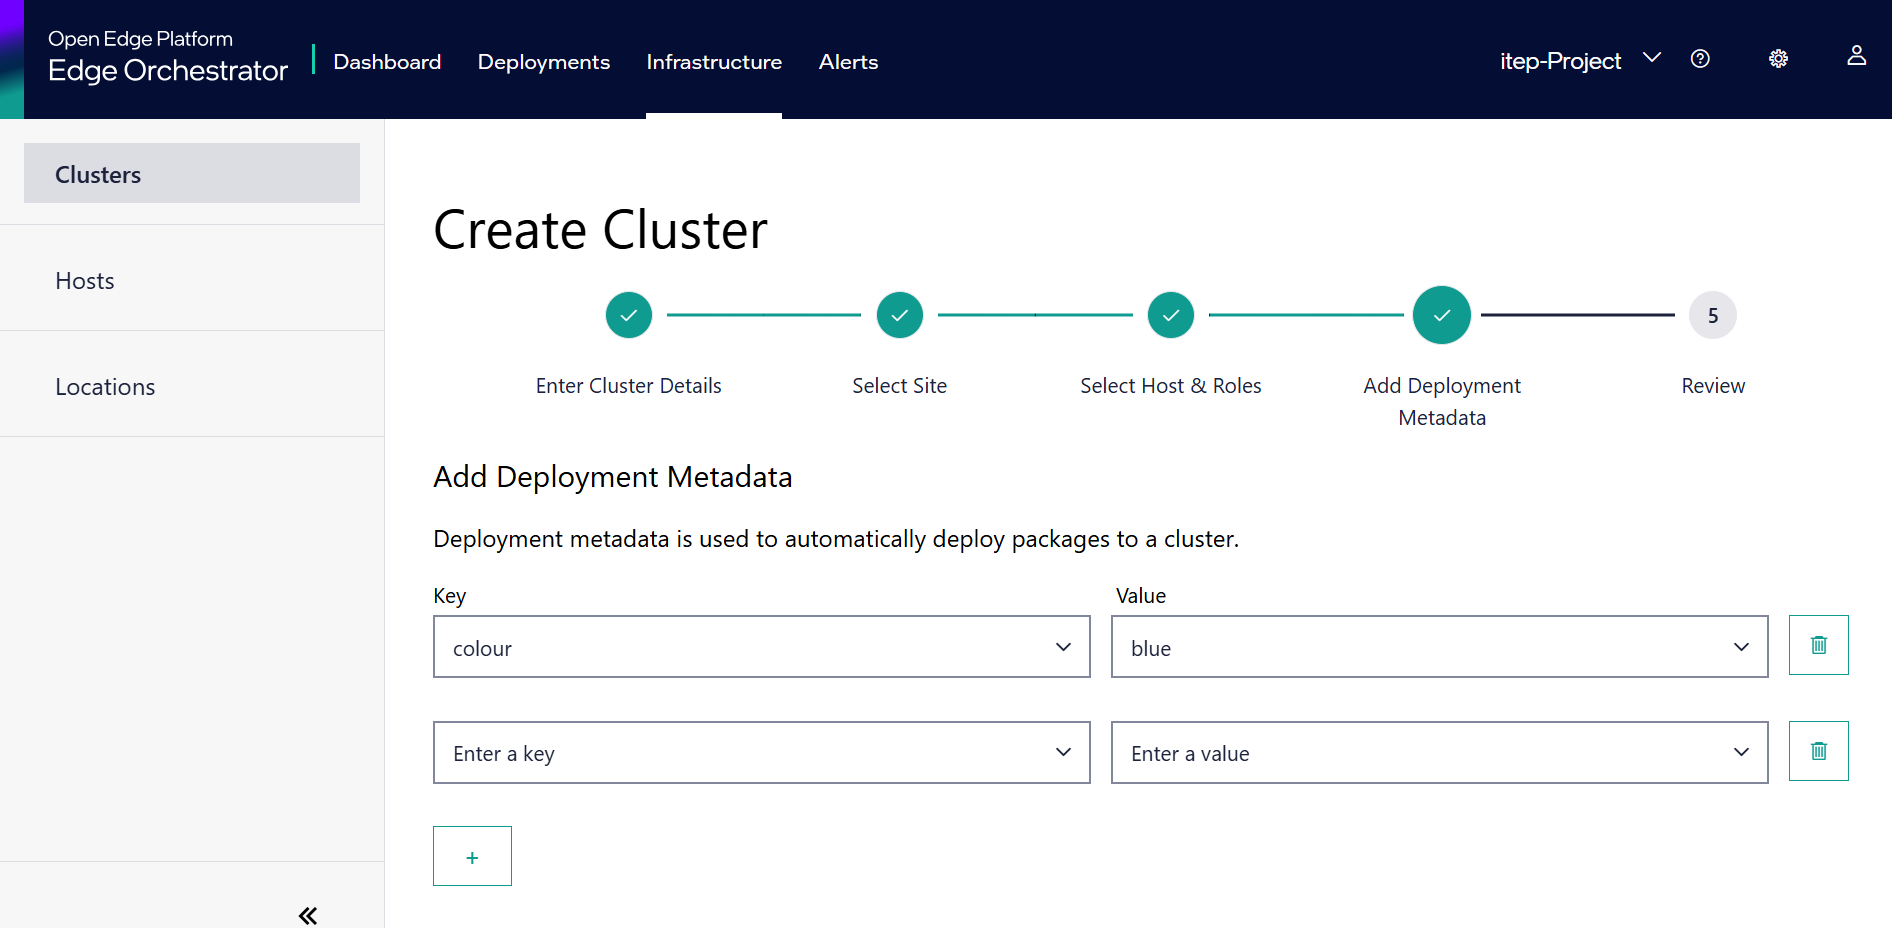
Click Next. The Add Deployment Metadata step appears.
In the Add Deployment Metadata step, label the cluster with metadata that will be used to identify targets for application deployment. In the Key and Value fields, select the metadata category and
corresponding value. For more information about metadata, see Automated Deployment.
Click Next. The Review step appears.
Review the settings summary and click Create to create the new cluster. The cluster deployment time depends on the network latency between the Edge Orchestrator services and the remote edge hosts.
The created cluster appears in the Cluster List page, where you can view the cluster extension status. Extensions are ready if their status is either “Ready” or “Modified”.
Note
Once the Kubernetes cluster is fully created on the host, the cluster status changes to “active”.
Warning
The default pod and service subnets in the cluster templates are set to:
Pod CIDR: 10.42.0.0/16
Service CIDR: 10.43.0.0/16
These subnets may conflict with the local network configuration at the edge. Before deploying a cluster, check that these subnets are not already in use by your local network. Should there be a conflict, you must create a new cluster template with custom pod and service subnets that are valid for your environment. See the following documents for more information:
To create and modify a cluster template, see the following document: Cluster Template
However, if you are using a template you want to modify, you can export the chosen template and then edit it. See: Export Cluster Template
To modify the subnets, update the clusterNetwork section in the cluster template:
"clusterNetwork": {
  "pods": {
    "cidrBlocks": [
      "CUSTOM_POD_CIDR"
    ]
  },
  "services": {
    "cidrBlocks": [
      "CUSTOM_SERVICE_CIDR"
    ]
  }
}
Replace CUSTOM_POD_CIDR and CUSTOM_SERVICE_CIDR with subnets that are valid for your edge environment.
After editing the template, should you wish to use it as the default template. you can do so using this guide: Set Default Cluster Template
Note: If no valid DNS server is available on the system, RKE2 may fall back to using 8.8.8.8 (Google’s public DNS). Ensure that your DNS configuration is properly set up to avoid unexpected behavior.