Model Predictive Control Demo#
Model predictive control (MPC) is an advanced method of process control that is used to control a process while satisfying a set of constraints. Model predictive controllers rely on dynamic models of the process, most often linear empirical models obtained by system identification. The main advantage of MPC is the fact that it allows the current timeslot to be optimized, while keeping future timeslots in account. Also MPC has the ability to anticipate future events and can take control actions accordingly. These features can benefit current model-based robotics control in Perception-Action frequency gap, unsmoothness of generated trajectories, and potential collision.
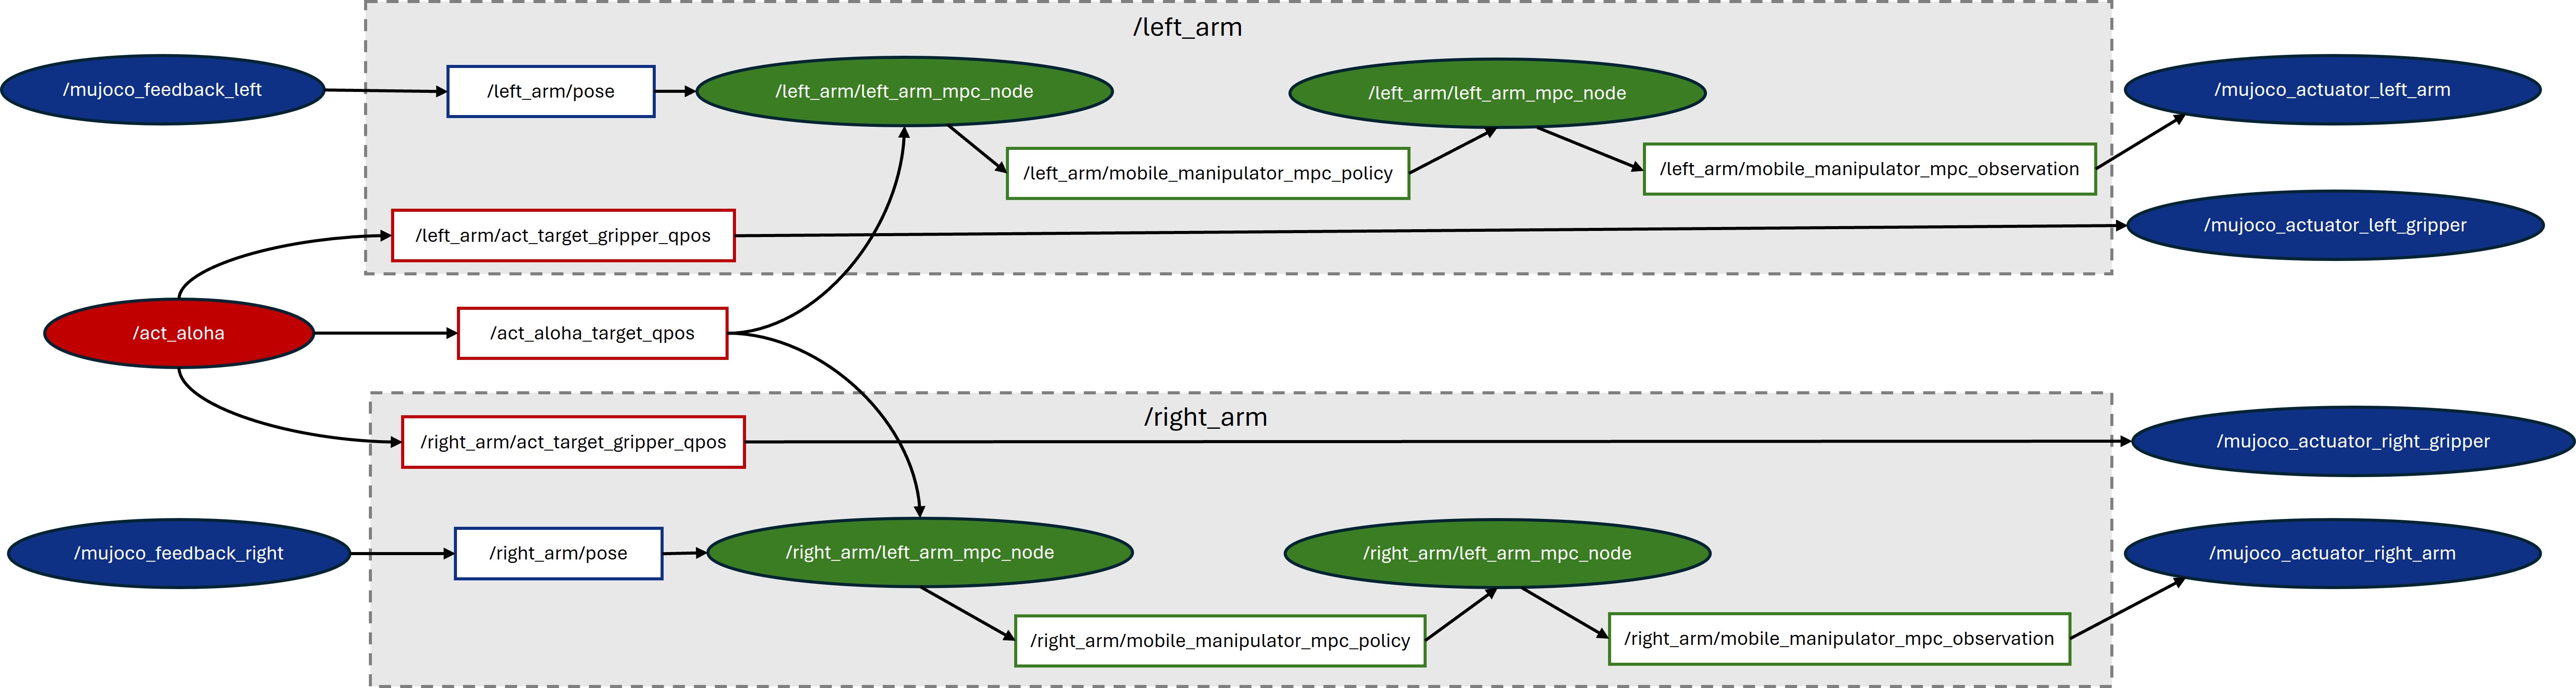
Here, we adopted an open-source MPC project named Optimal Control for Switched Systems (OCS2) and built a complete pipeline consisting of AI reference model(ACT), MPC(OCS2), and simulation(MUJOCO). The picture below shows the ROS node/topic graph of this demo with three modules: ACT AI model module (marked as red), OCS2 MPC optimization module (marked as green), and Mujoco simulation module (marked as blue).
Prerequisites#
Please make sure you have finished setup steps in Get Started.
ROS2 Humble Setup#
Please refer to the official ROS2 Humble installation.
ACT Setup#
First, please follow the ACT installation guide in Imitation Learning - ACT except Install ACT package. Here, we need to install ACT source code by downloading act-sample, and initialize submodules and apply patches:
cd act-sample

# initialize submodules
git submodule init
git submodule update

# apply all patches
git apply ../patches/ov/0001-enable-openvino-inference-for-eval.patch
git apply ../patches/ov/0002-add-model-conversion-script.patch
git apply ../patches/ov/0003-changes-for-real-robot.patch
git apply ../patches/ov/0004-Modify-the-camera-mode-to-fixed.patch
git apply ../patches/ov/0005-Modify-the-default-cameras-config.patch
git apply ../patches/ov/0006-add-ros2-node-and-use-fixed-cube-pose.patch
OCS2 Setup#
Here, we adopted and modified the open-source project OCS2 as the MPC module. OCS2 is a C++ toolbox tailored for Optimal Control for Switched Systems (OCS2). It provides an efficient implementation of Continuous-time domain constrained DDP (SLQ) and many other helpful algorithms. To facilitate the application of OCS2 in robotic tasks, it provides the user with additional tools to set up the system dynamics (such as kinematic or dynamic models) and cost/constraints (such as self-collision avoidance and end-effector tracking) from a URDF model. You can go to OCS2 official web for more details.
It should be noted that the original OCS2 project is based on ROS1 Noetic, while we migrate it to ROS2 humble and enable it on ACT Aloha.
Install OCS2#
Install dependencies:
# install basic library
sudo apt-get install -y \
  libglpk-dev \
  libmpfr-dev \
  libglfw3 \
  libglfw3-dev \
  libosmesa6 \
  freeglut3-dev \
  mesa-common-dev \
  python3-pip \
  python3-wstool \
  wget

# install ros2 library
sudo apt-get install -y \
  ros-humble-pinocchio \
  ros-humble-hpp-fcl \
  ros-humble-joint-state-publisher
Create workspace for ocs2 and ocs2_robotic_assets:
source /opt/ros/humble/setup.bash
mkdir -p ~/ocs2_ws/src
cd ~/ocs2_ws/src
Download ocs2 and ocs2_robotic_assets
Download ocs2 and ocs2_robotic_assets with
git clone --recursive. Then, initialize submodules and apply patches:cd ~/ocs2_ws/src/ocs2 ./install_ocs2_patches.sh patches/ocs2.scc
cd ~/ocs2_ws/src/ocs2_robotic_assets
./install_ocs2_robotic_assets_patches.sh patches/ocs2_robotic_assets.scc
Build ocs2 and ocs2_robotic_assets:
cd ~/ocs2_ws
# rosdep
rosdep update --rosdistro humble
rosdep install --from-paths src --ignore-src -r -y

# build
source /opt/ros/humble/setup.bash
colcon build --packages-skip mujoco_ros_utils --cmake-args -DCMAKE_BUILD_TYPE=Release
MUJOCO Setup#
Here, we adopted and modified the open-source Mujoco Plugin project MujocoRosUtils to visualize and simulate the ACT cube transmitting task in Mujoco 2.3.7. Installation is as follows:
Download Mujoco 2.3.7 library:
wget https://github.com/deepmind/mujoco/releases/download/2.3.7/mujoco-2.3.7-linux-x86_64.tar.gz
mkdir ~/.mujoco
tar -zxvf mujoco-2.3.7-linux-x86_64.tar.gz -C ~/.mujoco/
rm -fr mujoco-2.3.7-linux-x86_64.tar.gz
Download MujocoRosUtils:
Download mujoco_ros_utils with
git clone --recursive. Then, initialize submodules and apply patches:cd ~/ocs2_ws/src/mujoco_ros_utils ./install_mujoco_ros_utils_patches.sh patches/mujoco_ros_utils.scc
Build MujocoRosUtils:
source /opt/ros/humble/setup.bash
source ~/ocs2_ws/install/setup.bash
cd ~/ocs2_ws
colcon build --packages-select mujoco_ros_utils --cmake-args -DCMAKE_BUILD_TYPE=RelWithDebInfo -DMUJOCO_ROOT_DIR=$HOME/.mujoco/mujoco-2.3.7
Run pipeline#
Open new terminal and run Mujoco:
source /opt/ros/humble/setup.bash
source ~/ocs2_ws/install/setup.bash
cd ~/.mujoco/mujoco-2.3.7/bin
./simulate [path to your MujocoRosUtils]/xml/bimanual_viperx_transfer_cube_dual_arm.xml
Note: If running successfully, the mujoco UI will display two opposing ALOHA robotic arms. Collision in this stage is acceptable.
Note: If mujoco fails with unknown plugin, please check
lddand add lib path manually:# ldd check ldd ~/.mujoco/mujoco-2.3.7/bin/mujoco_plugin/libMujocoRosUtils*.so # add path export LD_LIBRARY_PATH=~/ocs2_ws/install/ocs2_msgs/lib:$LD_LIBRARY_PATH export LD_LIBRARY_PATH=~/.mujoco/mujoco-2.3.7/bin/mujoco_plugin:$LD_LIBRARY_PATH
Open new terminal and run OCS2:
source /opt/ros/humble/setup.bash
source ~/ocs2_ws/install/setup.bash
ros2 launch ocs2_mobile_manipulator_ros manipulator_aloha_dual_arm.launch.py
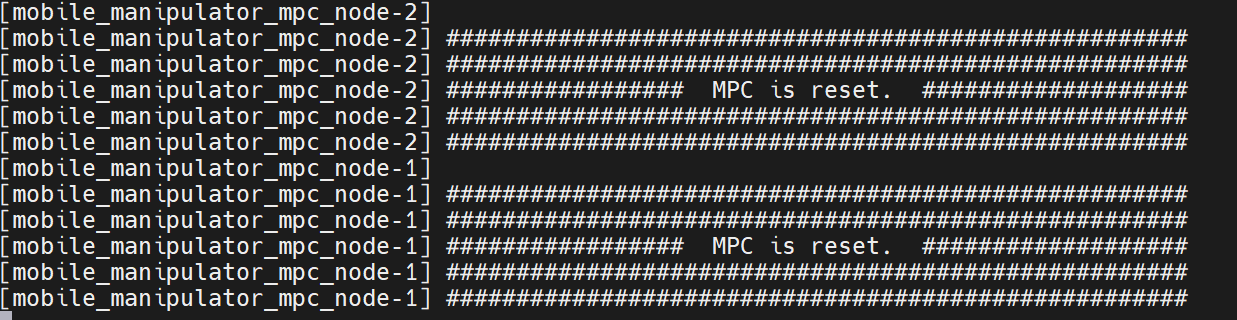
If launching successfully, the OCS2 terminal will print out information indicating that two MPC nodes have been successfully reset, and the Mujoco AI will be initialized, as shown in the figures below.
Open new terminal and run Act:
Note: You need to download our pre-trained ACT weights for transferring cube task and set the argument
--ckpt_dirto the path of the pre-trained weights.# env source /opt/ros/humble/setup.bash source ~/ocs2_ws/install/setup.bash source [path to your act venv]/bin/activate # run act-ov on GPU cd [your path to act] MUJOCO_GL=egl python3 imitate_episodes.py --task_name sim_transfer_cube_scripted --ckpt_dir [your path to checkpoints] --policy_class ACT --kl_weight 10 --chunk_size 100 --hidden_dim 512 --batch_size 8 --dim_feedforward 3200 --num_epochs 2000 --lr 1e-5 --seed 0 --eval --onscreen_render --device GPU
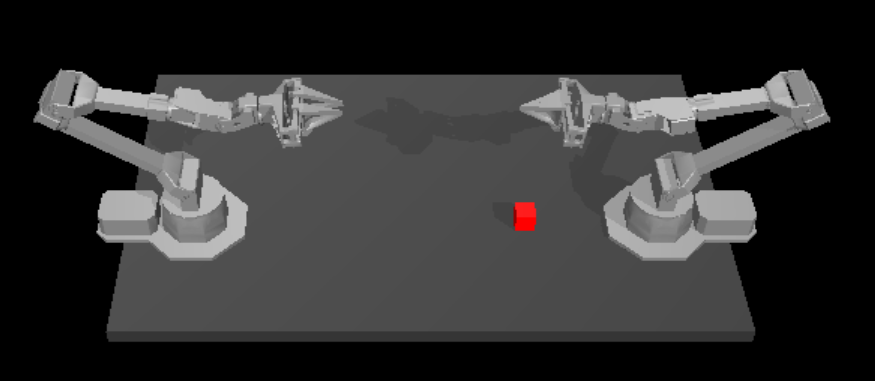
After ACT running successfully, the Mujoco UI appears as follows: