ADBSCAN Algorithm with 2D RPLIDAR Input Demo#
This tutorial describes how to run the ADBSCAN algorithm from Autonomous Mobile Robot using 2D RPLIDAR input.
Prerequisites#
Complete the get started guide before continuing.
Install#
Install ros-jazzy-adbscan-ros2 Deb package from Intel® Autonomous Mobile Robot APT repository
sudo apt update
sudo apt install ros-jazzy-adbscan-ros2
sudo apt update
sudo apt install ros-humble-adbscan-ros2
Install the following package with ROS 2 bag files in order to publish point cloud data from 2D LIDAR or Intel® RealSense™ camera
sudo apt install ros-jazzy-bagfile-laser-pointcloud
sudo apt install ros-humble-bagfile-laser-pointcloud
Run the demo with 2D LIDAR input#
ros2 launch adbscan_ros2 play_demo_lidar_launch.py
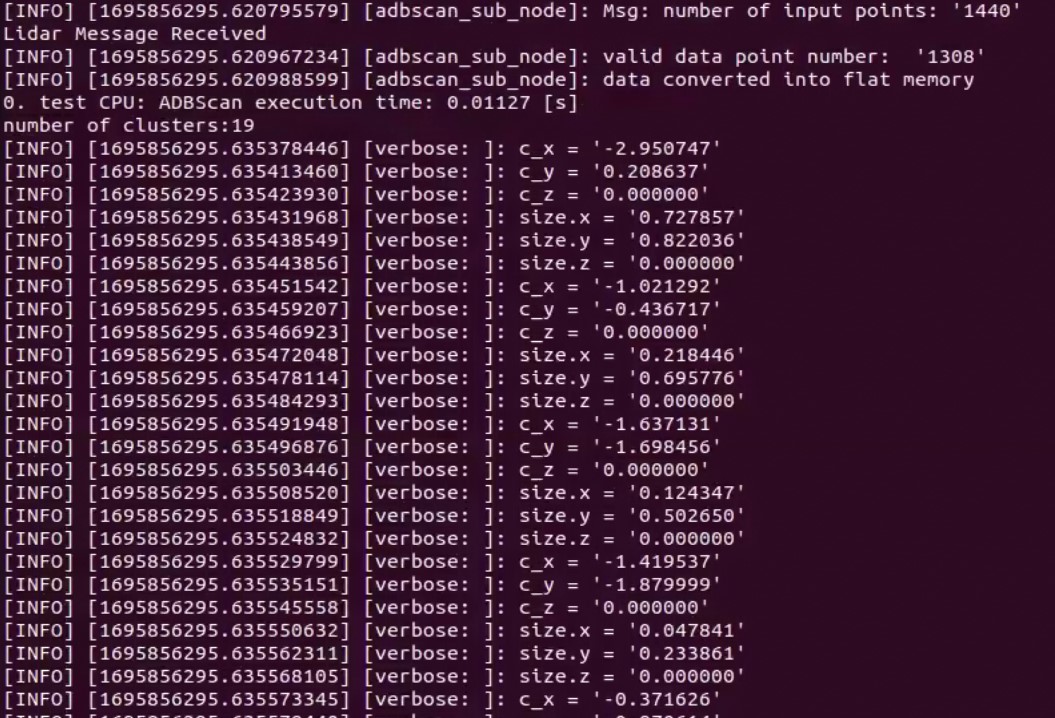
Expected output: ADBSCAN prints logs of its interpretation of the LIDAR data coming from the ROS 2 bag.
One can view the list of running ROS 2 nodes by typing ros2 node list in a terminal.

ADBSCAN ROS2 Node Output description#
The output is published to the ROS2 topic obstacle_array,
and the message format is nav2_dynamic_msgs::msg::ObstacleArray.
To view the messages being published to the obstacle_array
topic, you can use the following command:
ros2 topic echo /obstacle_array
How to Visualize the Output in RViz
Launch RViz:
Open a terminal and start RViz by typing:
rviz2
Subscribe to the Topic:
In RViz, add a new display by clicking on
Addin theDisplayspanel.Select
MarkerArrayfrom the list of available display types.