Express Setup#
The Express Setup will use an installation tool to automatically configure and install the necessary content on your system. If you prefer to perform the steps yourself, use the Step-by-step Setup guide.
1. Install Canonical Ubuntu OS#
Intel recommends a fresh installation of Ubuntu.
Install Canonical Ubuntu 24.04 LTS (Noble Numbat) Desktop for the supported platform. Ubuntu 24.04 uses ROS 2 Jazzy Jalisco.
Visit the Canonical Ubuntu website to see the detailed installation instructions: Install Ubuntu desktop.
2. Execute Robotics AI Suite Installer#
Open a terminal prompt which will be used to execute the remaining steps.
Download and execute the Robotics AI Suite Installer.
wget https://amrdocs.intel.com/downloads/robotics-installer
wget https://amrdocs.intel.com/downloads/robotics-installer.sha256
(sha256sum -c robotics-installer.sha256 || \
(echo "ERROR: SHA sum incorrect"; exit 1)) && \
chmod +x robotics-installer && \
sudo -E ./robotics-installer
Note: If you are behind a network proxy, make sure you have defined
http_proxyandhttps_proxyenvironment variables
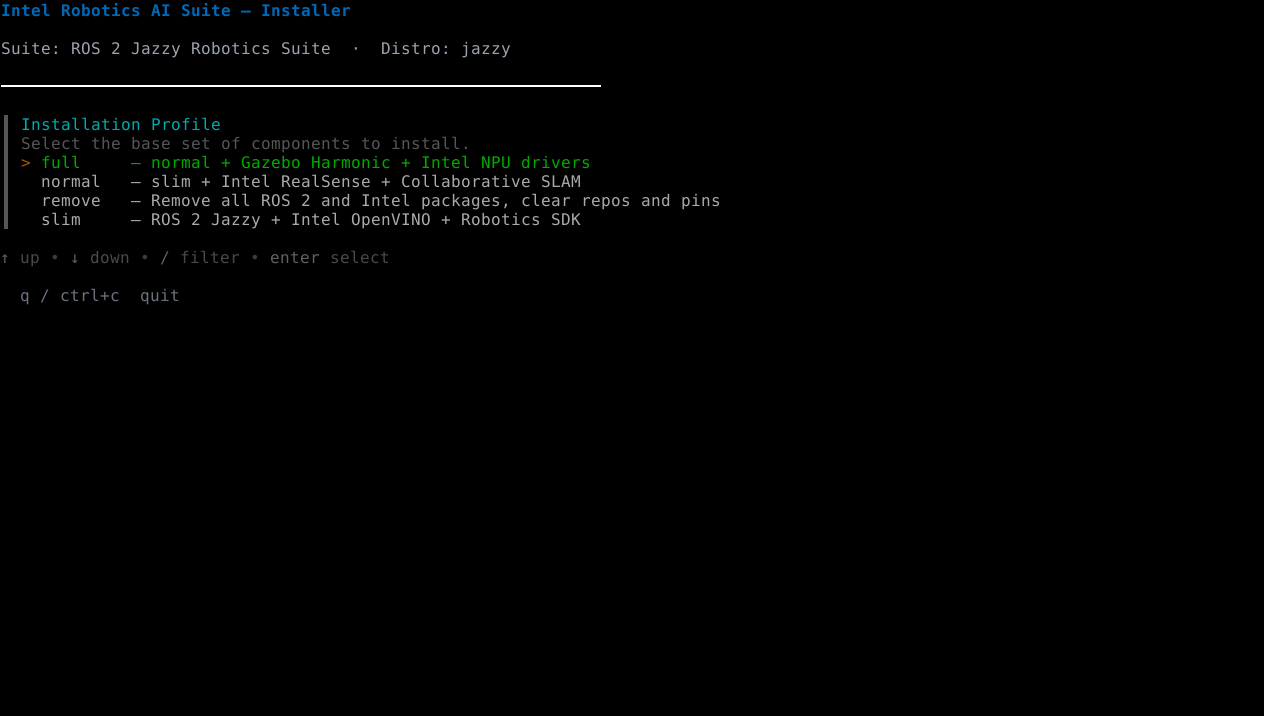
Select an installation profile to install.
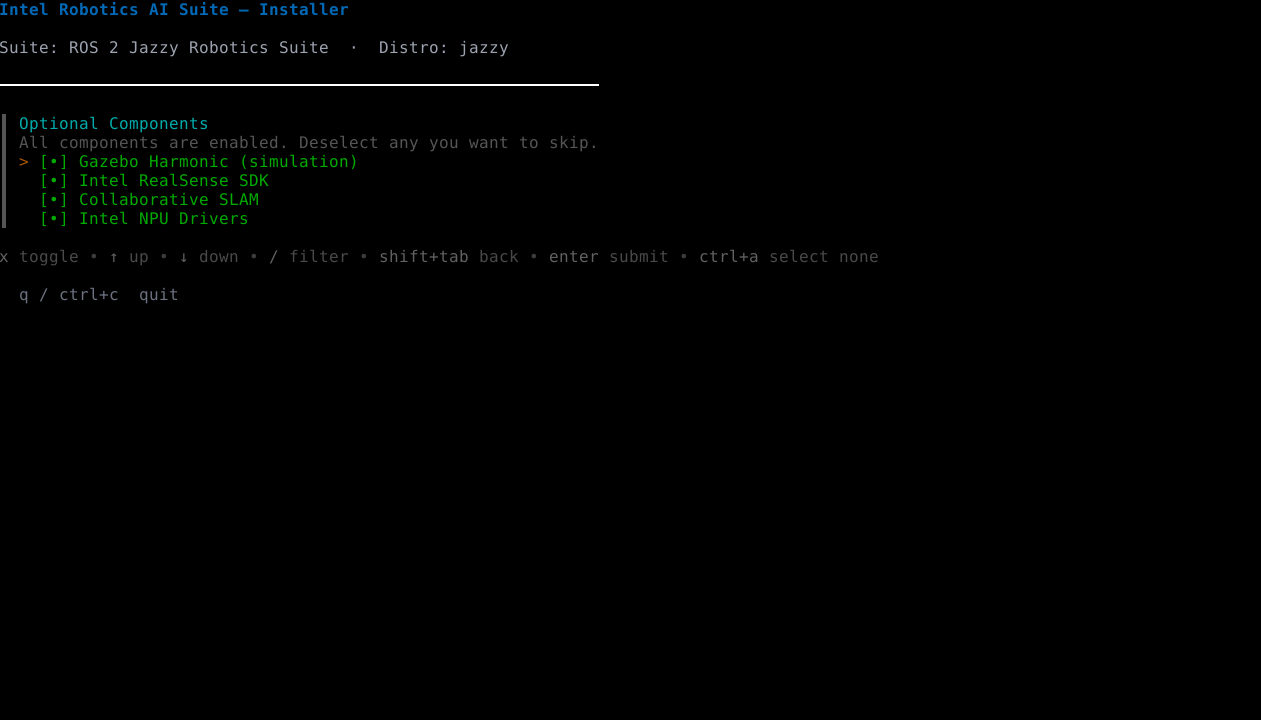
Enable/Disable optional components.
The installer will perform pre-flight checks. Ensure that all checks passed, then press
Enterto continue.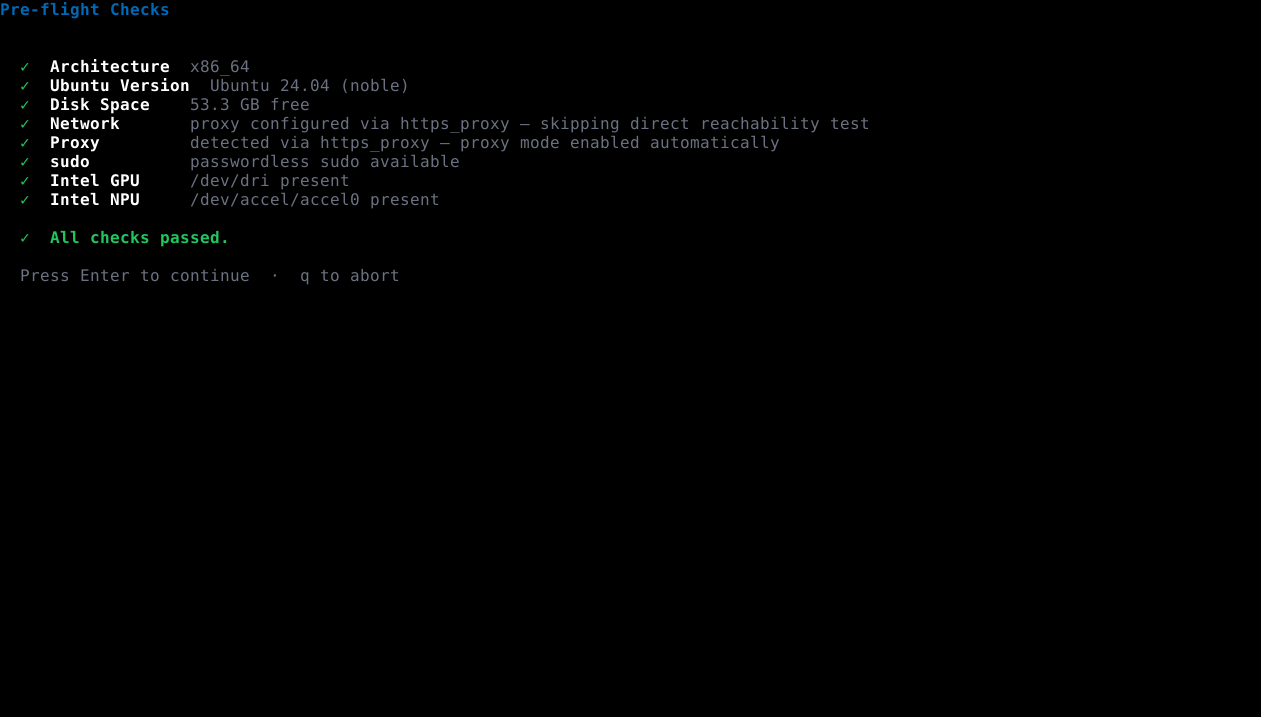
The installer will list all the steps which will be performed. Press
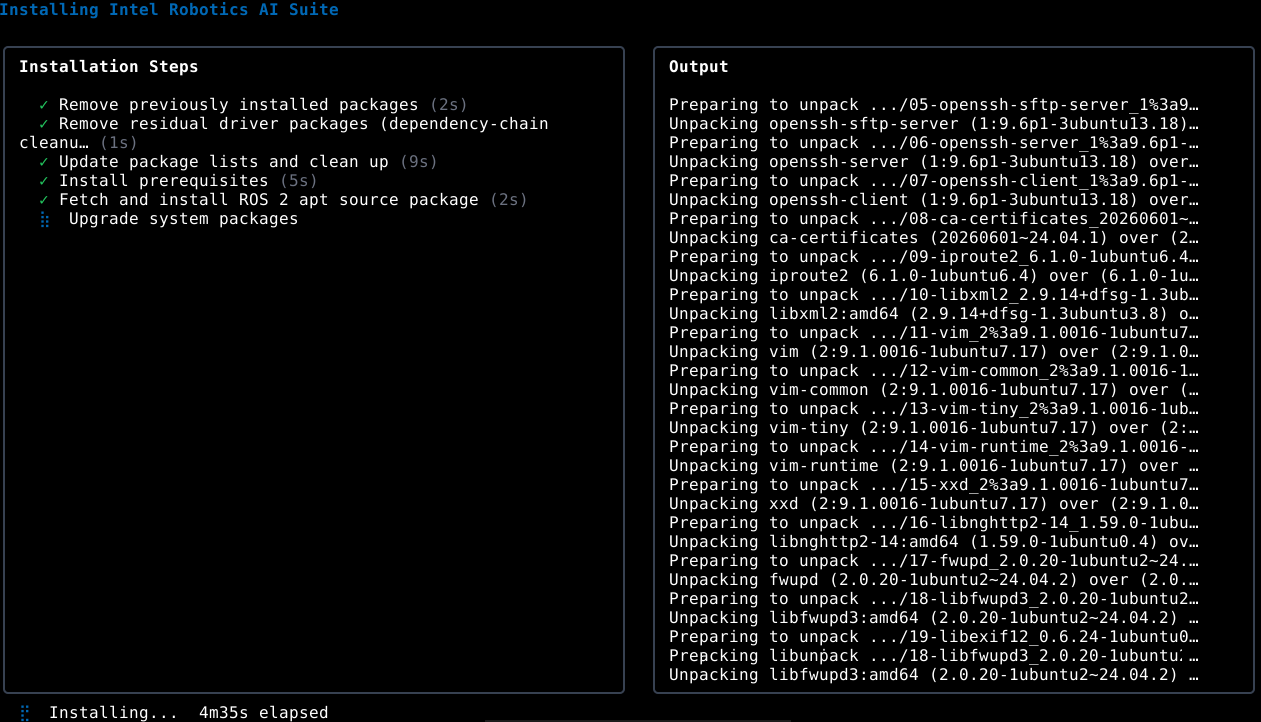
Enterto proceed with the installation. The installation may take anywhere from 10 to 30 minutes depending on your network and system performance.Note: The installer will first initialize the system by uninstalling any packages with names matching the following patterns:
*oneapi*ros-*intel-igc**openvino**gazebo**realsense**level-zero*libze1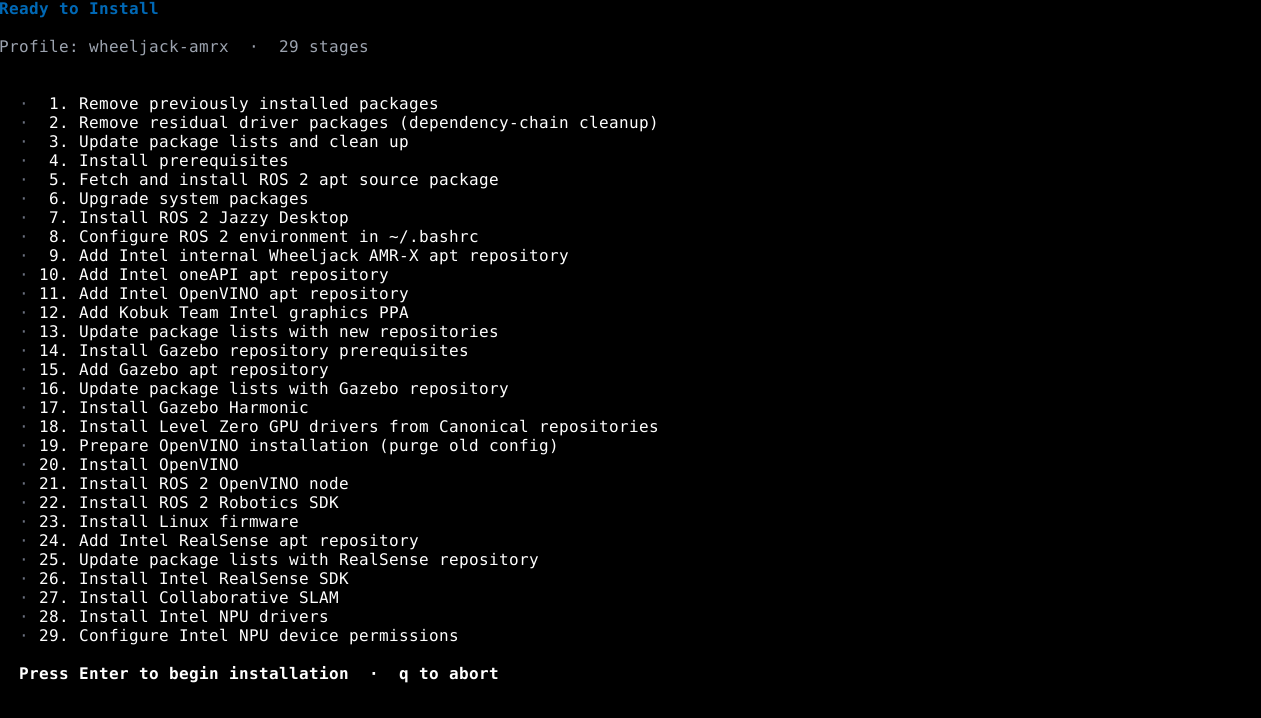
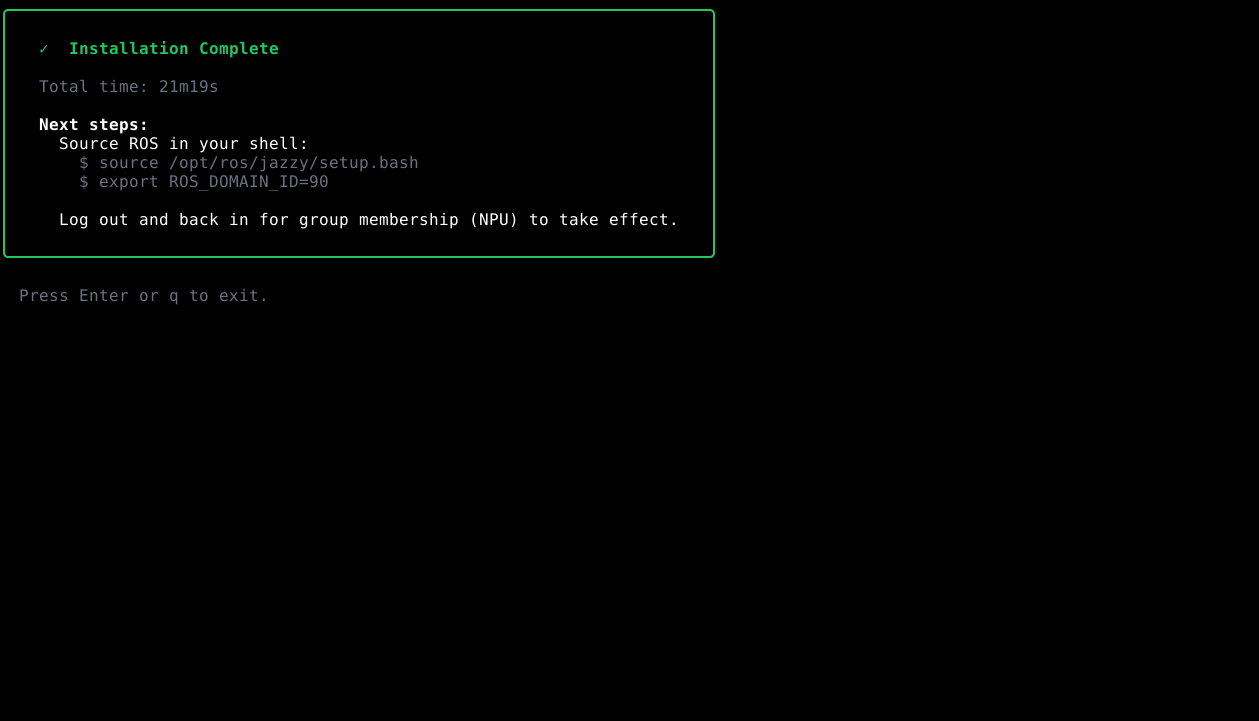
If the installation is successful, you will see a dialog similar to the following:
3. Prepare your ROS 2 Environment#
The Robotics AI Suite Installer automatically sets ROS_DOMAIN_ID environment variable
to a random number between 0 and 100 within your .bashrc configuration.
Your shell profile script has already been modified to use this ID and the ROS toolkit. To use ROS 2 commands in the current shell, source ROS 2 shell setup script:
source /opt/ros/jazzy/setup.bash
Note: Use an individual
ROS_DOMAIN_IDfor every ROS 2 node that is expected to participate in a given ROS 2 graph in order to avoid conflicts in handling messages.
4. Next steps#
At this point, the installation is complete. For next steps, explore the following:
Conditional Setup#
Guide |
Condition |
Description |
|---|---|---|
You are running Ubuntu 22.04 and need to use Intel® GPU hardware. |
Install a newer Linux kernel, firmware, and GPU drivers to enable Intel® silicon on Ubuntu 22.04. |
|
Your workload requires deterministic, low-latency real-time performance. |
Install and boot a real-time Linux kernel for deterministic, low-latency performance. |
|
You are using cameras connected to the GMSL ports. |
Configure ACPI tables and install drivers to use cameras connected to the GMSL ports. |
Installation Troubleshooting#
Support Forum#
If you encounter difficulties, visit the Support Forum for assistance.
APT Package Manager#
If the APT package manager is unable to connect to the repositories, follow these APT troubleshooting tips:
Make sure that the system has network connectivity.
Make sure that port 80 is not blocked by a firewall.
Configure an APT proxy (if network traffic routes through a proxy server).
To configure an APT proxy, add the following lines to a file at
/etc/apt/apt.conf.d/proxy.conf(replace the placeholder as per your specific user and proxy server)::Acquire:http:Proxy "http://user:password@proxy.server:port/"; Acquire:https:Proxy "http://user:password@proxy.server:port/";
To ensure proper proxy settings for other tools required during the package installation add the the required proxy settings to
/etc/environment:http_proxy=http://user:password@proxy.server:port https_proxy=http://user:password@proxy.server:port no_proxy="localhost,127.0.0.1,127.0.0.0/8"
After setting the proxy values in
/etc/apt/apt.conf.d/proxy.confand/etc/environmentyou will have to reboot the device, so these settings become effective.