Get Started#
This document is a quick start guide to configure and deploy nodes using the Edge Device Enablement Framework on Intel® Core™ and Intel® Xeon® Scalable processors with Intel® Iris® Xe Integrated Graphics for Core platform.
A shell script installs the Edge Device Enablement Framework software from the Open Edge
Platform (OEP)’s edge-ai-libraries/frameworks folder. Users can download the installer script
and deploy it to the Edge Node.
Installation Flow for EEF#
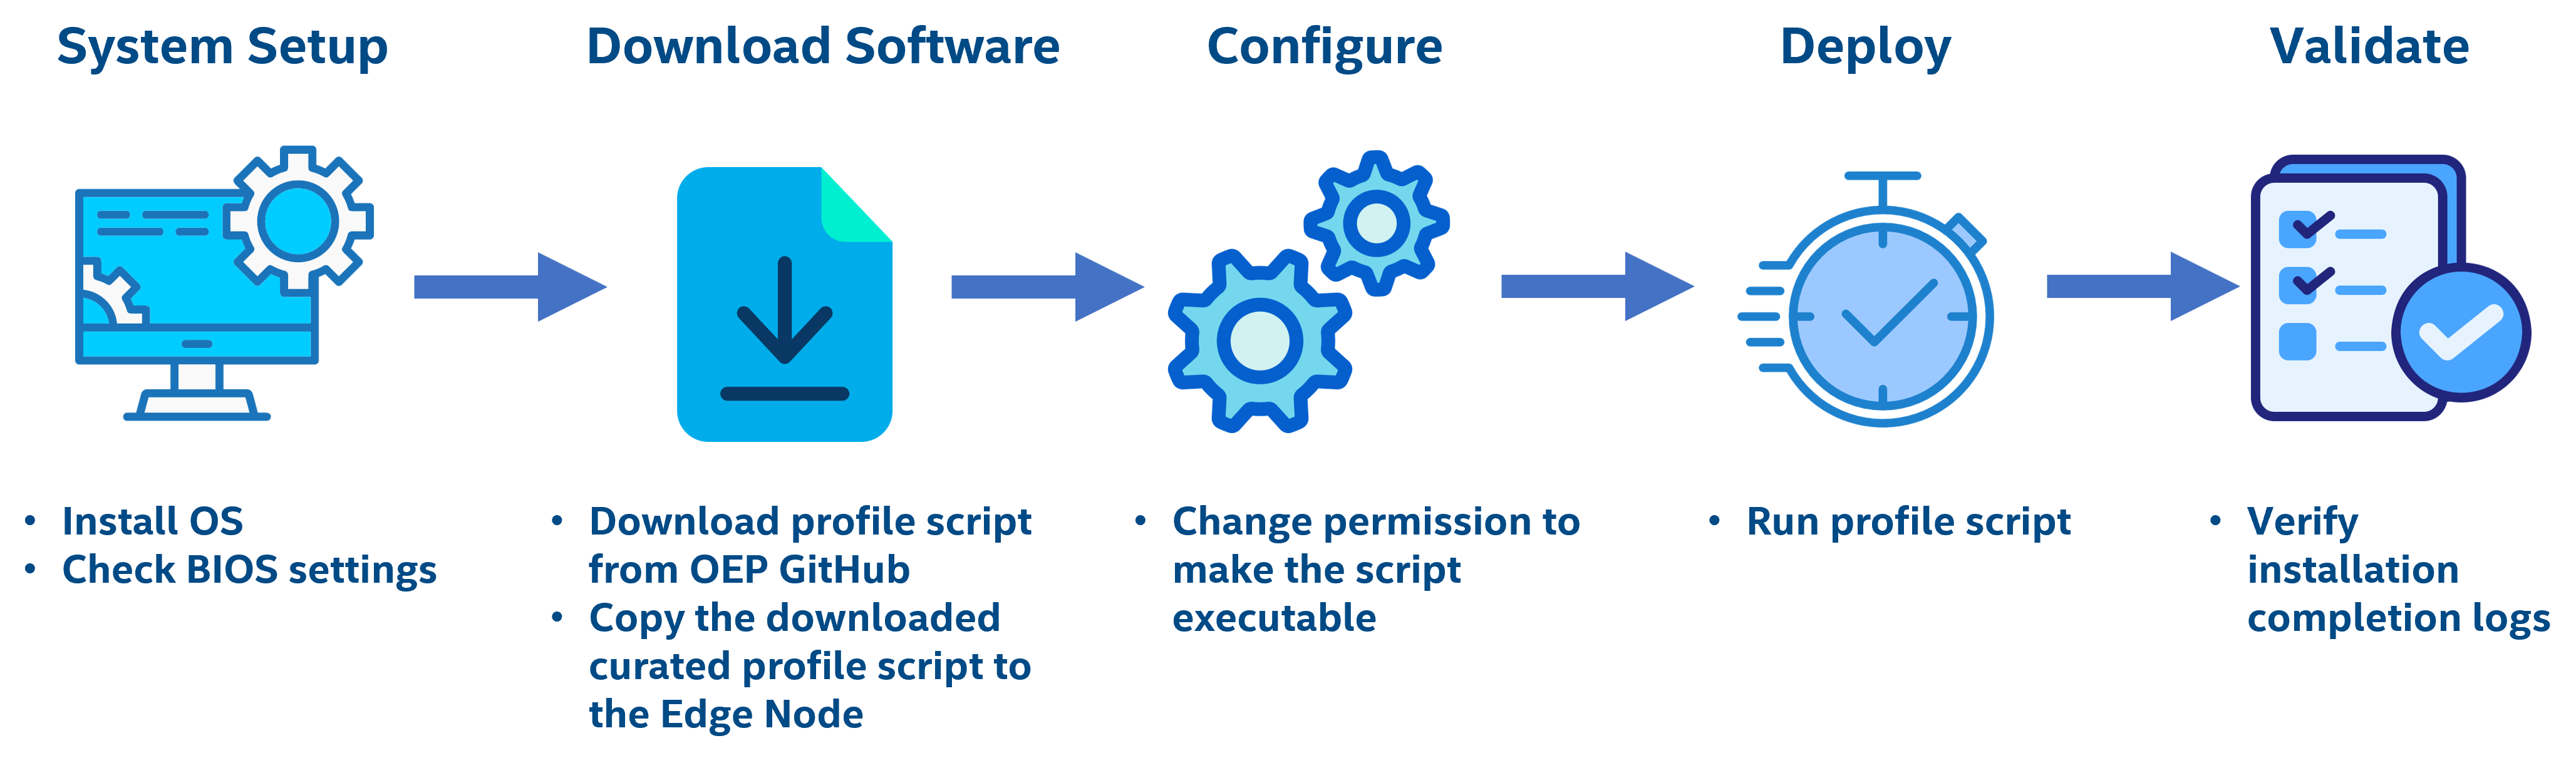 Figure 1: Flow for Edge Device Enablement Framework
Step 1: Prerequisites and System Setup#
Before starting the Edge Node deployment, ensure you meet the following prerequisites:
The system is bootable to a fresh Ubuntu OS 24.04 Long Term Support (LTS) version.
Internet connectivity is available on the node.
The hostname of the target node(s) uses only lowercase letters, numerals, and hyphens.
For example: “wrk-8” is acceptable; “wrk_8”, “WRK8”, and “Wrk^8” are not accepted as hostnames.
The required proxy settings are added to the /etc/environment file.
Secure boot uses the following BIOS settings:
Click to expand — BIOS SettingsBIOS Settings → System BIOS → System Security → Secure Boot → Enabled
Press F2 → Go to UEFI Firmware Settings → Security Section → Secure Boot Section → Set Secure Boot Mode to Custom → Select Secure Boot → Enabled → Save Changes → Boot to setup.
Step 2: Download the Script#
Download the Edge Device Enablement Framework script.
Download the file using wget:
wget https://raw.githubusercontent.com/open-edge-platform/edge-ai-libraries/main/frameworks/edgedevice-enablement-framework/base/va_enablement_node_profile/va_enablement_node_profile.sh
Step 3: Run the Script and Configure Command-line Options#
Modify the permissions of the installer file to make it executable:
chmod +x va_enablement_node_profile.sh
Use one of the following commands based on your use case. The available use cases are: Intel® Edge System Qualification (Intel® ESQ) and Metro, Transportation Fusion Compute Controller (TFCC) and Intel® Video Processing Platform Reference Implementation (VPP), Intel vPro® Platform, Edge Workloads and Benchmarks, and DevKit Component Set. See the details below:
./va_enablement_node_profile.sh
./va_enablement_node_profile.sh tfcc
./va_enablement_node_profile.sh vpp
./va_enablement_node_profile.sh vpro./va_enablement_node_profile.sh magic9./va_enablement_node_profile.sh devkitExecute the script with
--helpor-hto check the availability of any additional use case support:./va_enablement_node_profile.sh -h
Note
For Prometheus secure configuration details, see Prometheus configuration.
User Inputs Required for Installer Execution#
Click to expand — User Input
VA Enablement Node
Prompt |
User Input |
|---|---|
Docker Group |
For Metro/ESQ team enter ‘yes’, other users enter ‘no’ |
DL Streamer |
Do you want to install DL Streamer? (y/n) |
XPU-SMI |
Do you want to install Intel XPU-SMI? (y/n) |
Step 4: Enable Time of Day (TOD) Provisioning#
After the installer script finishes executing, follow these steps to deploy Time of Day (TOD) Provisioning:
Click to expand — Time of Day (TOD) Provisioning
TOD enables power management provisioning to save power at a specific time of day, delivering power savings during non-peak hours on the edge device by using the Intel® Infrastructure Power Manager (IPM). Download the Time of Day Provisioning software package and the technology guide, available through the same link, as shown in Figure 2. To deploy this feature, follow the instructions in Chapter 9 of the TOD technology guide.
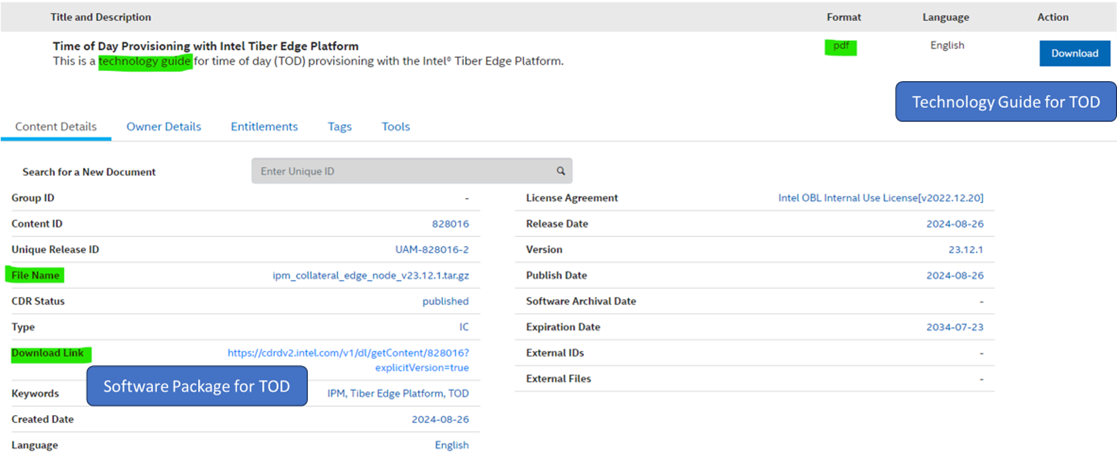 Figure 2: Time of Day Home Page