Configure the Floorplan#
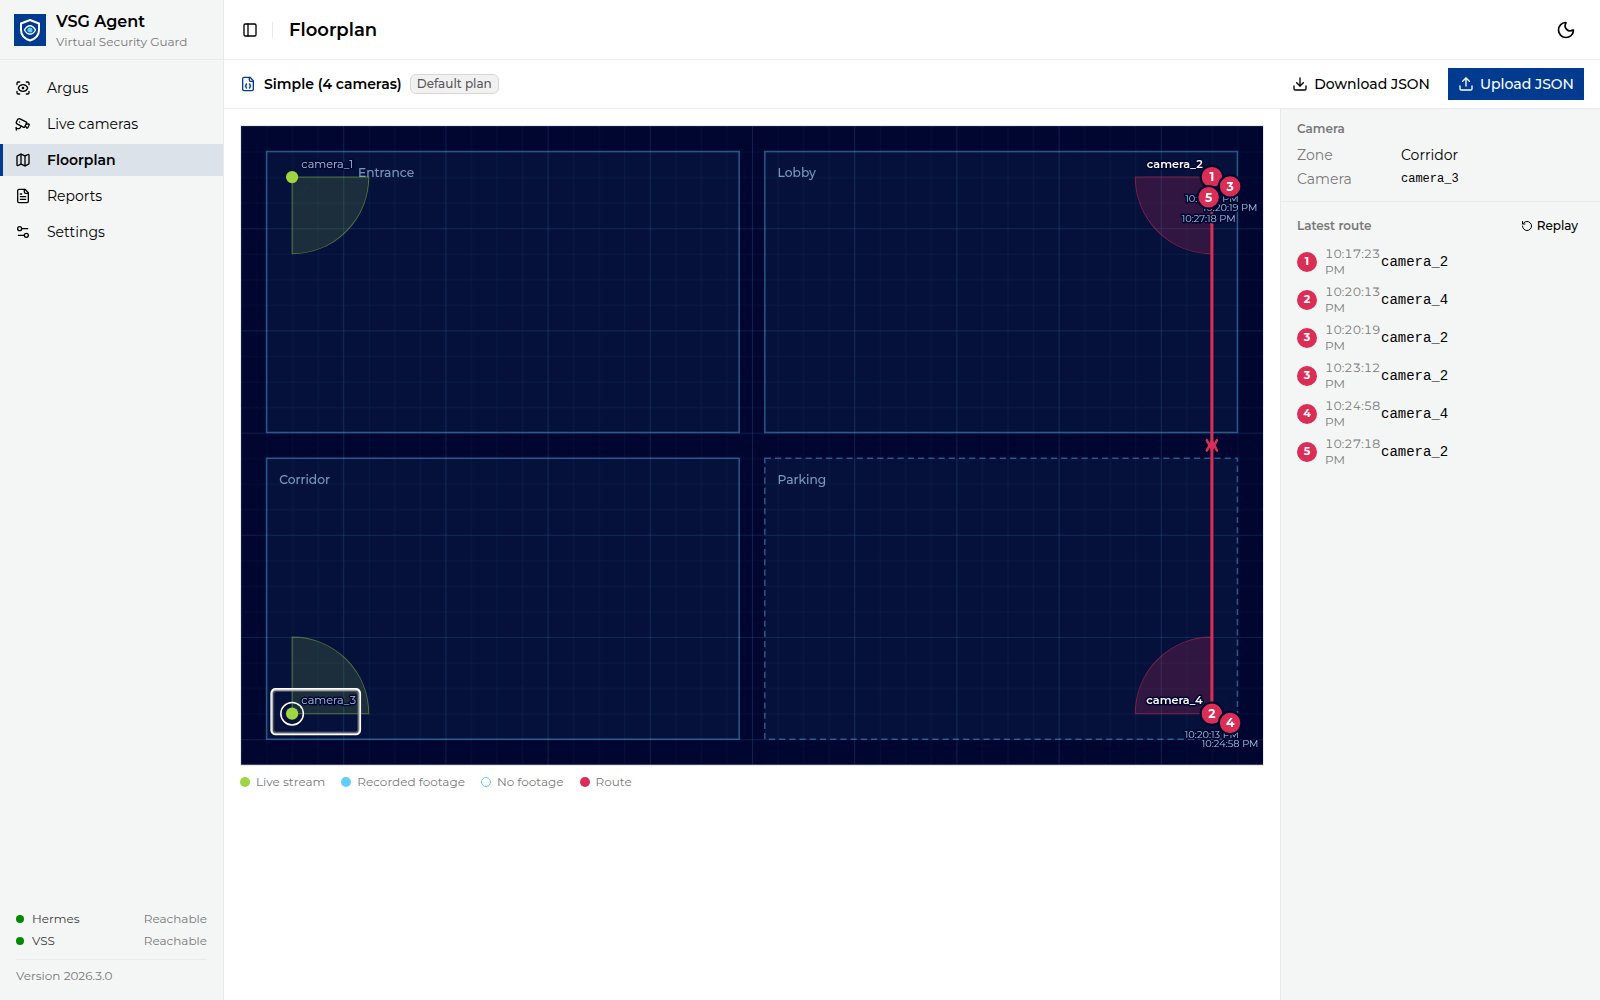
The Floorplan page draws your cameras, their fields of view and the subject’s route. Two plans ship with the application:
simple.json: Simple (4 cameras), one camera per zone, keyedcamera_1tocamera_4. This is the default.level4.json: Level 4 (sample), a full floor with Level 4 VSS camera tags.
To use your own plan, put it in deploy/floorplans/ (for example
site-a.json), set VSG_FLOORPLAN=site-a in deploy/.env and run make up.
No rebuild is needed. After you edit the file, refresh the browser. The
container does not start if the file is missing.
You can upload a plan from the Floorplan page. The uploaded plan is stored in that browser and replaces its default plan. Select Use default to restore the default plan.
1. Get a template#
Copy deploy/floorplans/simple.json, or click Download JSON on the
Floorplan page to save the plan you are viewing.
2. Write the floor plan#
The minimal floor plan only needs camera positions. For example:
{
  "cameras": {
    "entry_cam_1": { "x": 120, "y": 450, "zone": "Lobby", "fov_angle": 90 }
  }
}
Coordinates are SVG units, origin top-left, y pointing down.
Field |
Required |
Meaning |
|---|---|---|
|
yes |
One entry per camera. The key is the camera’s name and its VSS tag, for example |
|
yes |
Camera position. Must not be negative, and must lie on the canvas when |
|
no |
Zone name shown on the map and in reports. |
|
no |
Field-of-view width in degrees (1–360). |
|
no |
Viewing direction in degrees: |
|
no |
Length of the field-of-view wedge. |
|
no |
Plan name. |
|
no |
|
|
no |
|
|
no |
|
|
no |
List of polylines |
Note
Floor plans are limited to 5 MB.
3. Upload the floor plan#
Click Upload JSON and choose the file.
Each floor plan camera’s key is its VSS tag. Nothing is matched by similar names. The map shows each camera as:
Look
State
Green, pulsing
Live: a live camera on this tag is sending frames.
Solid blue
Mapped: VSS has footage under this tag.
Hollow ring
Empty: nothing in VSS yet. Not an error; use Add live camera here.
The header counts VSS cameras that are not a camera key on the plan; click it to list them, with Copy next to each name. To draw one, add it to the file as a camera key and upload the file again. Camera names are set only in the file.
Click a camera on the map to see its zone and name, or to add a live camera there. The legend below the map shows live, recorded and no-footage cameras and the route. Click Use default to go back to the plan set by
VSG_FLOORPLAN; Undo in the notice brings the upload back.A plan must use plain JSON numbers for positions, and each zone needs exactly one of
pointsorrect. A saved upload that no longer validates is dropped with a notice, and the default plan is used.
A removed live camera’s key stays on the plan, so its recorded footage is still drawn at the same place.
Camera tags come from VSS video tags (for example
P_Lev_4_Entry_Way_ip_107). A sighting is drawn only if its camera is on the
plan. Live cameras take their tag from the plan: see
Manage Live Cameras. Every camera’s location
(reports, match cards, the Live cameras page) is the zone from the plan.