Manage Pipeline#
This section describes how to create custom AI pipelines for the sample application and the commands to manage these pipelines.
Create Pipelines#
The AI pipelines are defined by the pipeline-server-config.json file present under the configs subdirectory of a particular application directory (for Docker Compose deployment) and similarly inside the Helm directory (for Helm based deployment).
The following is an example of the PCB anomaly detection pipeline, which is included in the pipeline-server-config.json file.
    "pipelines": [
    {
        "name": "pcb_anomaly_detection",
        "source": "gstreamer",
        "queue_maxsize": 50,
        "pipeline": "{auto_source} name=source ! decodebin ! gvaclassify name=classification inference-region=full-frame pre-process-config=reverse_input_channels=yes device=CPU pre-process-backend=opencv model-instance-id=inst0 ! queue ! gvawatermark ! gvafpscounter ! appsink name=destination",
        "parameters": {
            "type": "object",
            "properties": {
                "classification-properties": {
                    "element": {
                        "name": "classification",
                        "format": "element-properties"
                    }
                }
            }
        },
        "auto_start": false,
        "publish_frame": true
    },
Customize the pipeline according to your needs. For details, see the following DL Streamer Pipeline Server documentation:
Start the Pipeline#
Note: If you are running multiple instances of app, ensure to provide
NGINX_HTTPS_PORTnumber in the url for the app instance, i.e., replace<HOST_IP>with<HOST_IP>:<NGINX_HTTPS_PORT>If you are running a single instance and using anNGINX_HTTPS_PORTother than the default 443, replace<HOST_IP>with<HOST_IP>:<NGINX_HTTPS_PORT>.
Follow this procedure to start the pipeline.
In the
pipeline-server-config.jsonfile, identify the name of the pipeline you want to start.The name of the pipeline is defined by the name parameter.
"pipelines": [
    {
          "name": "pipeline_name",
          "source": "....",
          "pipeline": "...."
          "..."
    }
 ]
You use a Client URL (cURL) command to start the pipeline.
In this example, a pipeline included in this sample application is
pcb_anomaly_detection. Start this pipeline with the following cURL command.curl -k https://<HOST_IP>/api/pipelines/user_defined_pipelines/pcb_anomaly_detection -X POST -H 'Content-Type: application/json' -d '{ "source": { "uri": "file:///home/pipeline-server/resources/videos/anomalib_pcb_test.avi", "type": "uri" }, "parameters": { "classification-properties": { "model": "/home/pipeline-server/resources/models/pcb-anomaly-detection/deployment/Anomaly classification/model/model.xml", "device": "CPU" } } }'
Take note of the instance ID (without quotes).
Each pipeline has its instance ID. You will need the instance ID to stop the pipeline later.
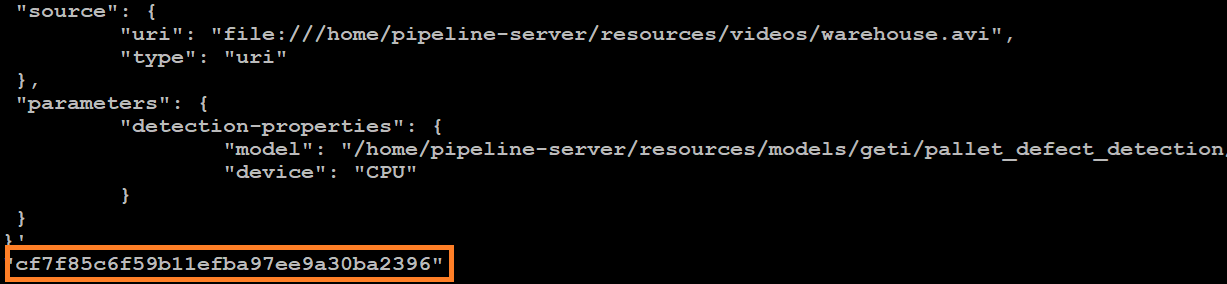
Figure 1: Example of a pipeline instance ID
Get Statistics of the Running Pipelines#
Request the pipeline statistics with this cURL command.
Replace HOST_IP with the IP address of your system.
curl -k --location -X GET https://<HOST_IP>/api/pipelines/status
Stop the Pipeline#
Stop the pipeline with the following cURL command.
Replace HOST_IP with the IP address of your system and instance_id with the instance ID (without quotes) of the running pipeline.
curl -k --location -X DELETE https://<HOST_IP>/api/pipelines/{instance_id}
Note: The instance ID is shown in the Terminal when the pipeline was started or when pipeline statistics were requested.
Additional Usage#
Frame Batching#
You can process multiple streams together when batching is enabled and the same model instance (that is, the same model-instance-id) is used across pipeline instances.
To enable this, configure the pipeline’s inference element to support batching and assign a shared model instance ID. For example:
... ! gvadetect model=/path/to/model.xml model-instance-id=inst0 batch-size=4 ! ...
In this configuration, if 4 instances (or any multiple of 4) of the pipeline are launched (for example, using the curl commands described in the previous section), their frames will be grouped into batches of four and processed in a single inference call.
For more details about batching in DL Streamer, refer to the relevant section of the Performance Guide.