How to Use AprilTag Camera Calibration in Intel® SceneScape#
This guide provides a step-by-step process for calibrating cameras in Intel® SceneScape using fiducial markers (AprilTags). This method ensures accurate tracking by estimating camera poses based on known marker positions.
By following this guide, you will:
Select and place AprilTags correctly.
Generate a scene floor plan with markers visible.
Configure Intel® SceneScape to auto-calibrate using AprilTags.
(Optionally) Add a 3D map for scene visualization.
This calibration method is ideal for fixed camera setups requiring precise positional accuracy.
Prerequisites#
Before You Begin, ensure the following:
Camera Setup: Cameras placed with a clear view of the scene.
Scene Created: Add cameras in Intel® SceneScape and set the detection model to
-m apriltag.SceneScape Installation: Installed and running.
Note: To switch from the default person detection model, replace
retailwithapriltagindocker-compose.yml.
Steps to Calibrate Using AprilTags#
2. Test for Detectability#
Place sample tags in the scene and observe the camera feed. Tags should show bounding boxes when detected.
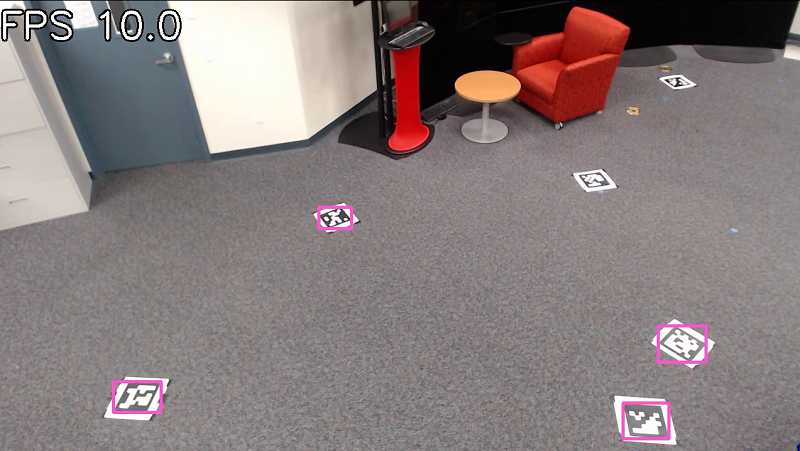
Figure 1: Testing AprilTag visibility in camera feed.
4. Generate Scene Floor Plan#
Use a phone/tablet with LiDAR or another method to scan the scene. Export as a .glb (glTF binary).
Creating a Top-Down Orthographic Floor Plan View#
Open the
.glbin Windows 3D Viewer.Switch to orthographic, top-down view.
Export the image and determine pixels-per-meter.
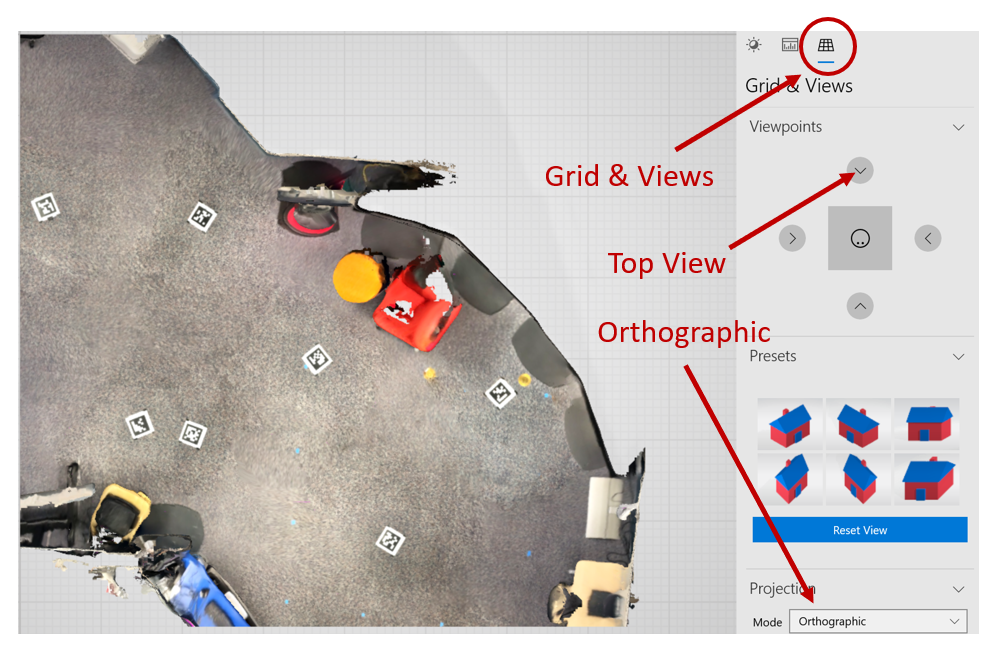
Figure 2: Export top-down orthographic scene view.
Notes
Ensure AprilTags are clearly visible in the exported image.
It may be useful to enable the grid since it helps in determining the pixels per meter for the image (it is a 1-meter grid).
5. Configure Scene and Calibrate#
Open Intel® SceneScape and edit the scene.
Upload the orthographic image and enter the scale (pixels-per-meter).
Set Calibration Type to
Apriltag.Enter the physical size of the tags.
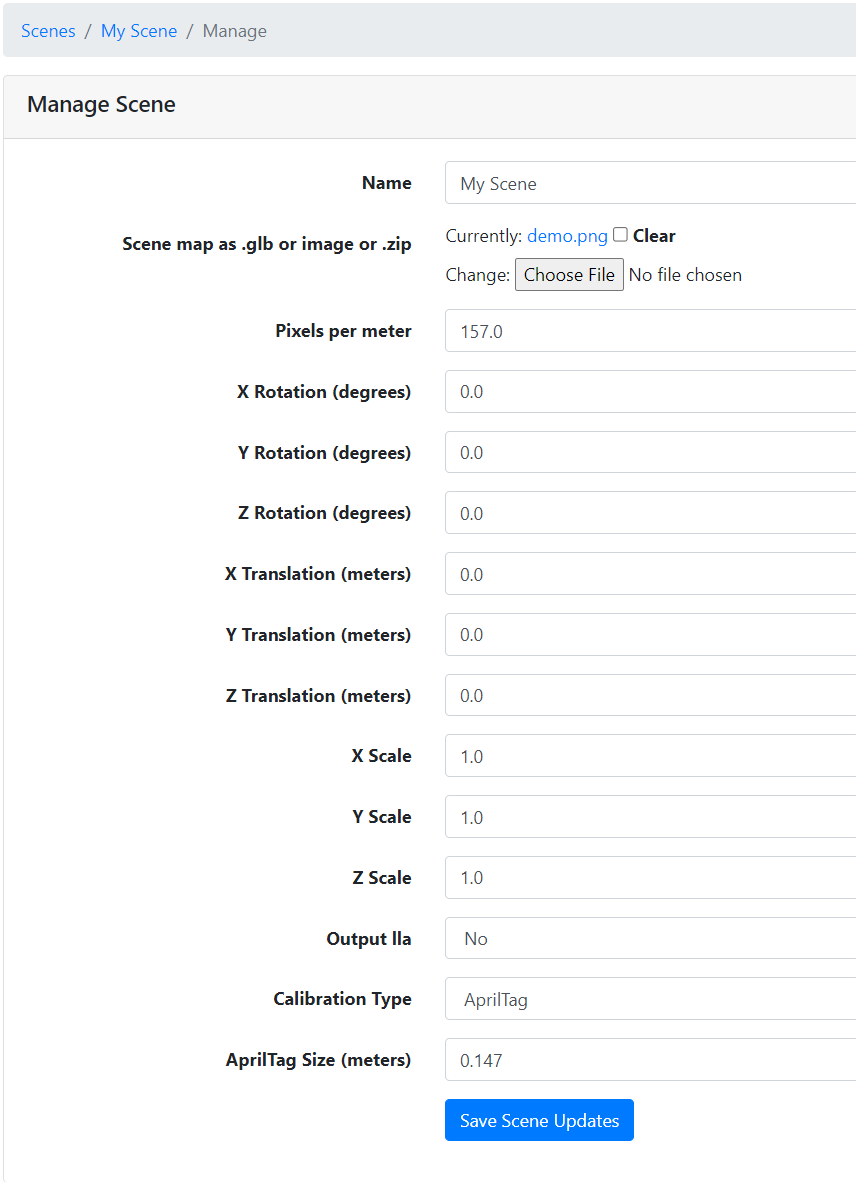
Figure 3: Upload scene image and set calibration method.
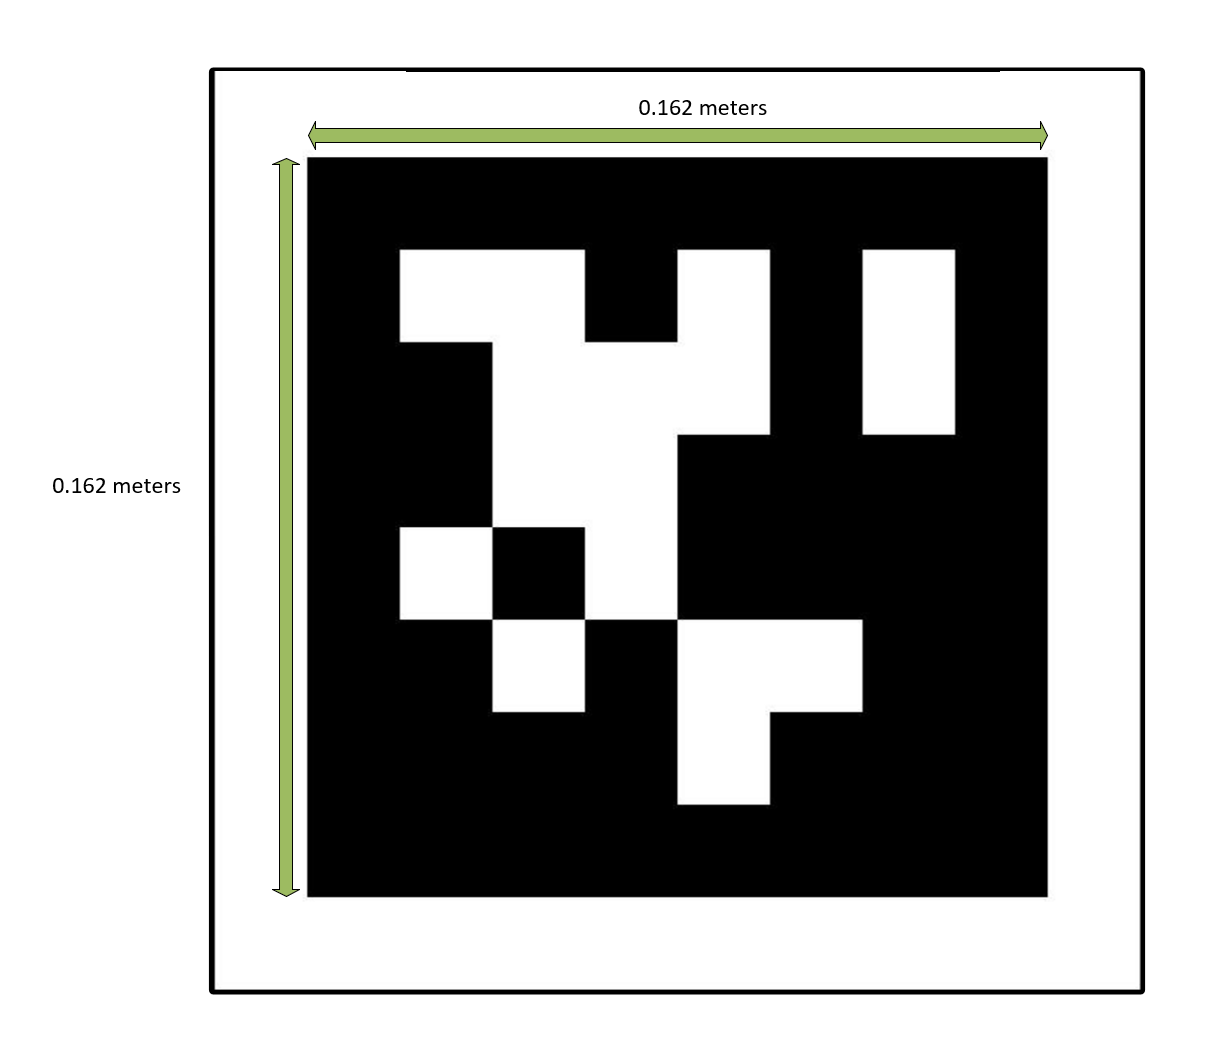
Figure 4: Enter AprilTag dimensions.
Edit
docker-compose.ymlto enable thecamcalibrationservice:
camcalibration:
  image: scenescape:<version>
  networks:
    scenescape:
  depends_on:
    - broker
    - ntpserv
    - pgserver
    - scene
  command: camcalibration --dbhost pgserver --ntp ntpserv --broker broker.scenescape.intel.com
  privileged: true
  environment:
    EGL_PLATFORM: "surfaceless"
  volumes:
    - vol-media:/home/scenescape/SceneScape/media
  secrets:
    - certs
    - django
  restart: on-failure
Restart Intel® SceneScape:
docker compose down
docker compose up
Navigate to the camera page and click Auto Calibrate.
Adjust opacity slider to verify alignment.
Click Save Camera to finalize pose.
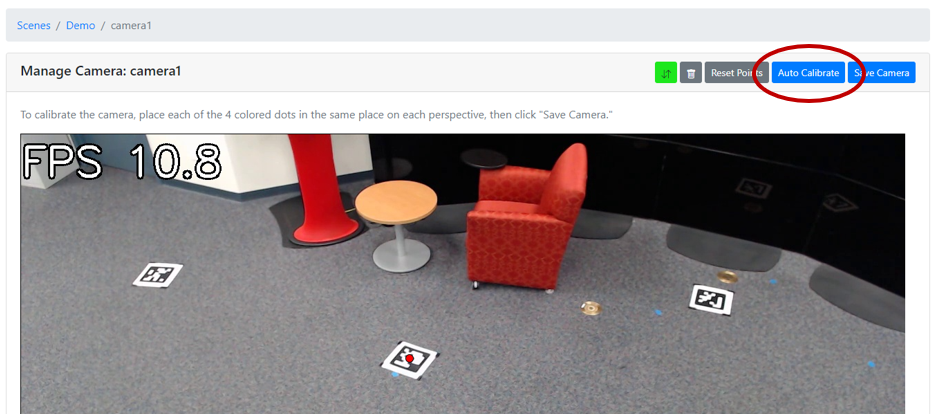
Figure 5: Auto Calibrate using AprilTags.
6. (Optional) Add 3D Map to Scene#
Edit scene and upload the
.glbto the Map 3d field.Set X Rotation to
90.0to convert Y-up to Z-up.Adjust scale manually.
Tips:
.glb files are usually in meters.
Scale differences between 2D/3D often stem from incorrect pixels-per-meter.
Customizable Parameters#
Parameter |
Purpose |
Expected Values/Range |
|---|---|---|
Calibration Type |
Specifies the calibration method |
|
Tag Size |
Physical width/height of AprilTags in meters |
Positive float (e.g., 0.15) |
Pixels/Per Meter |
Scene scale to align 2D image with real-world size |
Positive integer (e.g., 100) |
Camera Model |
Defines the camera projection model |
|
Project Frame |
Overlay camera view frustum on 3D scene |
|
Future Enhancements#
Tag placement validation with heatmaps.
Visual calibration accuracy scoring.
Easier 3D scan positioning tools.