Generating Model from Geti™#
This guide walks you through the process of installing Geti™, setting up a pallet defect detection project, training a model, and deploying it.
Prerequisites#
Internet connection for downloading Geti™ and datasets
Access to images for training your defect detection model
Installation Steps#
For detailed Geti™ platform installation instructions, refer to the Geti™ Installer Documentation.
Note: The standard Geti™ platform installation includes the following steps:
Download the Geti™ platform installer
Extract the installer archive
Prepare the system by creating necessary directories
Run the platform installer with appropriate system privileges
Please follow the official installation guide for the most up-to-date and accurate installation procedures.
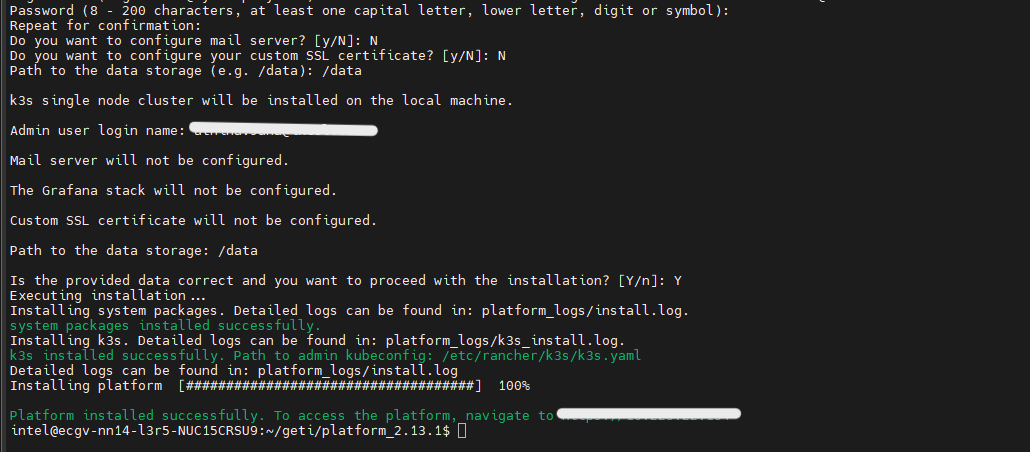
Upon successful completion, you will see the installation success confirmation as shown below:
Setting Up Your Project#
Step 1: Sign In to Geti™#
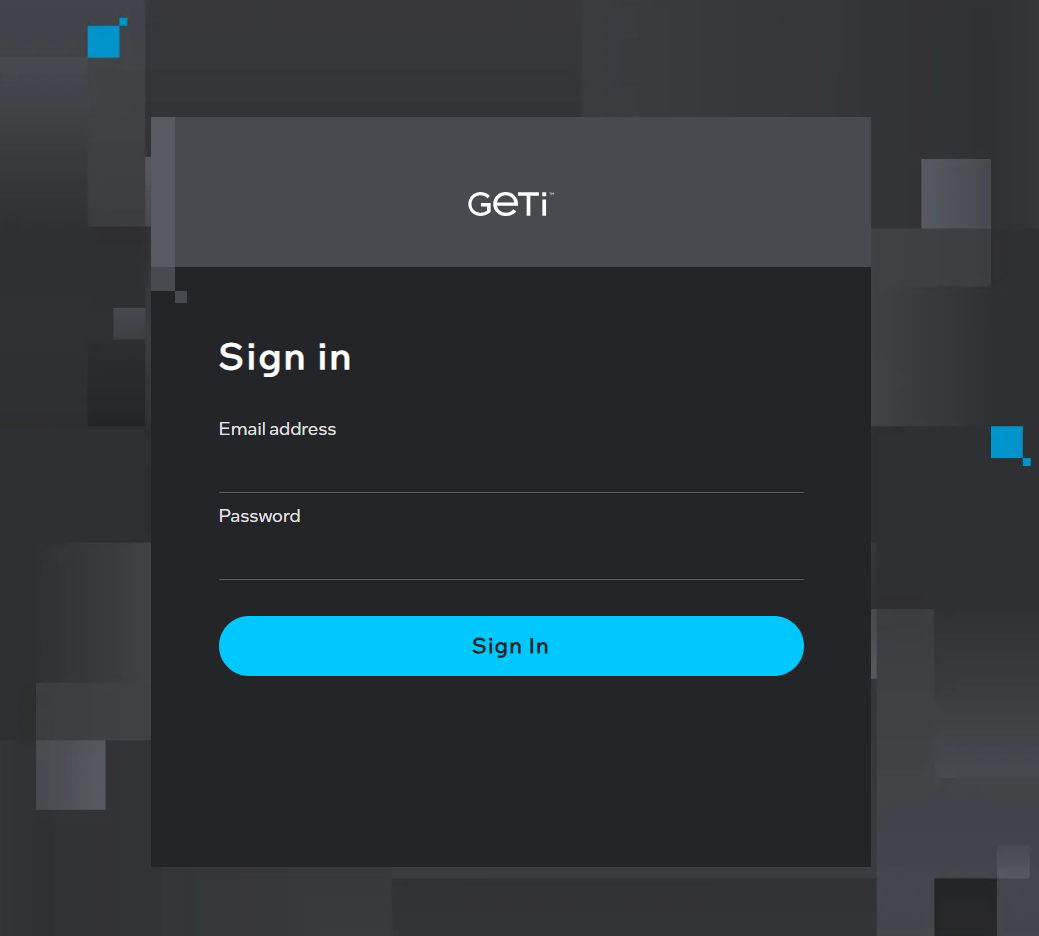
Open https://<host_ip> in your browser, where <host_ip> is the IP address of the system
where you installed Geti™ server. Sign in with the credential which was set during installation:
Step 2: Access Geti™ Dashboard#
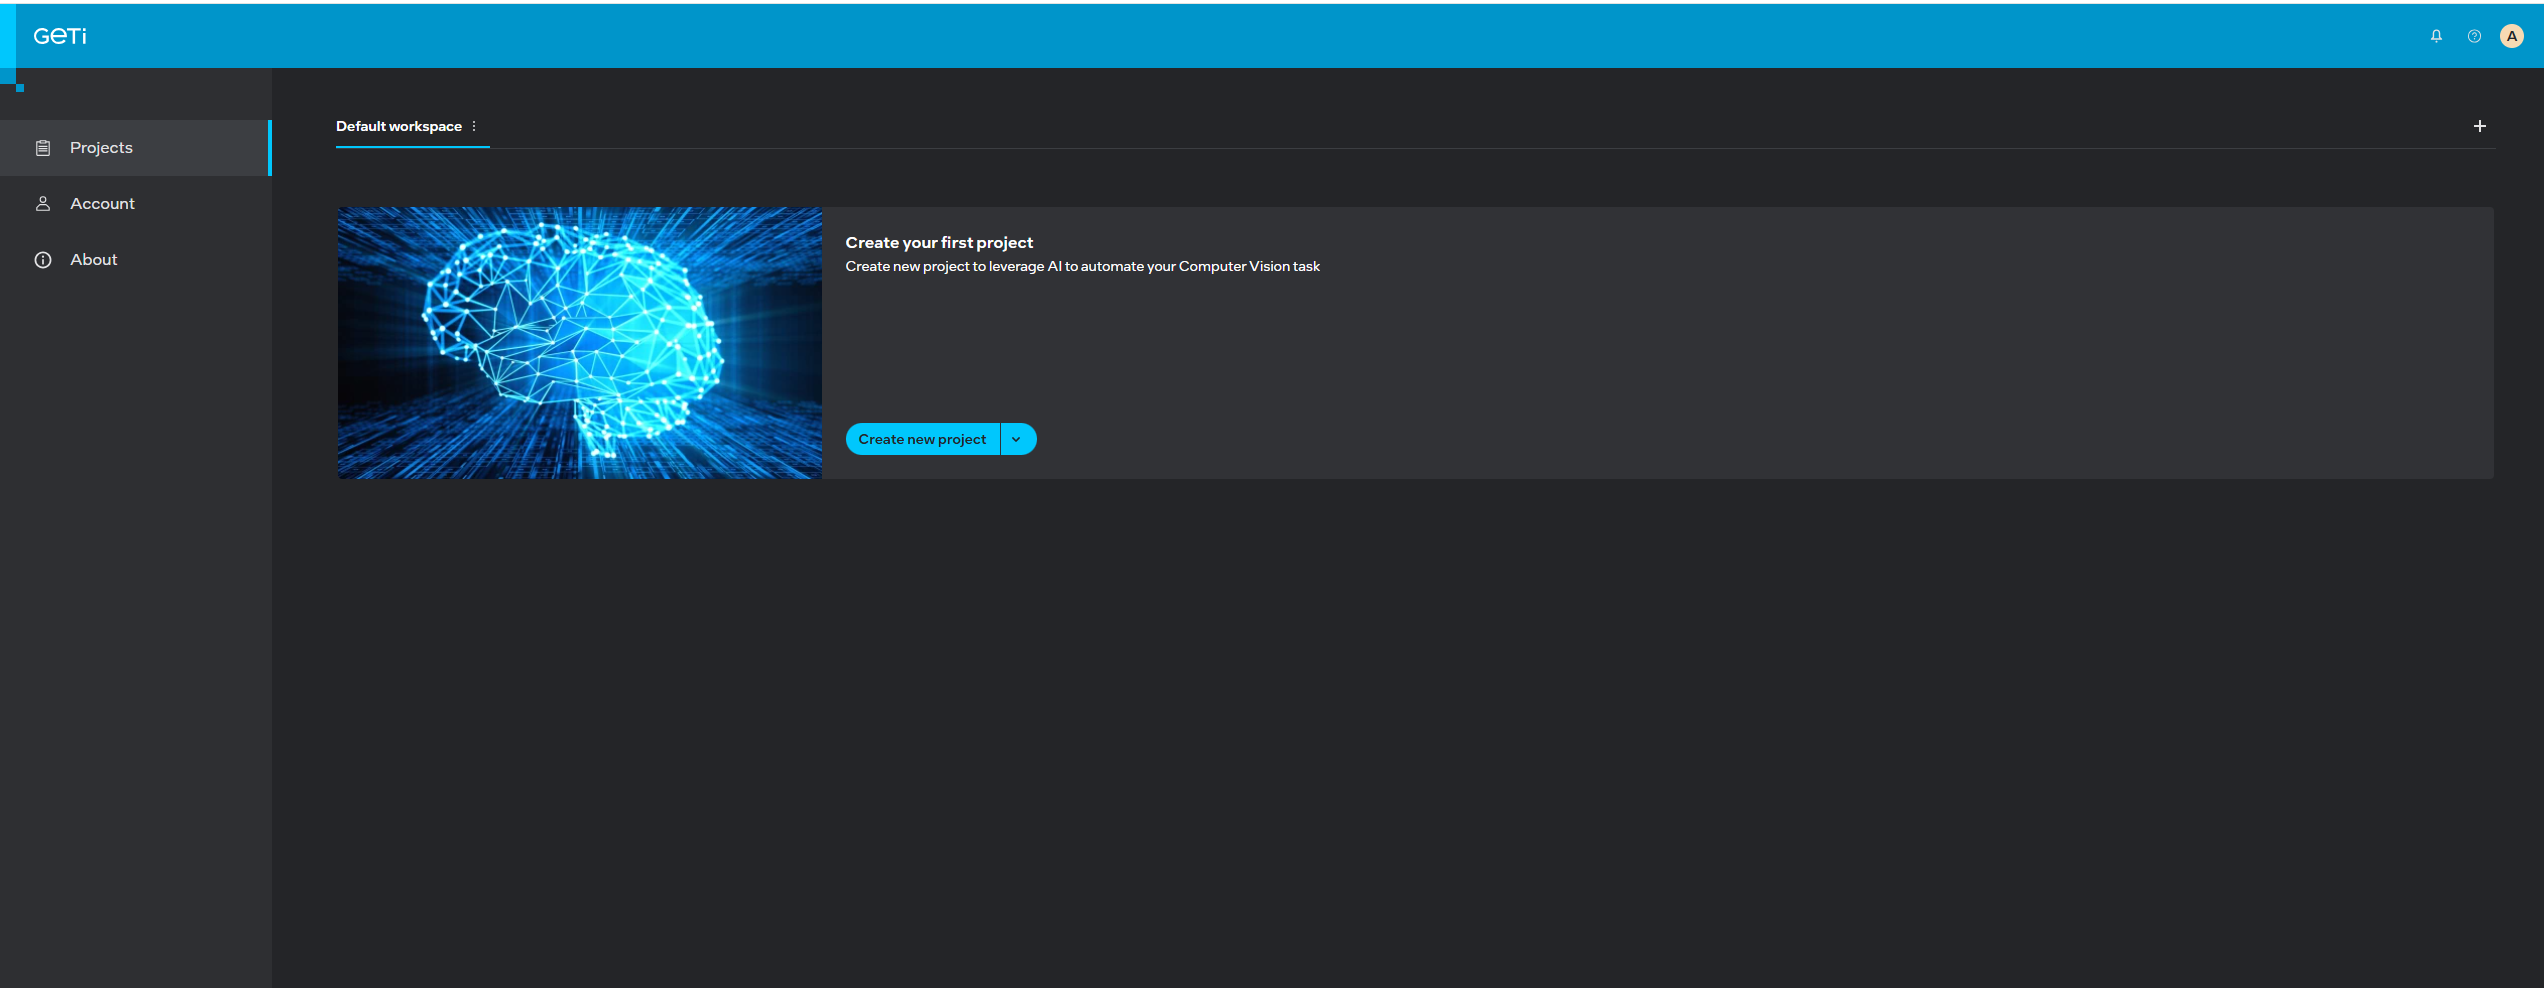
After successful authentication, you will see the Geti™ dashboard:
Step 3: Create a New Project#
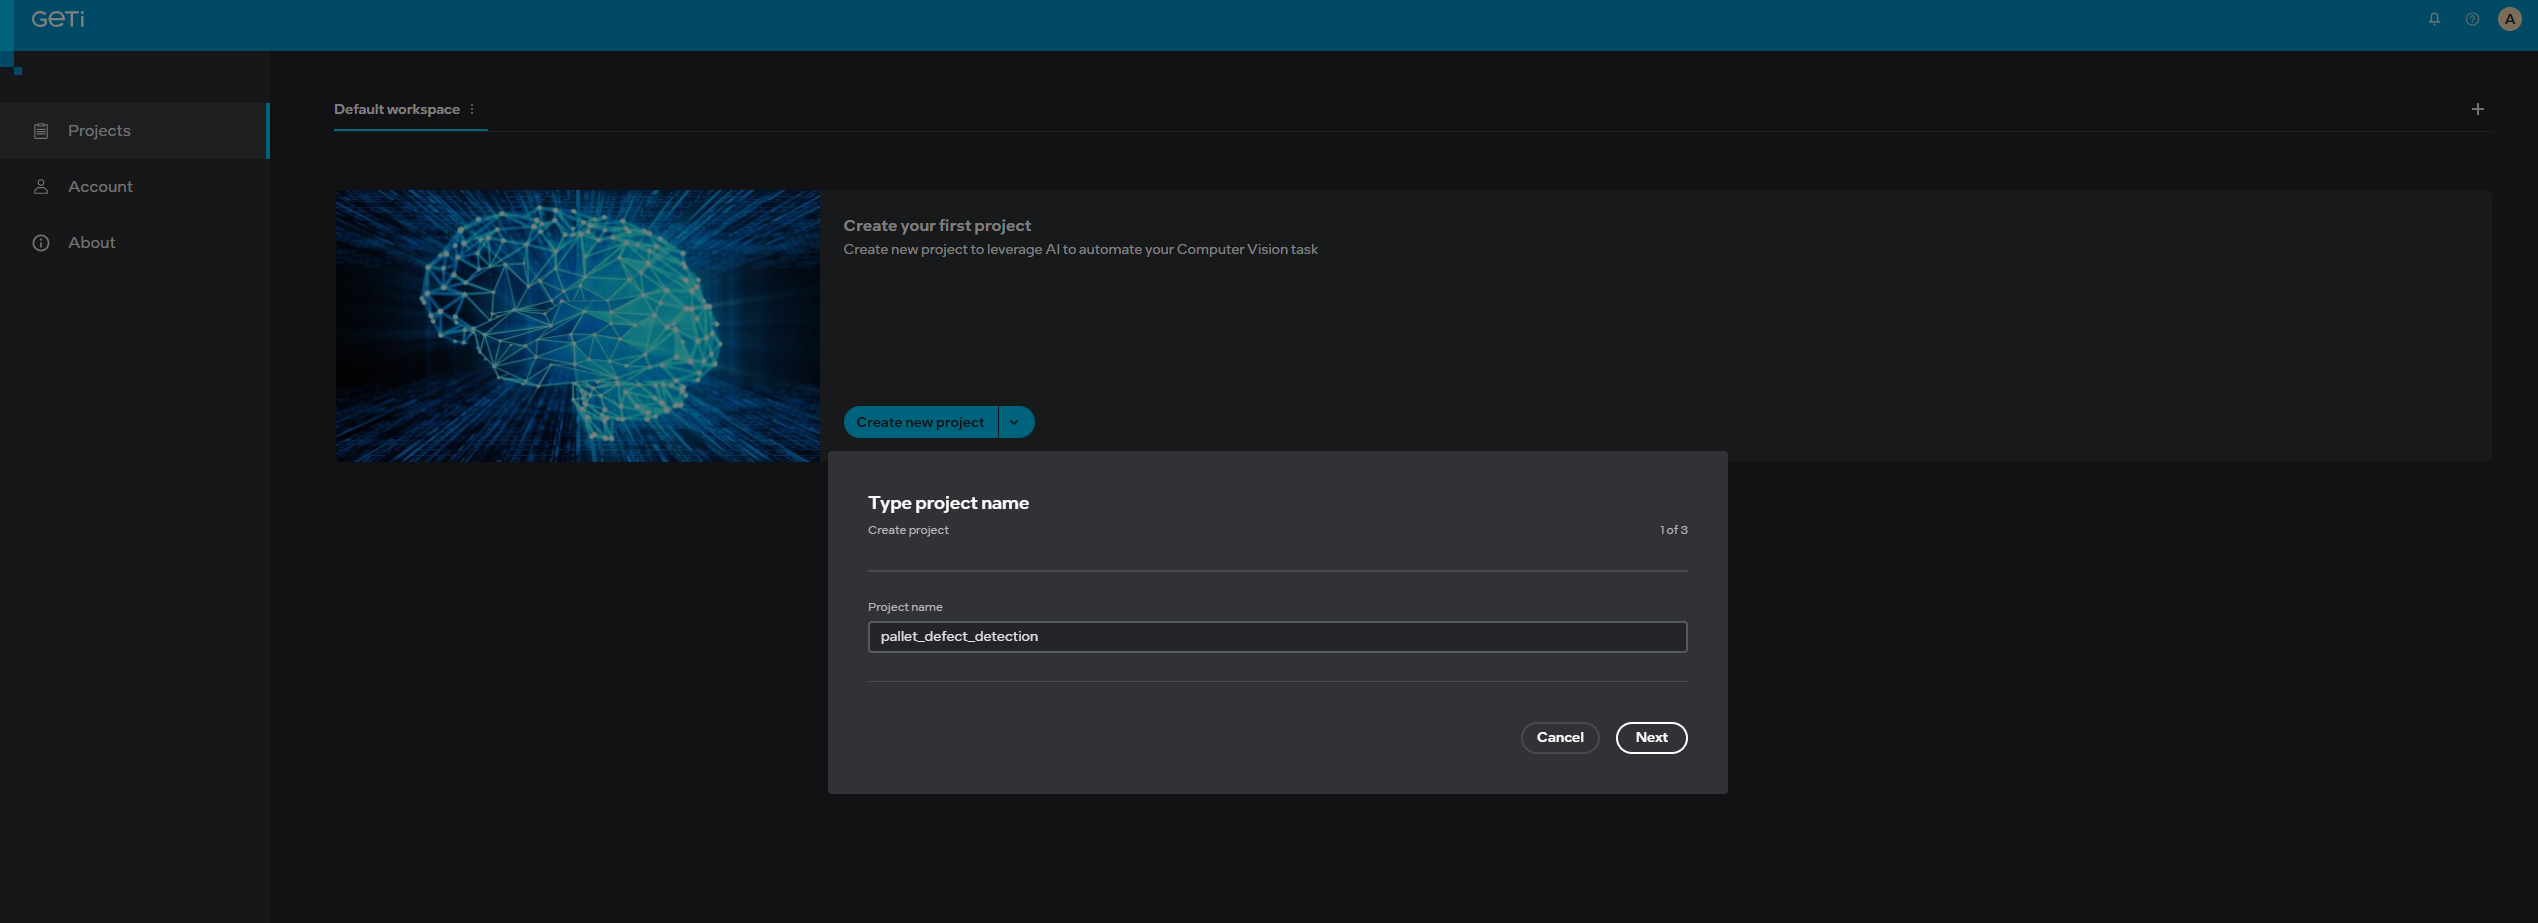
Click on “Create New Project” to start a new pallet defect detection project:
For detailed information refer the tutorial: Geti™ - Project Creation
Step 4: Select Detection Task#
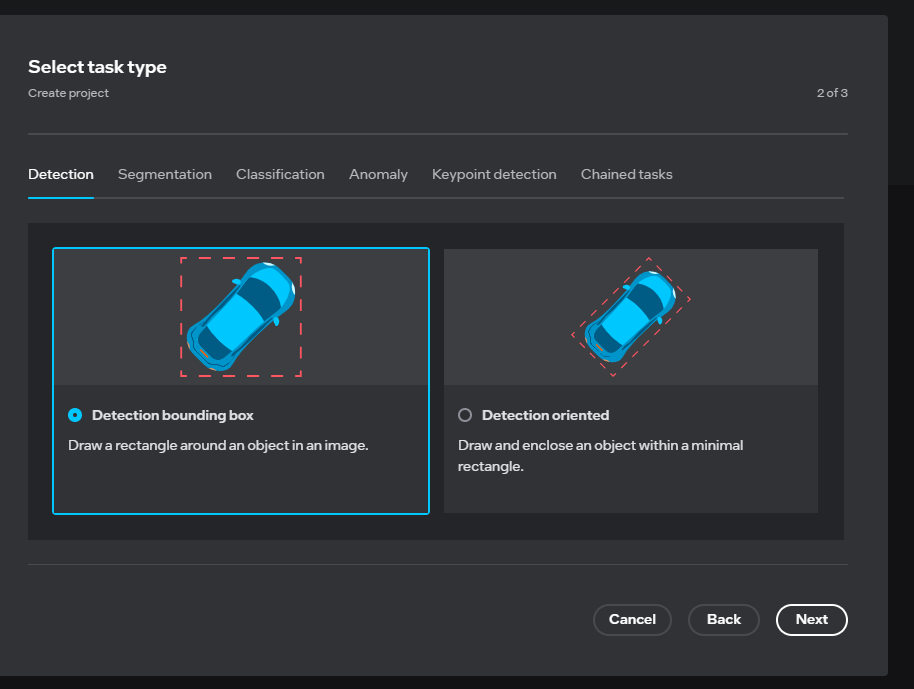
Select “Detection” and choose “Detection bounding box” as your annotation type:
Step 5: Create Labels#
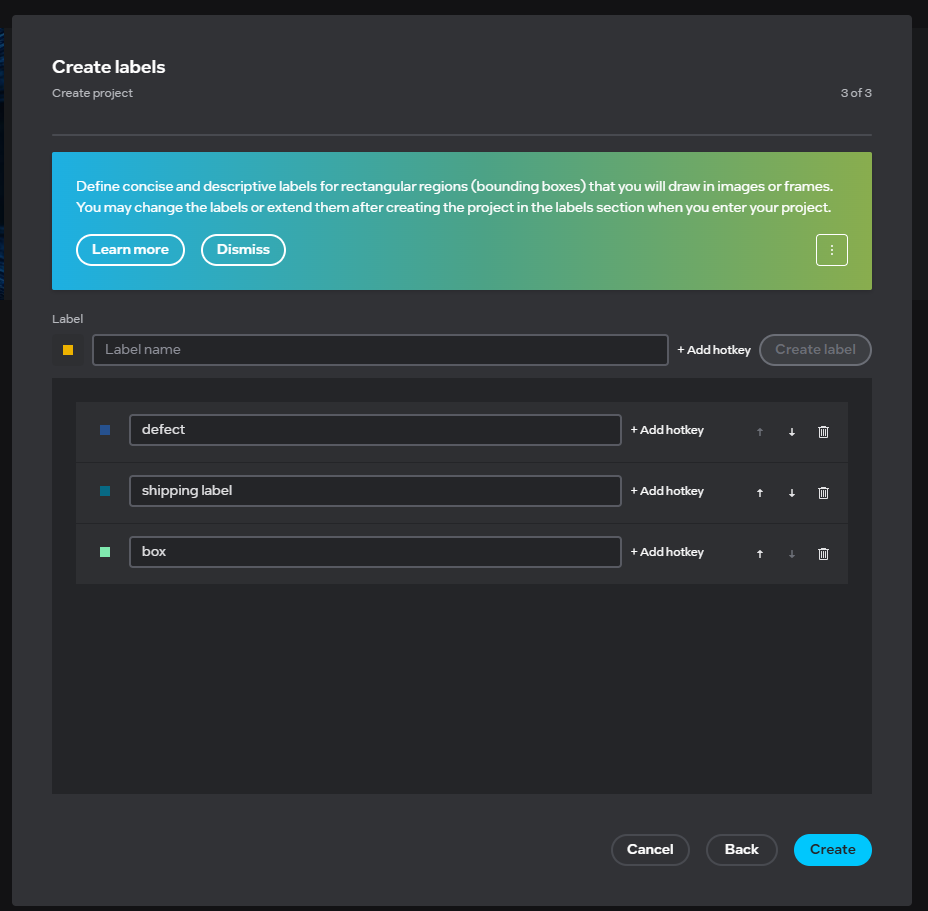
Define the labels for your defect detection task (e.g., “defect”, “box”, “shipping label”, etc.):
For detailed information refer the tutorial: Geti™ - Label Management
Data Annotation and Training#
For comprehensive tutorials on data annotation and training workflows, refer to the Geti™ Tutorials Documentation.
Step 6: Upload Training Images#
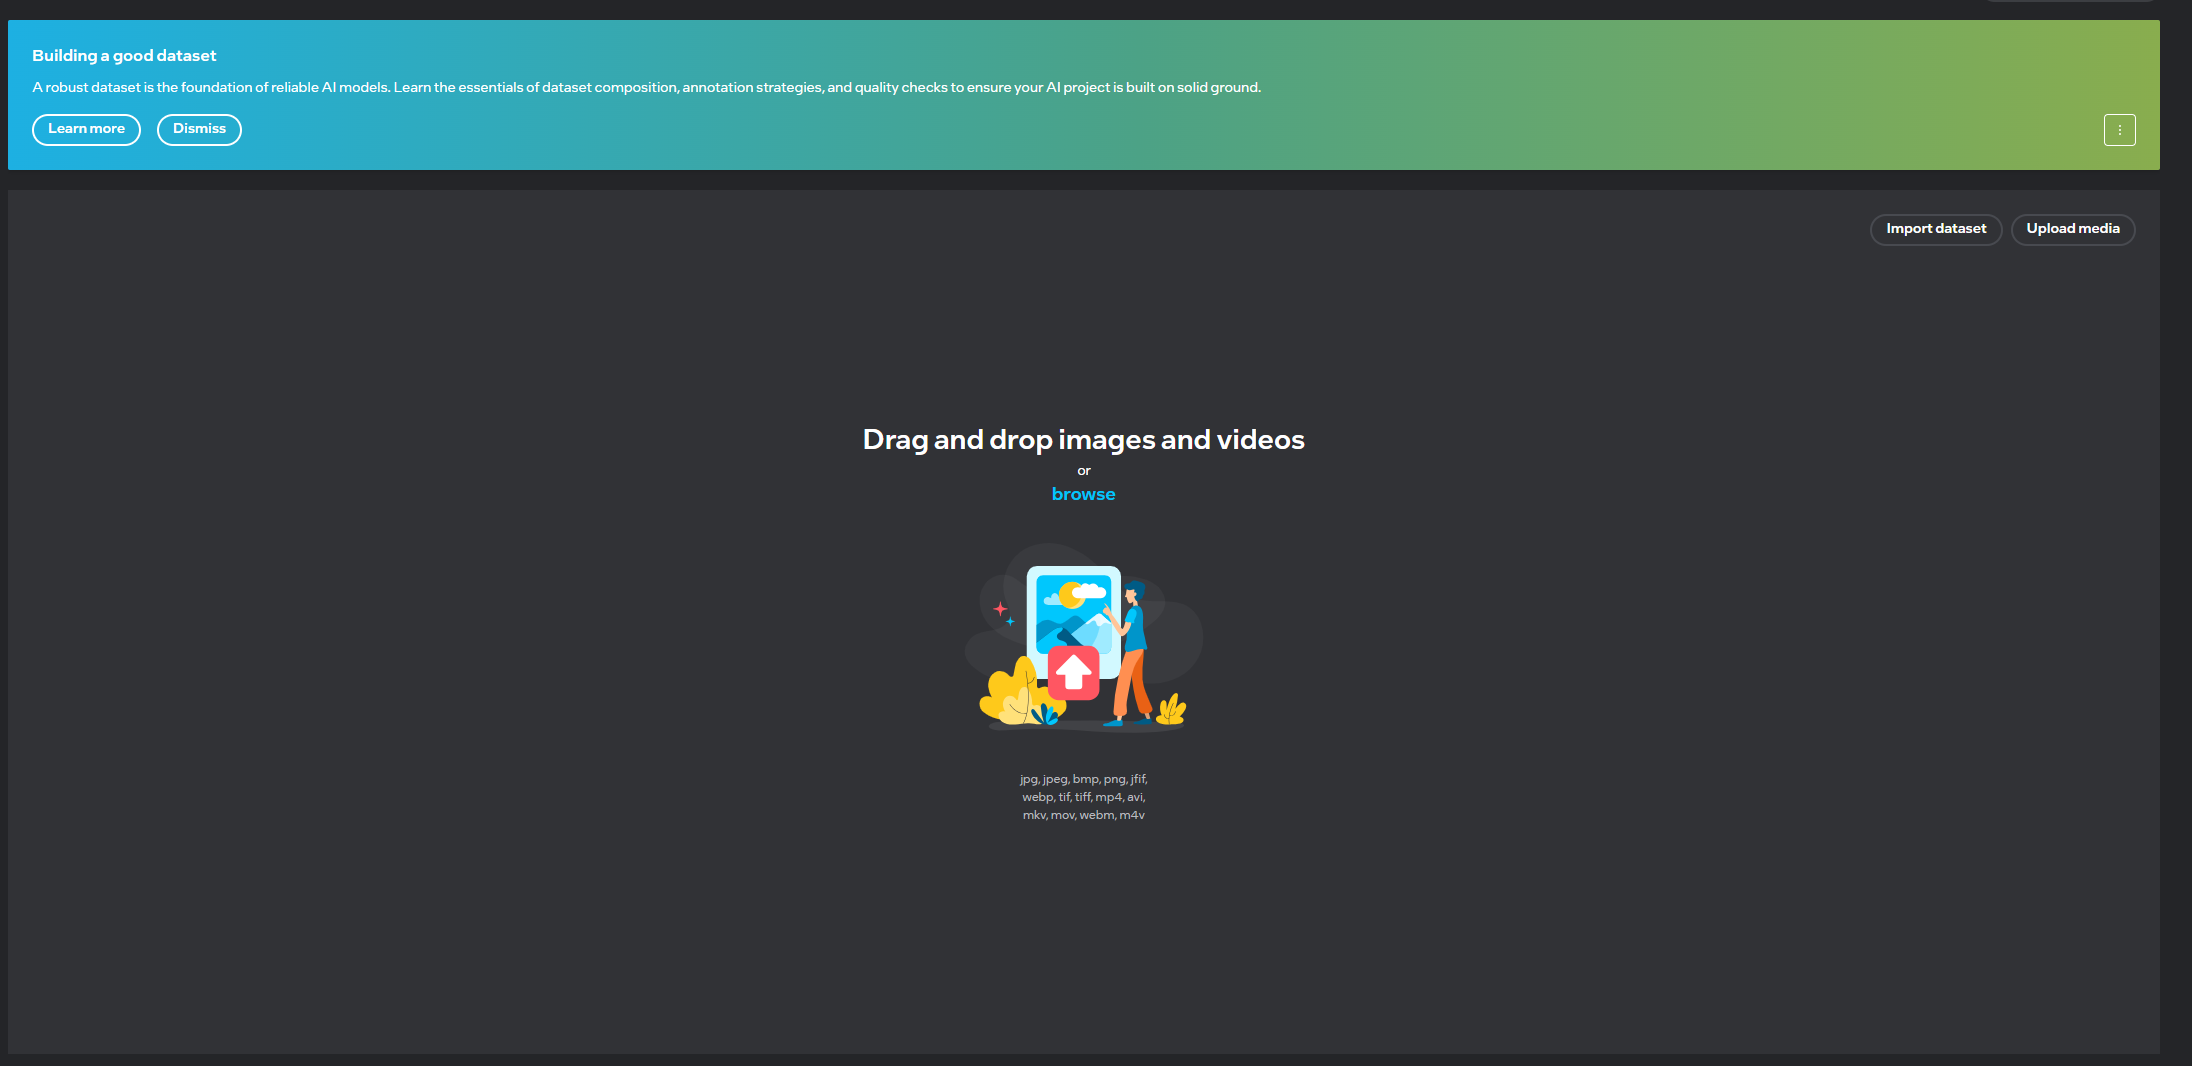
Browse and upload your training dataset images:
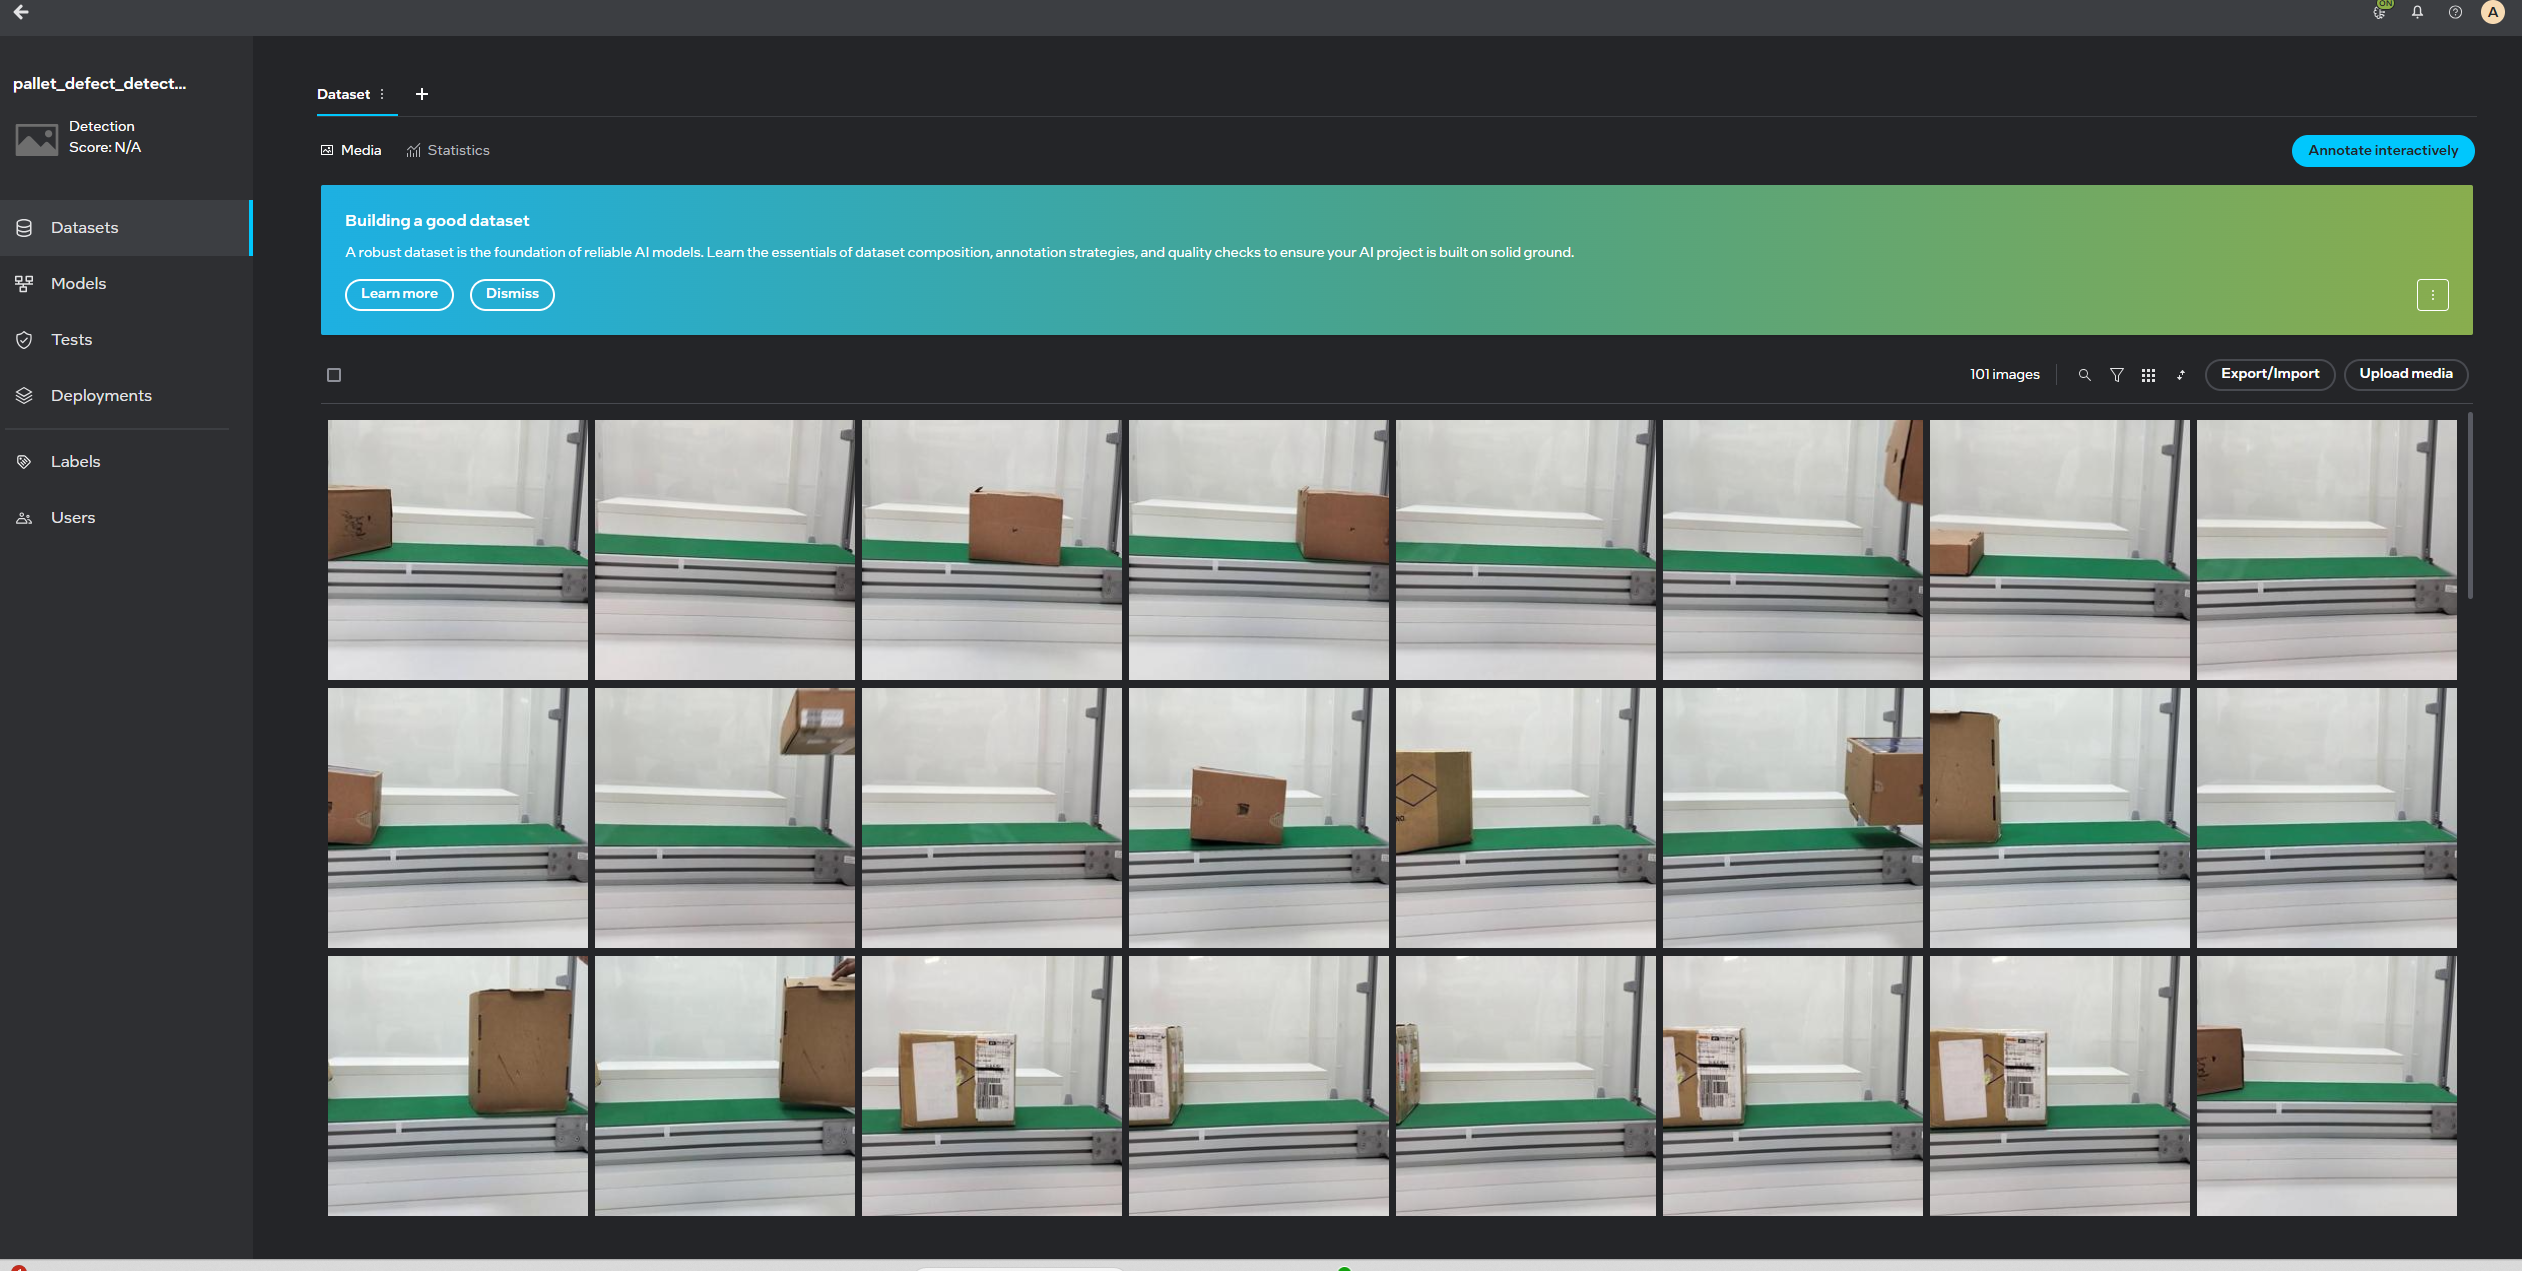
After uploading, your project dashboard will display the uploaded images:
Step 7: Annotate Images Interactively#
Click on “Annotate Interactively” on the top right side of the dashboard. Begin annotating your images manually:
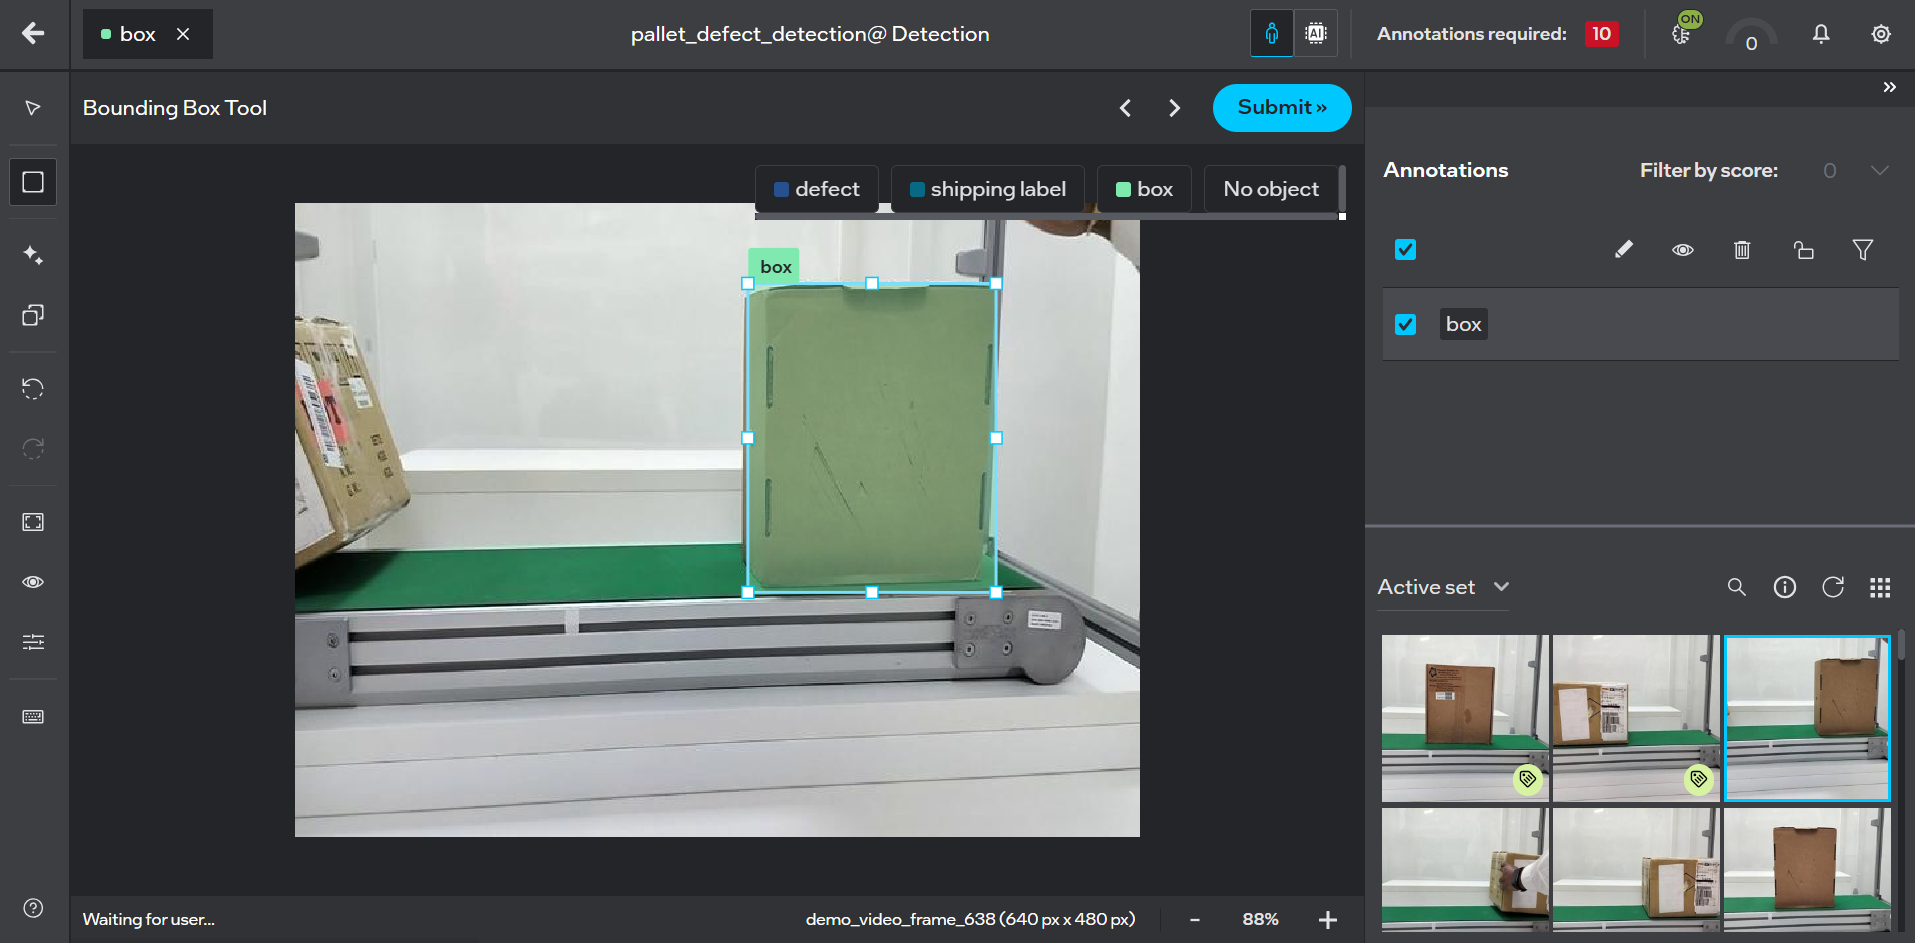
After annotating a few frames, Geti™ will automatically start training the model.
Note: By default, Geti™ uses MobileNetV2-ATSS as the model backbone for your detection task. For more control over your model training, you can explore the Advanced Guide section below to:
Change model backbone to different architectures
Configure custom training parameters
Apply model optimization techniques (FP16, INT8)
Step 8: Monitor Training Progress#
You can monitor the model training progress in real-time:
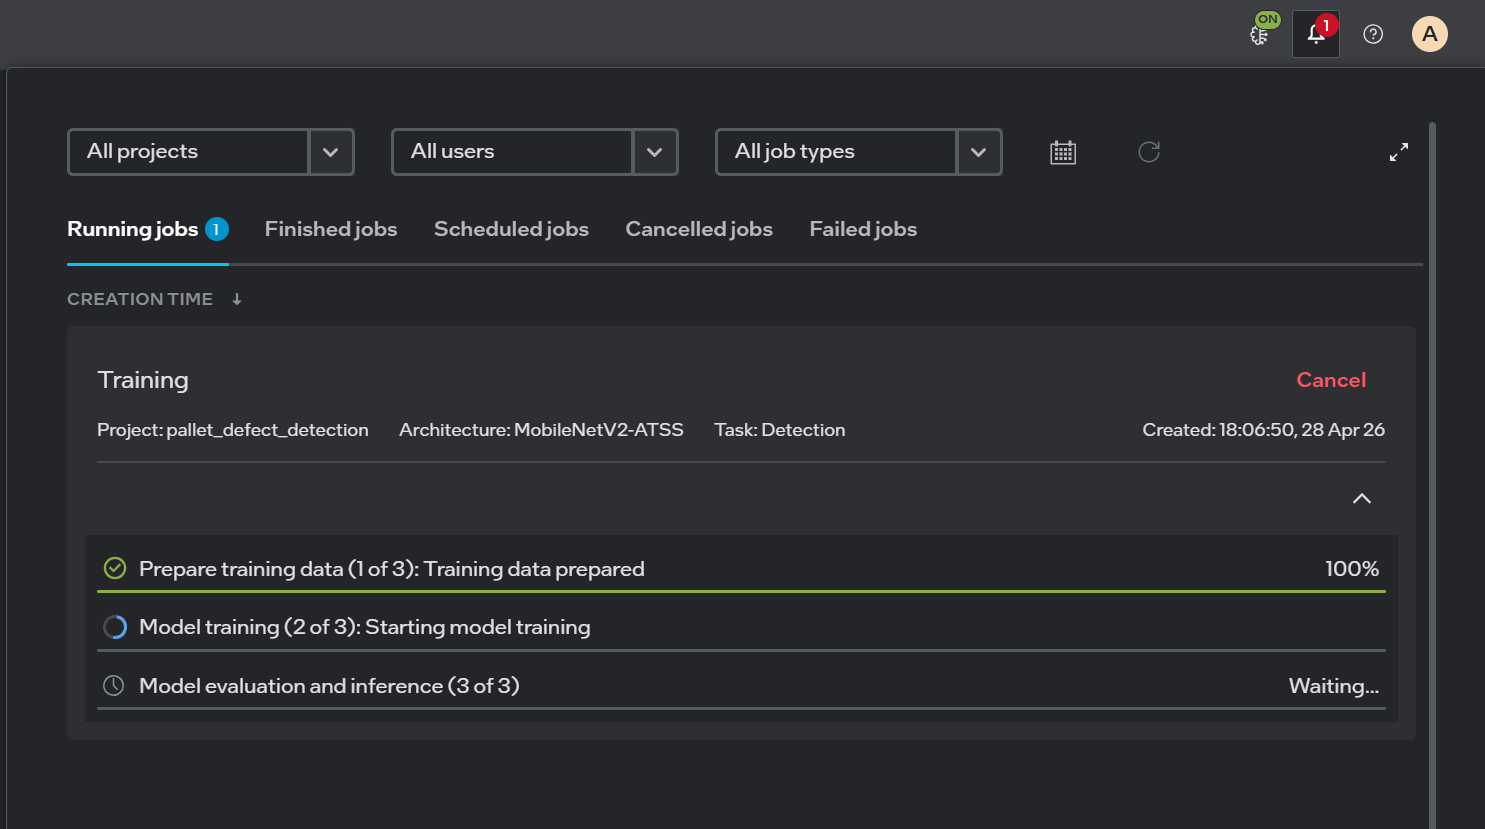
Step 9: Improve Model Accuracy (Optional)#
Repeat the annotation process to improve model accuracy. More annotated data will lead to better model performance.
Advanced Guide#
The Advanced Guide section allows you to fine-tune your model training with more control over model architecture, parameters, and optimization.
Model Backbone Change#
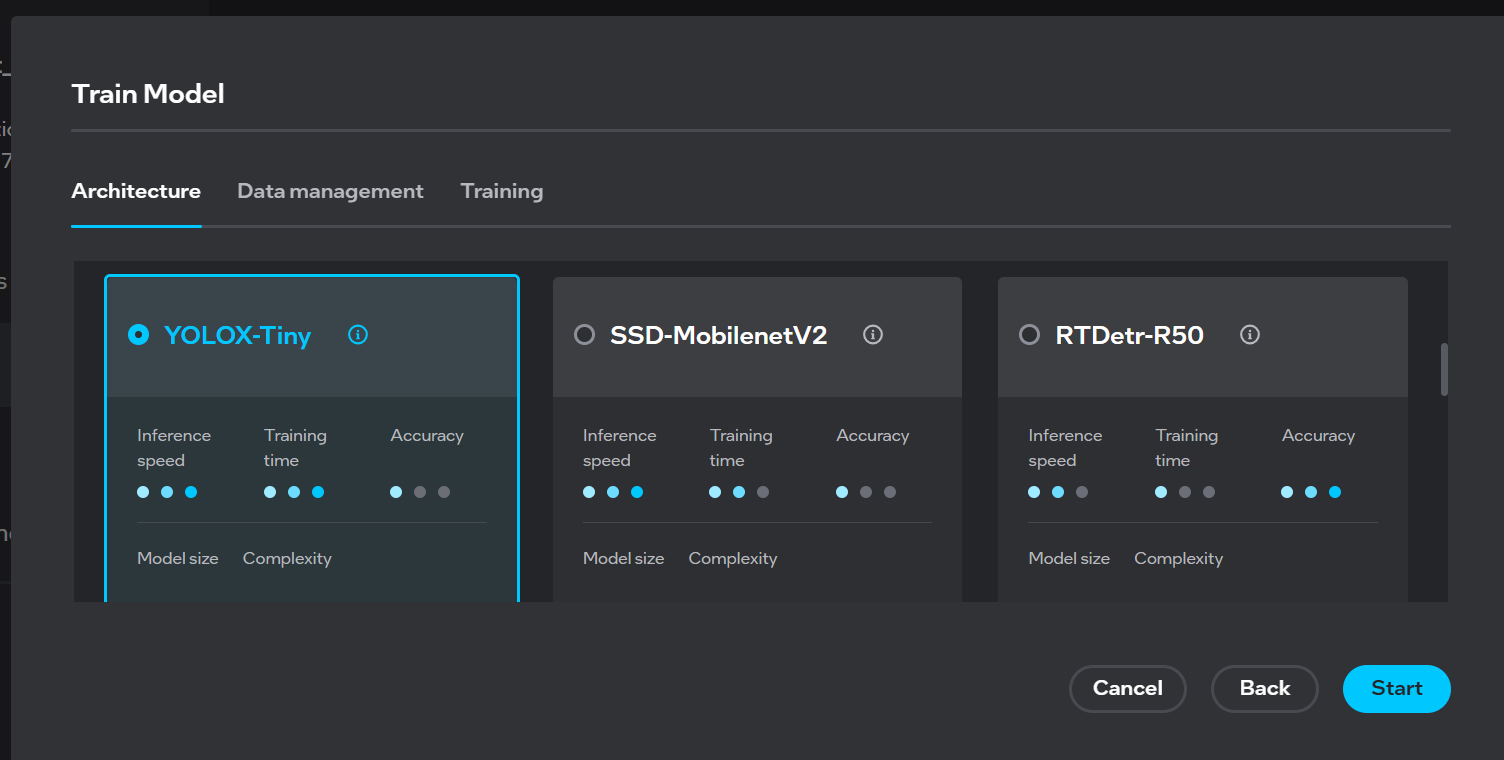
Change the model backbone from the default architecture to other architectures for your specific requirements. For a complete list of supported model architectures, refer to Geti™ - Supported Models Documentation.
Click on Models from the left sidebar
Select Train Model
Click on Advanced Settings
Select your desired model type from the available options:
YOLOX-Tiny: Lightweight model for edge devices
YOLOX-Small: Small model with better accuracy
Other available backbone architectures
Click Start to begin training with your selected backbone
For detailed information, refer the tutorial: Geti™ - Model Training and Optimization
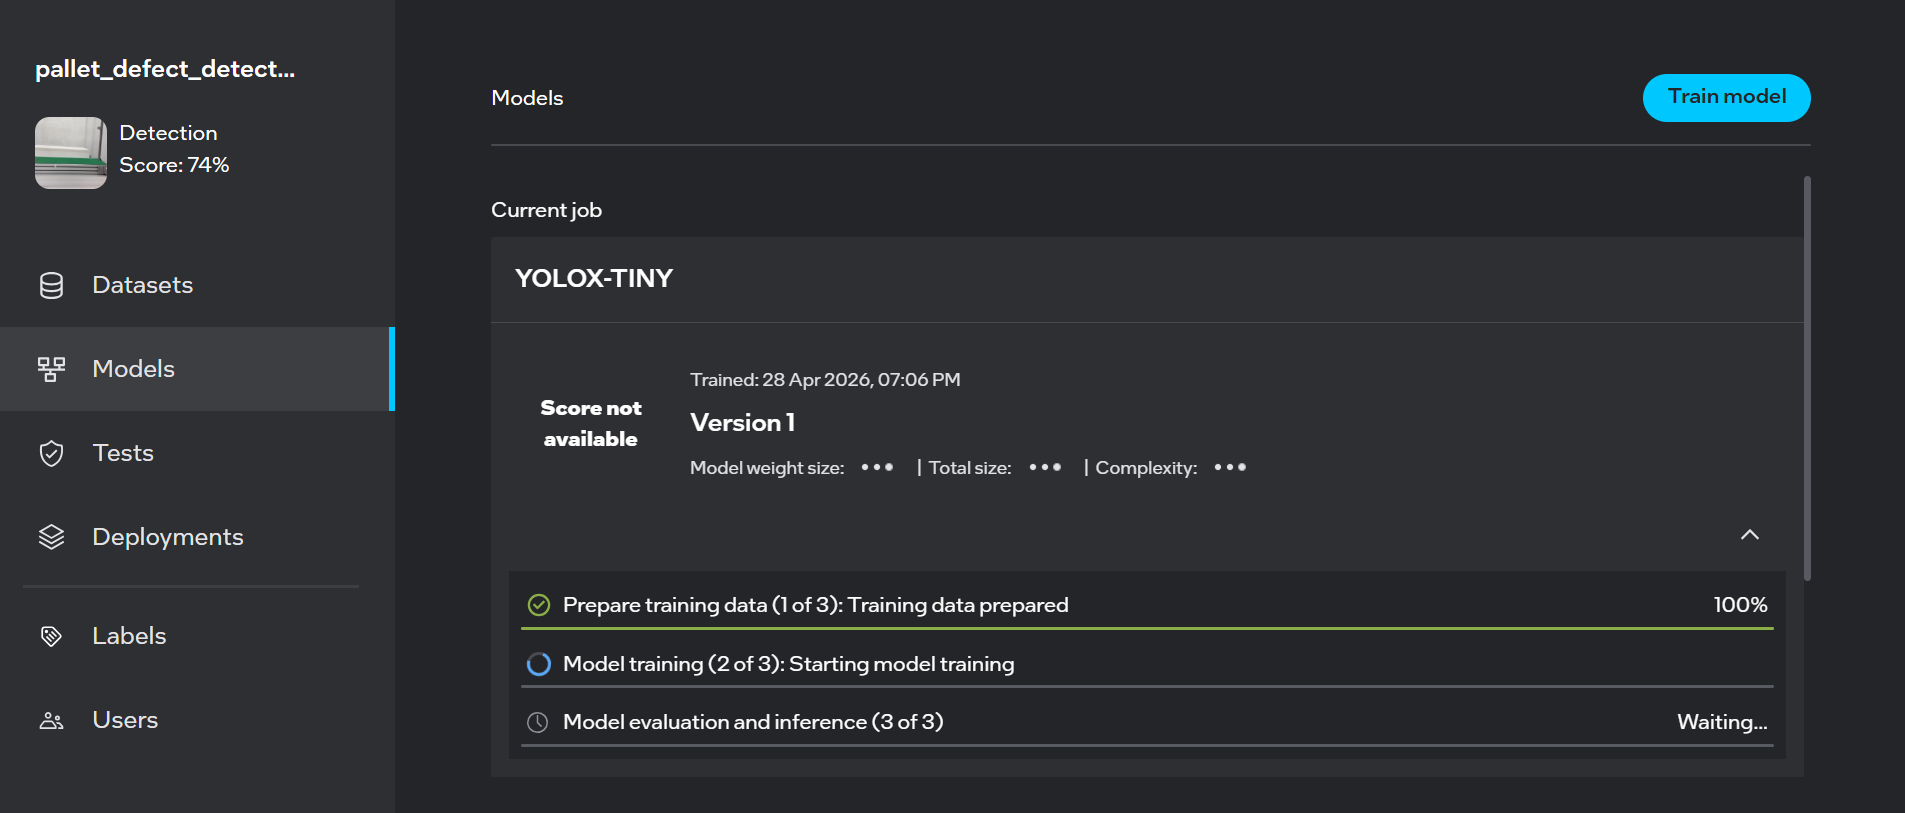
Monitor your selected backbone training progress:
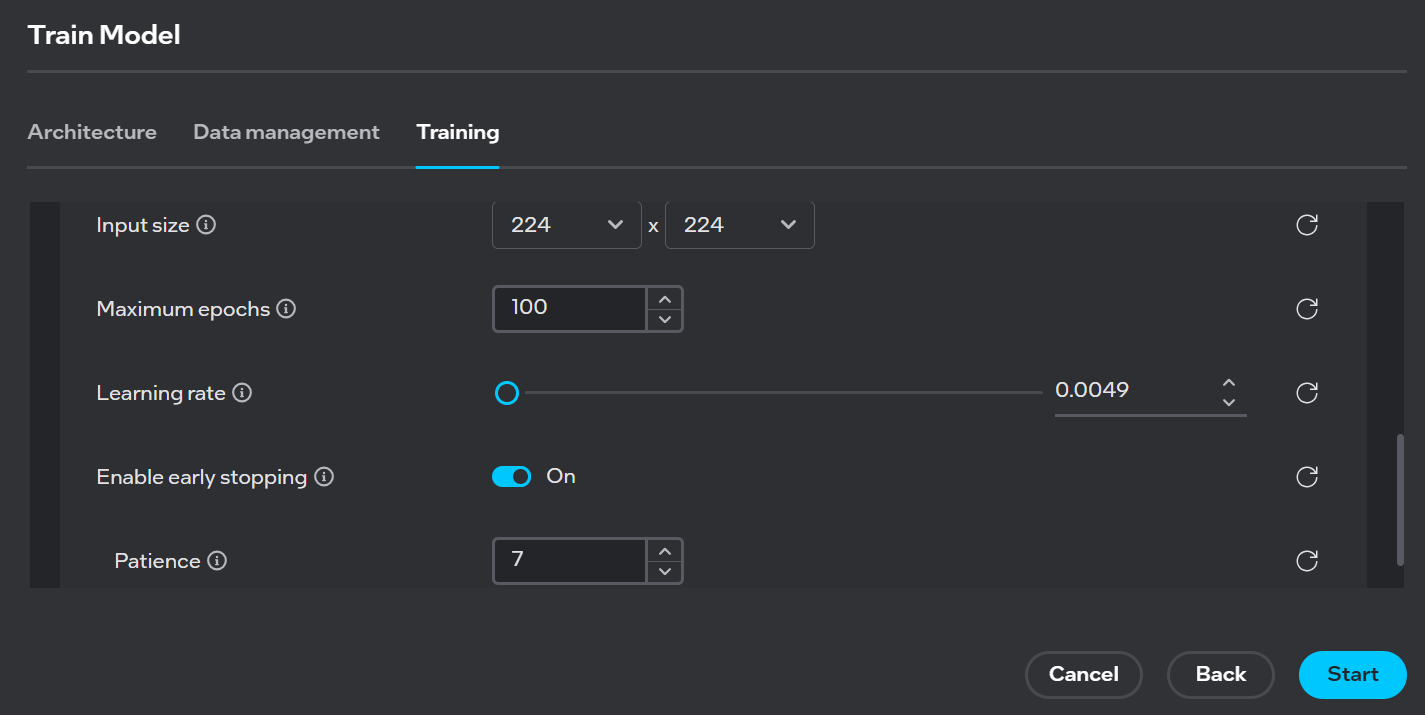
Train Parameters#
Configure custom training parameters to optimize model performance based on your dataset and requirements. For detailed information on available training parameters and their configurations, refer to Training Parameters Documentation.
Common parameters include:
Learning rate
Batch size
Number of epochs
Optimizer settings
Augmentation options
Model Optimization#
After training completes, optimize your model for different deployment scenarios using quantization techniques. Choose the optimization level that best suits your deployment environment:
FP16: Higher precision with good accuracy, requires more computational resources
INT8: Optimized for edge deployment, significantly reduces model size and latency
Click on Start Optimization to generate your optimized model:
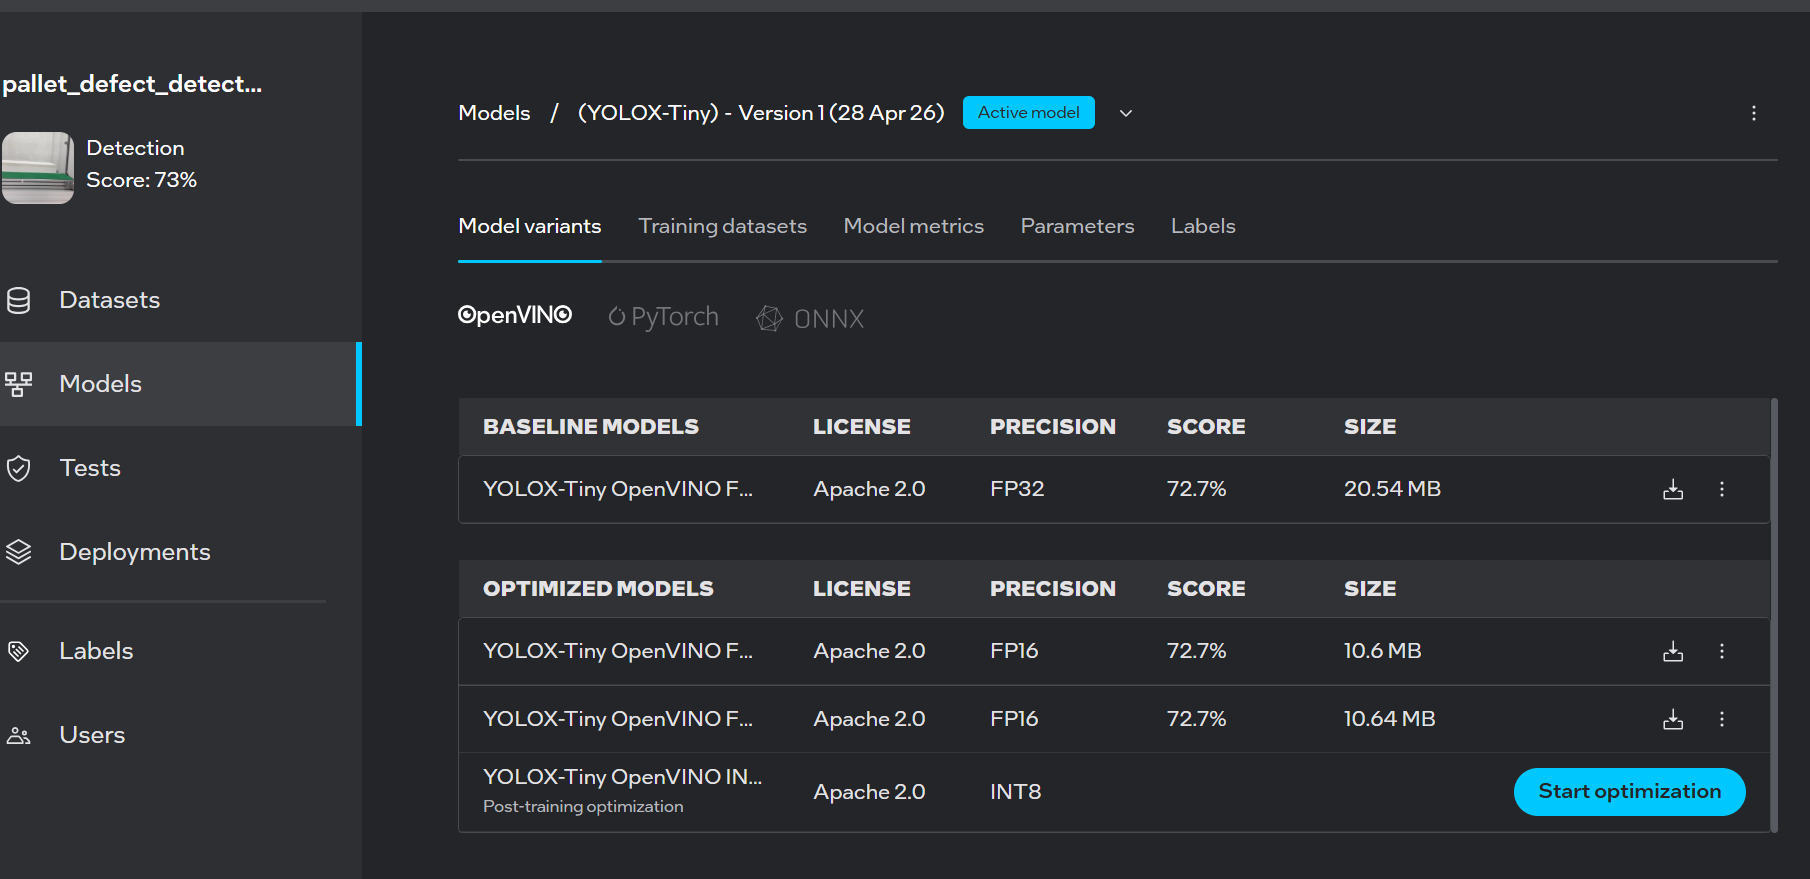
After optimization, proceed with downloading and deploying your model.
Download Model#
Click on the download icon next to the FP16 or INT8 model. A zip folder containing model.bin and model.xml will be downloaded. Replace the existing model files in your deployment resources:
model.bin  <- Replace with downloaded version
model.xml  <- Replace with downloaded version
Alternatively, you can download the entire deployment folder and replace the existing deployment folder in your resources:
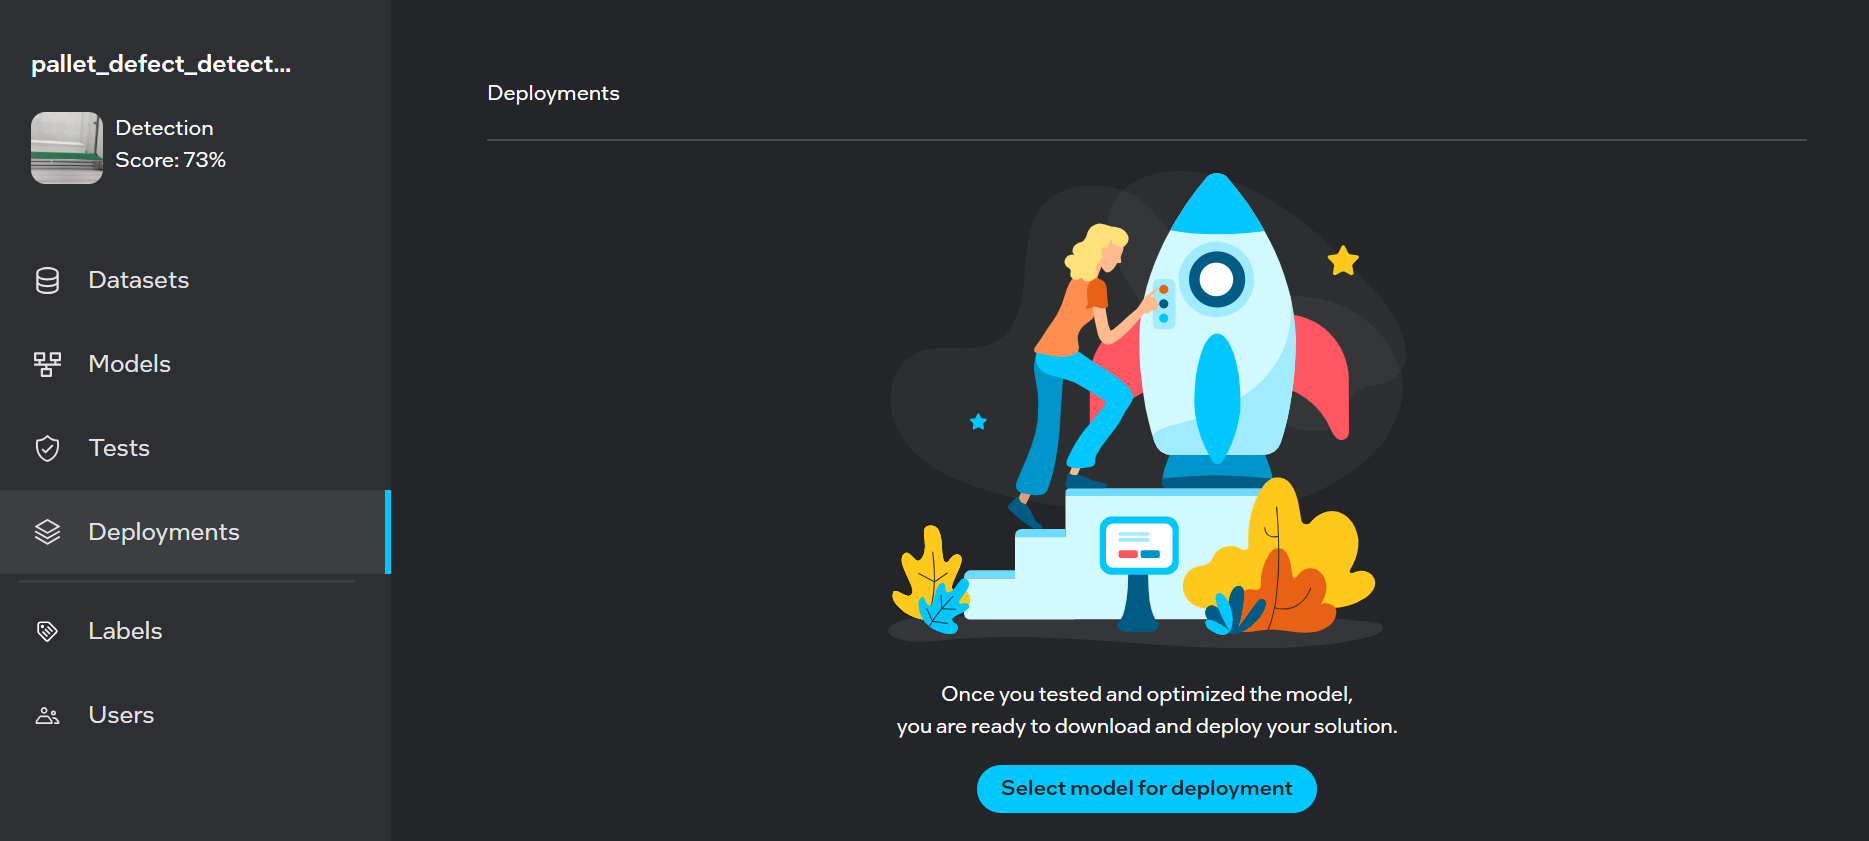
Navigate to Deployments and click Select model for deployment:
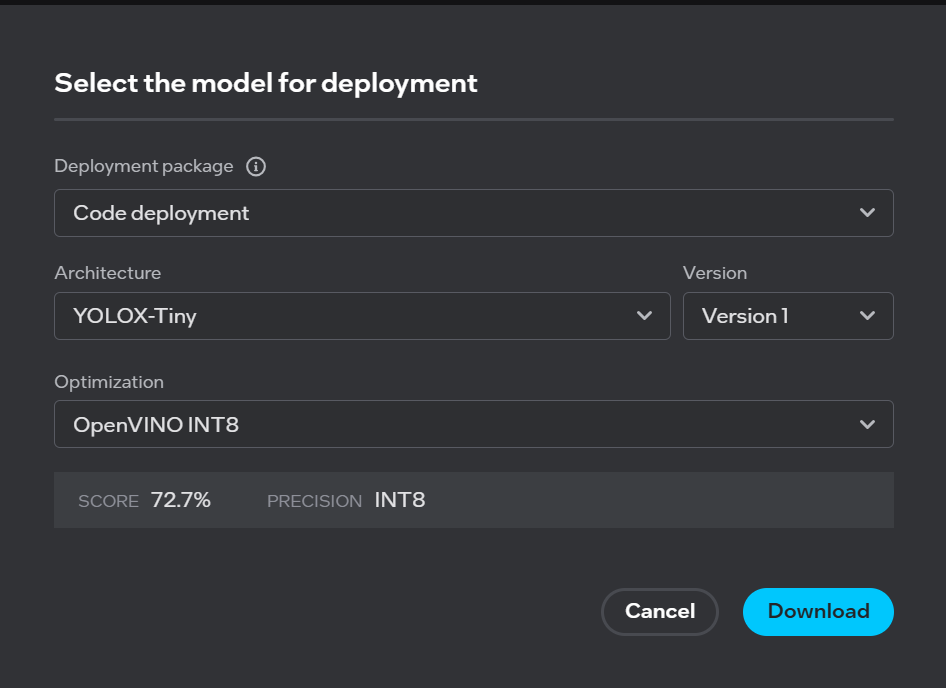
In the “Select model for deployment” dialog:
Choose your desired Architecture
Select your Optimization level (FP16 or INT8)
Click Download
The deployment package will be downloaded. Replace the existing deployment folder inside your resources with this new package.
Next Steps#
Deploy the model to edge devices
Monitor model performance
Continuously improve accuracy by adding more annotated data
Retrain as needed with new data
Troubleshooting#
For installation issues, refer to the Geti™ Installation Guide.