Deploying Edge Microvisor Toolkit on Bare Metal#
In this article will learn how to deploy Edge Microvisor Toolkit on bare metal using ISO or RAW images.
Requirements#
OS image, depending on the version of Edge Microvisor Toolkit:
USB flash drive (min. 8GB)
Access to the target machine
Optional: monitor and keyboard, or BMC/iDRAC/iKVM access
Creating Bootable USB#
Flashing ISO#
Download the ISO image and insert a USB drive.
On Linux OS#
Compare the output of
lsblkbefore and after inserting your USB drive to identify its name (for example,/dev/sdb).lsblk
Flash the ISO Image. Use the
ddcommand to write the ISO image. Replace/path/to/your.isowith the ISO’s location and/dev/sdbwith your USB drive.sudo dd if=/path/to/your.iso of=/dev/sdb bs=4M status=progress oflag=sync # Warning: Double-check the drive name. Using a wrong drive can overwrite data.
Sync and eject: Once
ddhas finished, run:sudo syncThen, safely remove the USB drive.
On Windows OS#
Download and install ISO writer software such as Rufus or Balena Etcher. The latter simplifies the process to just selecting ISO image and target USB drive.
Rufus workflow#
If you decide to use Rufus, follow the instructions below:
Insert the USB drive (8GB or more).
Launch Rufus.
Select the USB drive from the dropdown list.
Boot selection: Select your EMT 3.0 ISO file.
Image option: Leave default or choose Standard Installation.
Partition scheme: MBR (for legacy BIOS) or GPT (for UEFI).
File system: FAT32 (recommended).
Click Start.
Confirm warnings about data being erased.
Wait for completion and safely eject the USB.
Next, set up the target machine to boot from the USB drive to install Edge Microvisor Toolkit Developer Node.
Flashing RAW#
You can Build a RAW image and flash it on a USB drive.
Navigate to the folder with the RAW image. Then, unpack the image by running the commands:
gzip -d edge_microvisor_toolkit.raw.gz
chmod -Rf 777 edge_microvisor_toolkit.raw
Flash the RAW image to a USB flash drive using the ‘dd’ command.
sudo dd if=edge_microvisor_toolkit.raw of=/dev/sdc status=progress
Note: Successful flashing of the image should produce partitions such as
/dev/sdband/dev/sdc.
Booting from USB#
Insert the USB into the target machine.
Enter the BIOS/Boot menu.
Choose the USB drive as the boot device.
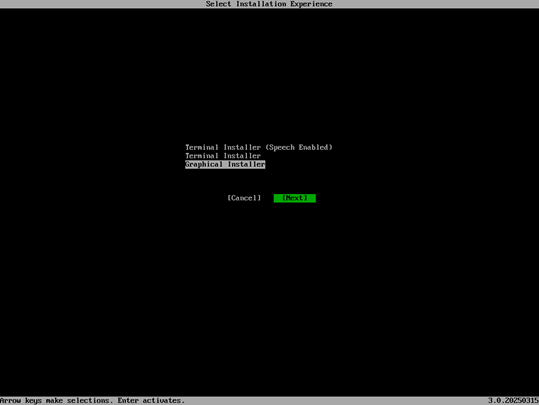
Installing Edge Microvisor Toolkit Developer Node#
Choose Terminal Installer or Graphical Installer when prompted
Follow Installation Prompts
Choose the installation type:
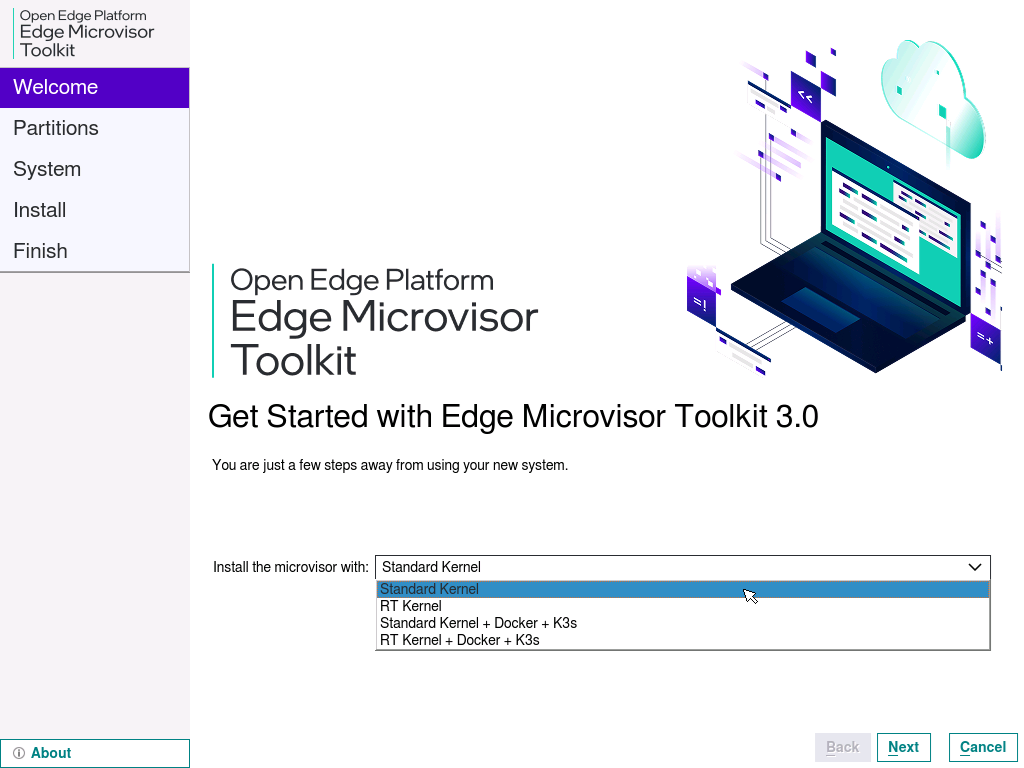 .
.Select the target disk for installation and choose the partitioning method.
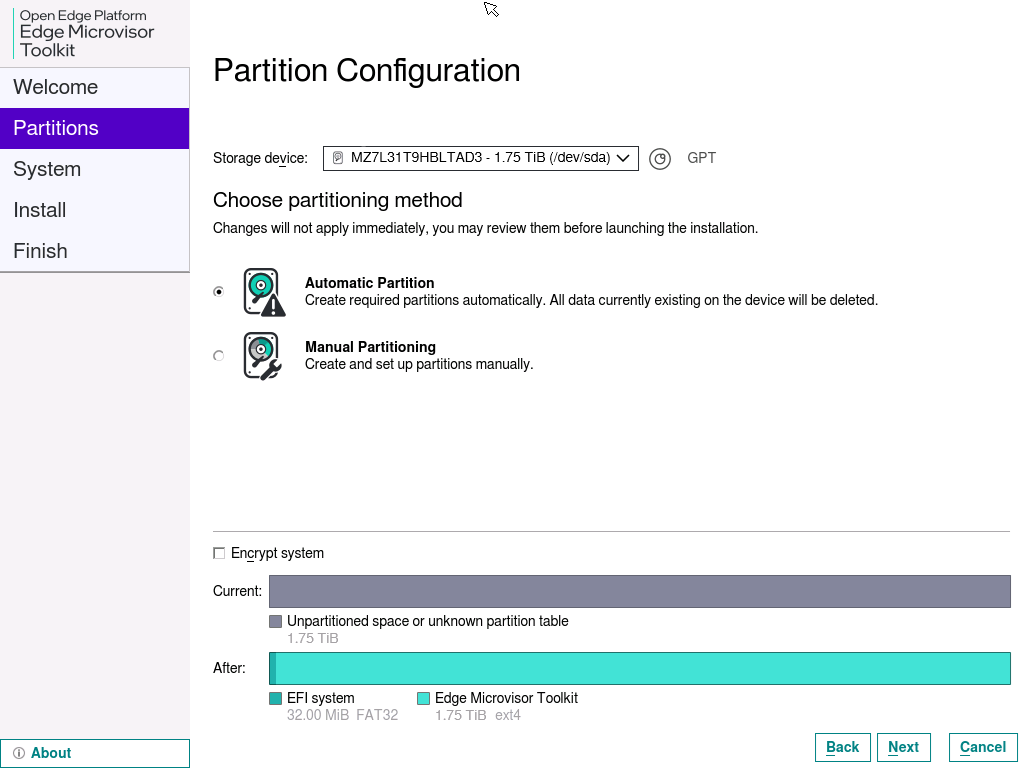 .
.Skip disk encryption (optional).
Create a username and a password. Keep the default Hostname.
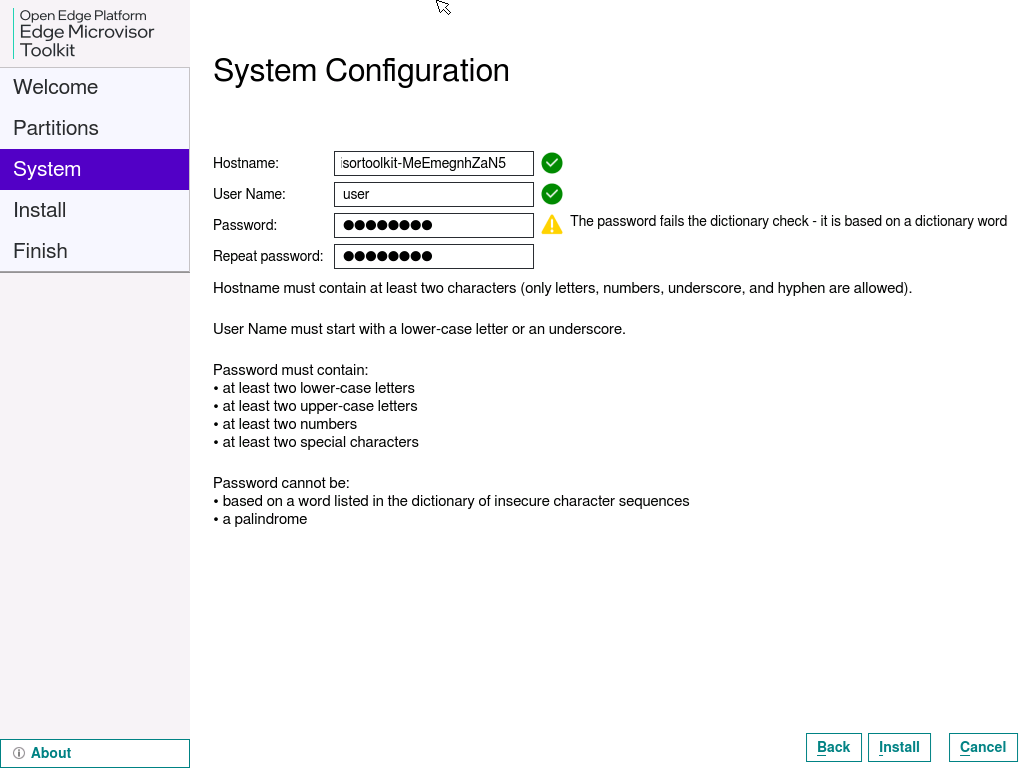 .
.Click Install and confirm by clicking Install Now.
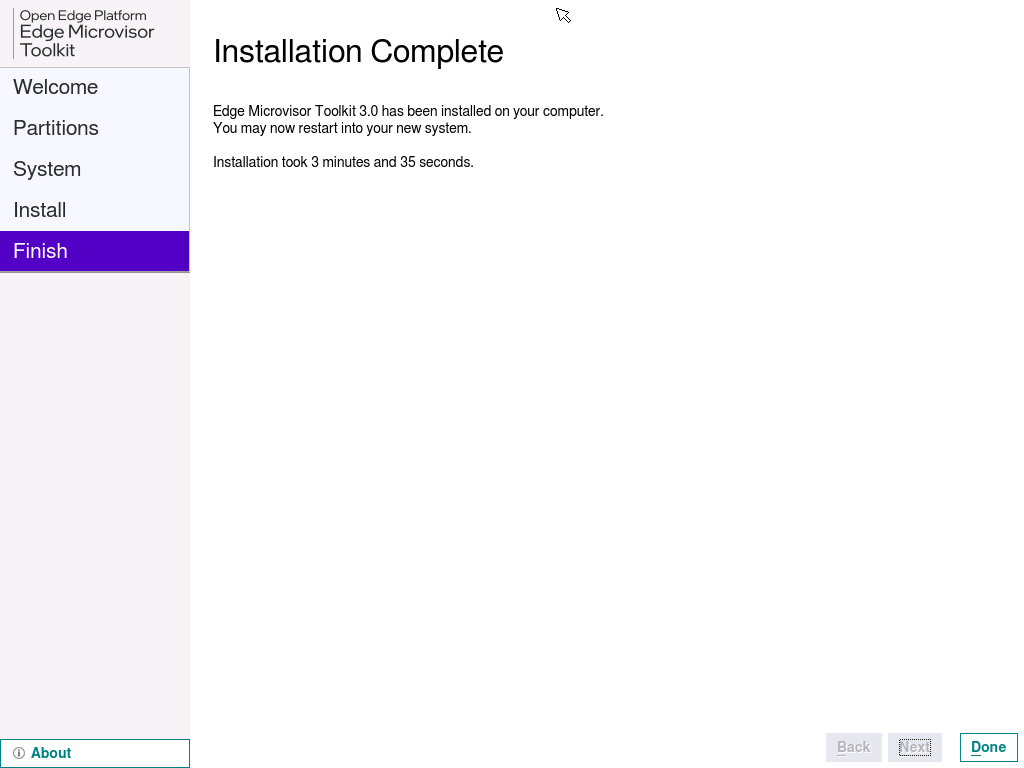
When the installation has completed, click Done to close the installer.
 .
.The system will reboot.
You are now ready to use Edge Microvisor Toolkit!
(Optional) Check the version of Edge Microvisor Toolkit by running the following command:
cat /etc/os-release
Installing Edge Microvisor Toolkit Standalone Node#
Build the OS image and prepare a bootable USB drive, using source code to deploy a selected version of the standalone node.
Edge Microvisor Toolkit Standalone Node can be installed from one of available OS image versions:
Edge Microvisor Toolkit Non-RT (default)
Edge Microvisor Toolkit RT (real-time)
Edge Microvisor Toolkit Desktop Virtualization